")
Klaviyo – Authorization Email
The authorization email is generally sent via Swym when a customer needs to login or retrieve their wishlist from your store.
A customer on your store, can login or save their wishlist list to an existing email ID. This will allow them to access their wishlist at any time, across multiple devices.
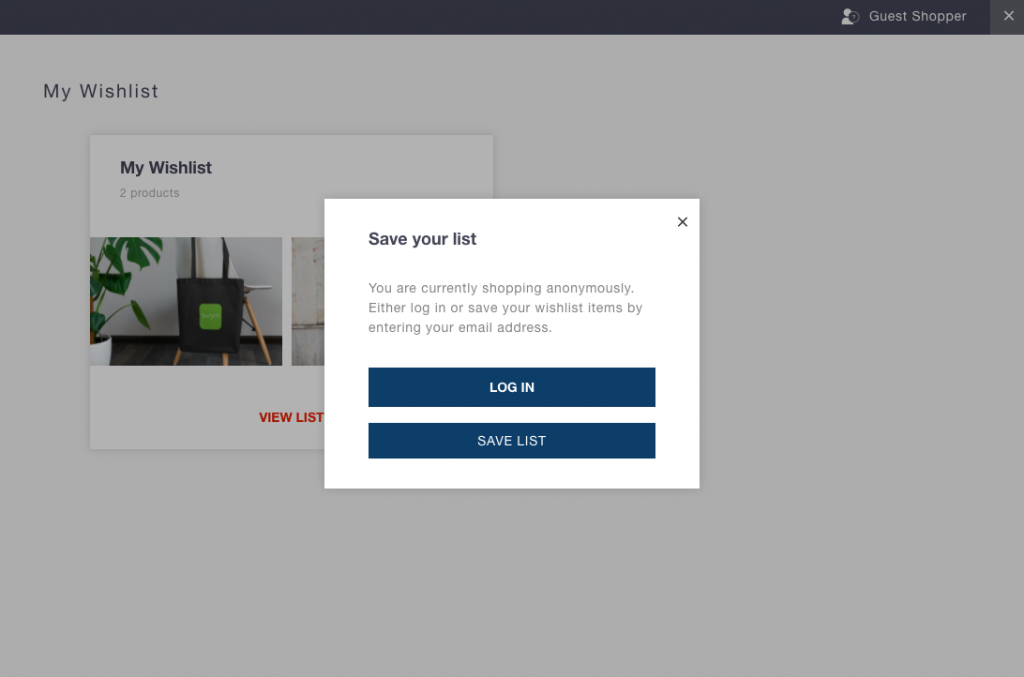
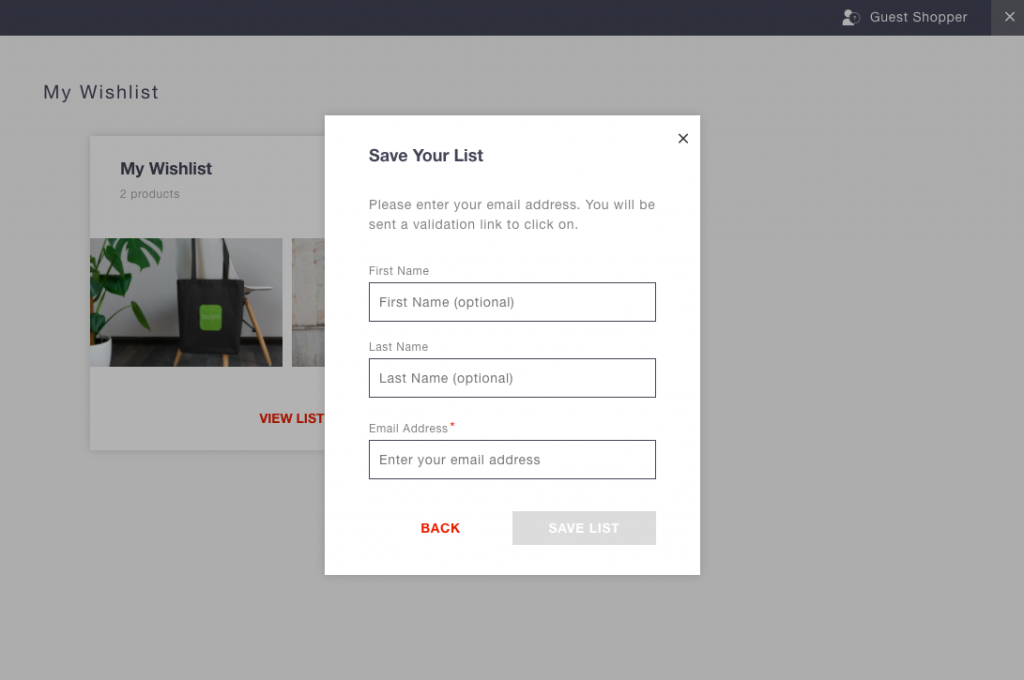
By clicking the ‘Save List’ button, an authorization email is sent out to the customer.
Once the Klaviyo integration is enabled and saved on Swym Admin however, Swym immediately stops sending these emails on your behalf. In order to keep sending out the authorization emails without break, you will need to have a Klaviyo flow built in its place.
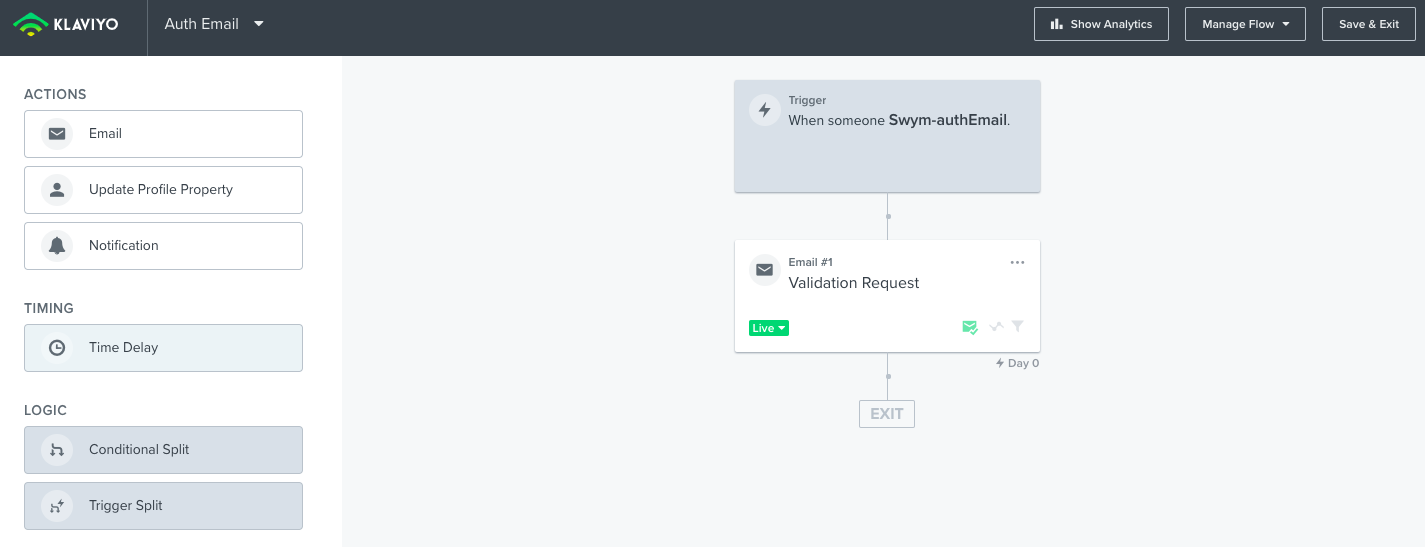
Setting up the Klaviyo flow for this event is very simple. Create a flow on your Klaviyo Dashboard for the event Swym-authEmail. Choose ‘Swym-authEmail’ from the Metric dropdown and add an ‘Email’ from the list of Actions to your flow.
Pro Tip: In order to create a flow, you will first need the auth event recorded on Klaviyo. Do this by triggering the event yourself. Try logging in again to your wishlist to record this event on Klaviyo (refer to the first set of images).
While creating the email template, you can refer to this table that will give you the schema/merge tags that you can use inside the template, along with the values from the events.
| Data Element | Element Label | Example | Comment |
| Event Name | Event | Swym-authEmail | Used in trigger definition |
| Customer Email | nikita@swymcorp.com | ||
| Event Time | EventTime | March 17, 2021 at 10:49 AM | |
| Device | Device | Mac | |
| First Name | FirstName | Nikita | |
| Last Name | LastName | ||
| Validate URI | ValidateURI | https://swymstore-v3free-01.swymrelay.com/remote/validate | Used for the ‘Confirm’ button |
Click on the Email added to your flow and click on Configure Content in the left panel.
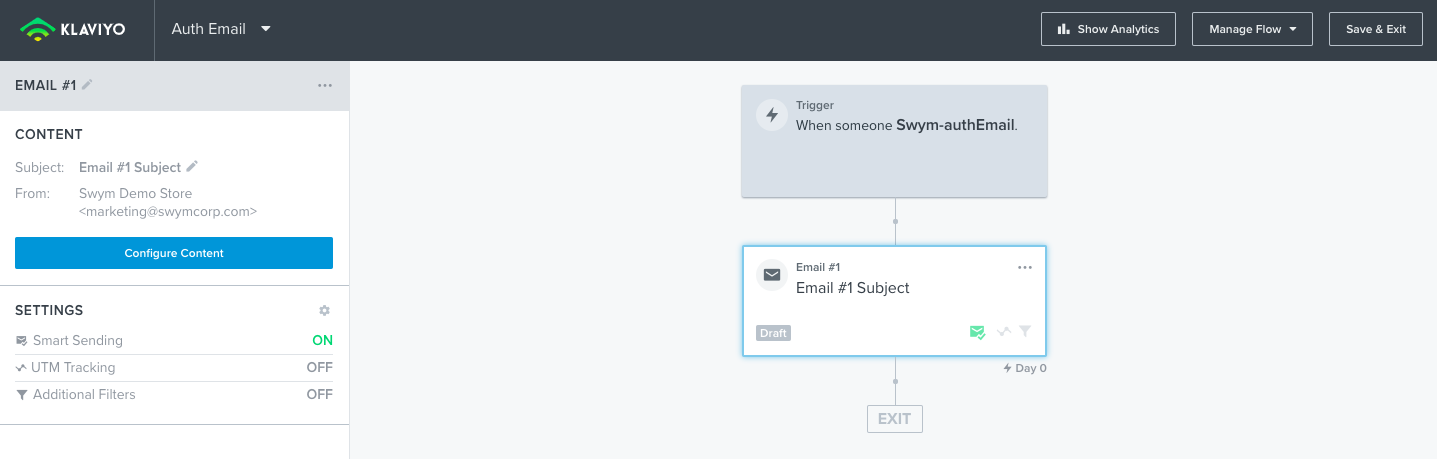
Add a Subject and save changes before choosing the Drag and Drop option below.

In this article, we have used the “1 Column” template from the Basic tab. You can add your logo in the top or customize it to anyway you prefer. We use the text block for the main email content. We use HTML to pull in data from the Swym-authEmail event, which you can refer under Activity Feed in your Klaviyo Dashboard.
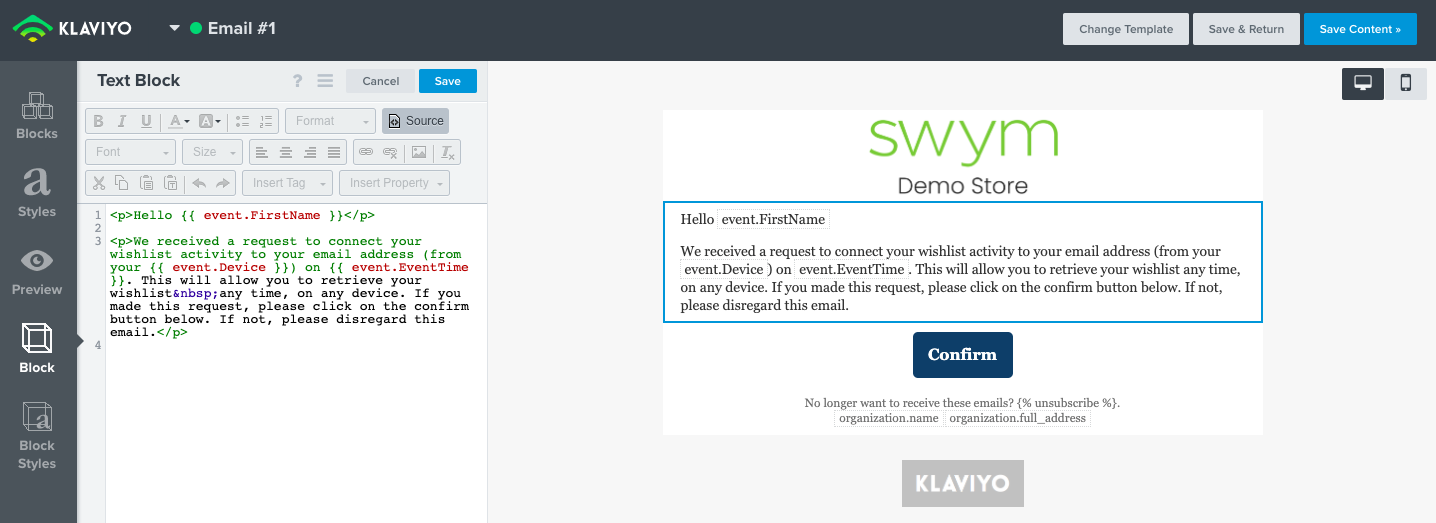
Here is the HTML used in this template.
<p>Hello {{ event.FirstName }}</p>
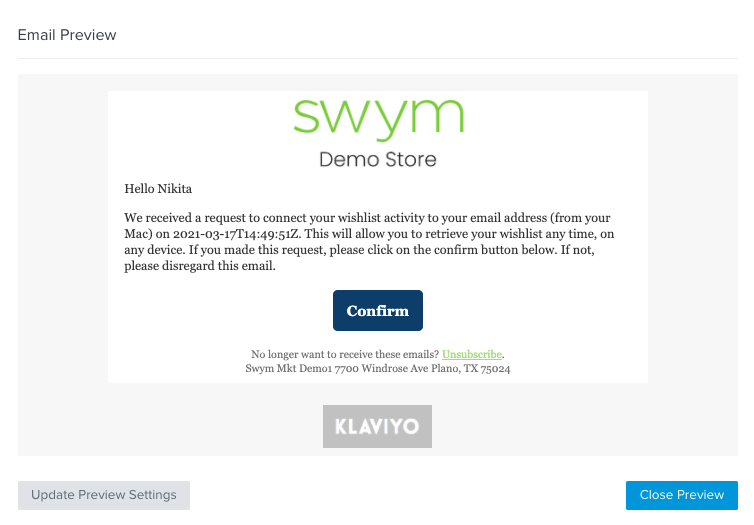
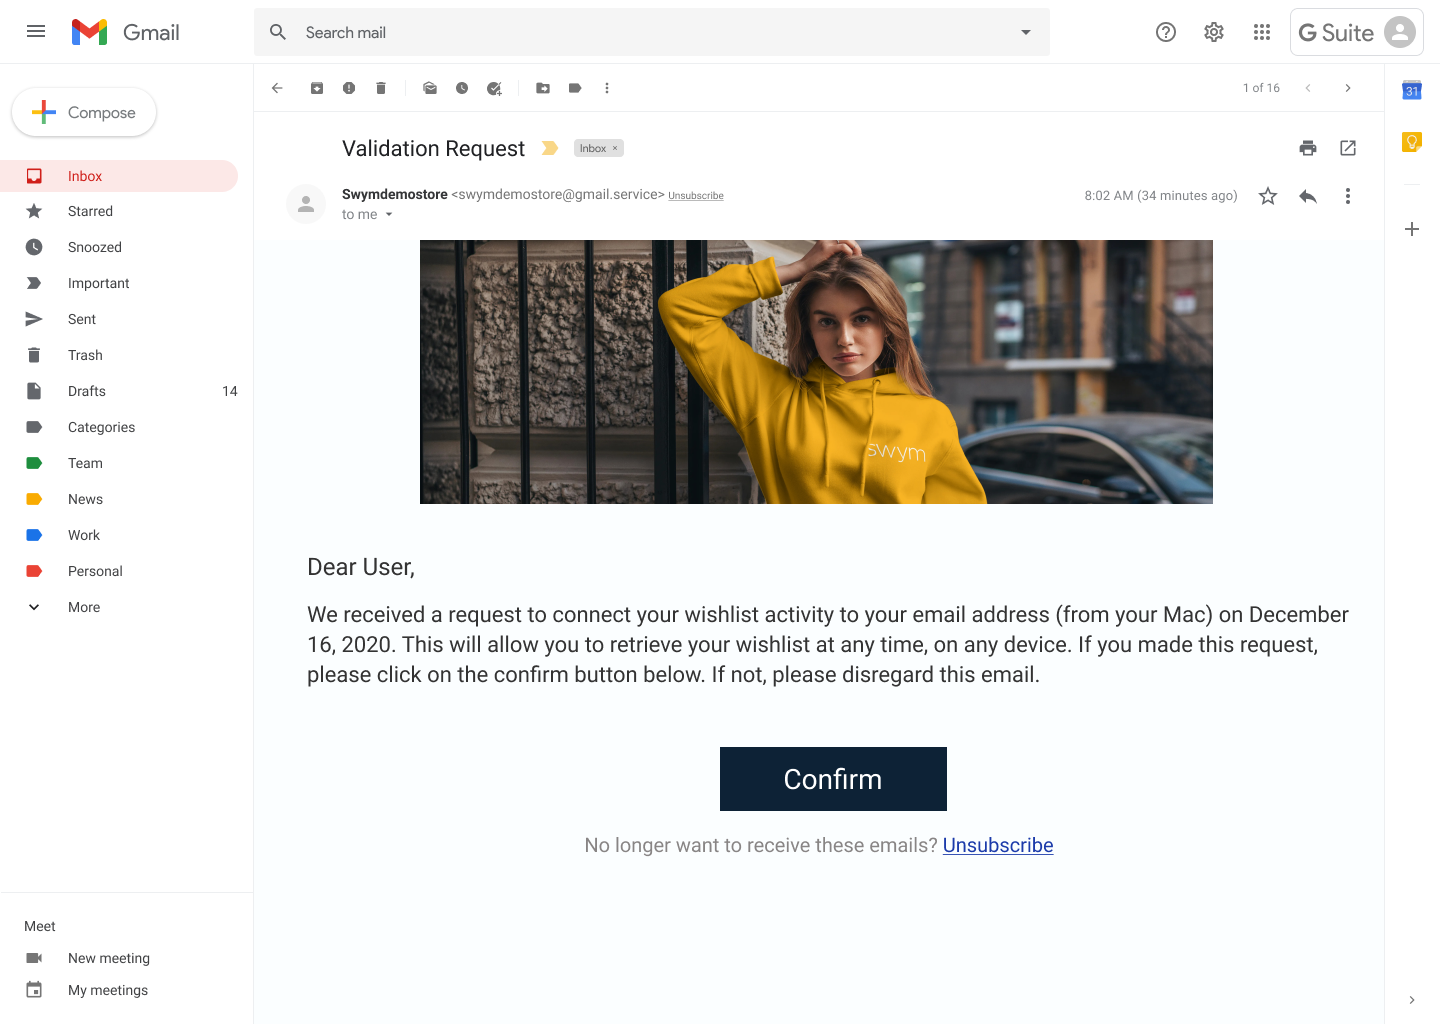
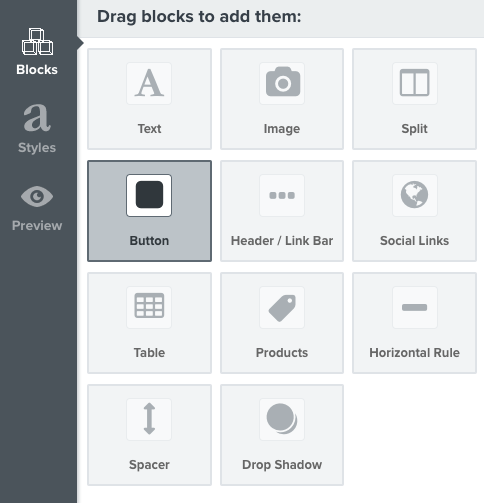
<p>We received a request to connect your wishlist activity to your email address (from your {{ event.Device }}) on {{ event.EventTime }}. This will allow you to retrieve your wishlist any time, on any device. If you made this request, please click on the confirm button below. If not, please disregard this email.</p>Your customers will need to click on the ‘Confirm’ button to validate their email ID. To do this, add a ‘Button’ block below the text block. You can customize the text on the button and link it to the {{event.ValidateURI}} element.
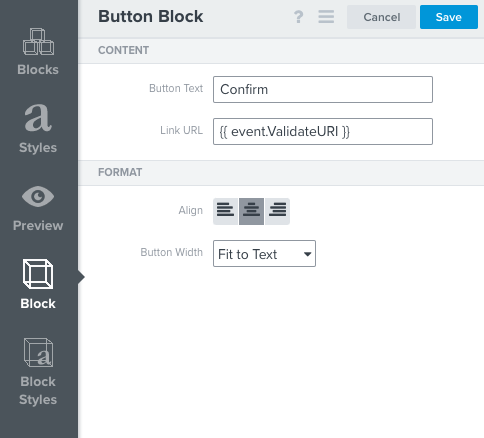
You can then preview your email and it should look something like this.