")
Build your own wishlist page
The Swym Wishlist Plus app is designed to be a wishlist module that can easily be enabled on your store. The app comes with a default UI module that’s powered by the Swym platform, and also includes a rich set of customization options that allow you to configure the look and feel of the app to blend seamlessly with your store – here’s a comprehensive look at how to enable and customize the default Wishlist Plus app for your site. However, we also appreciate the need for much deeper customization that you might want for your store, based on the scenarios you’d like to support. After all, the website powering your store is a very unique and important representation of your brand. As an engagement platform that strives to deliver a wow experience for your shoppers, Swym definitely enables you to do that. The Swym Javascript SDK provides a rich set of APIs that allow you to render the Wishlist module on your theme, tailored to your specific design, but still surfacing all the same powerful capabilities that are available with our default module.
Here are the steps needed to build your own Wishlist page and expose it in the menu using the Swym Javascript SDK.
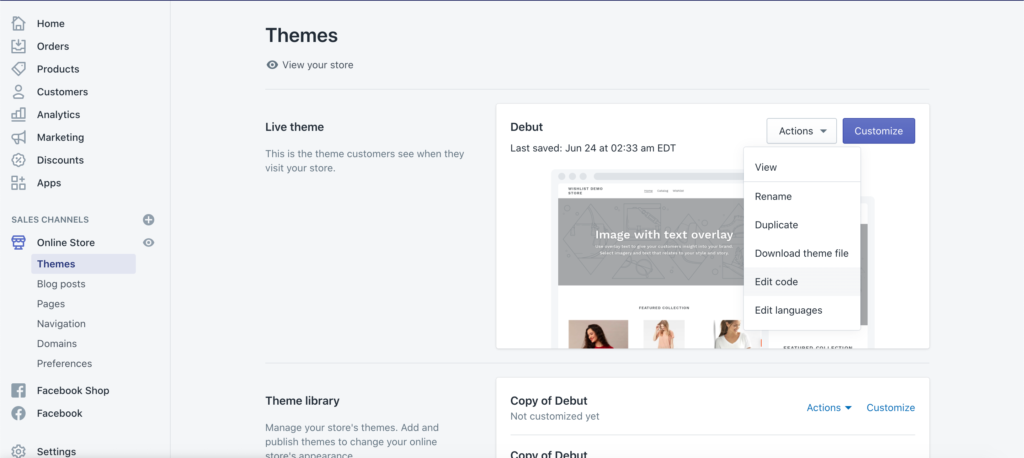
- Go to your “Shopify Admin” -> “Online Store” -> “Themes” -> “Actions” -> “Edit Code”
- Create a new JS asset by going to “Assets” -> “Add a new asset” and called “custom-wishlist.js” and hit save
- Create a new template by going to “Template”-> “Add a new template”.
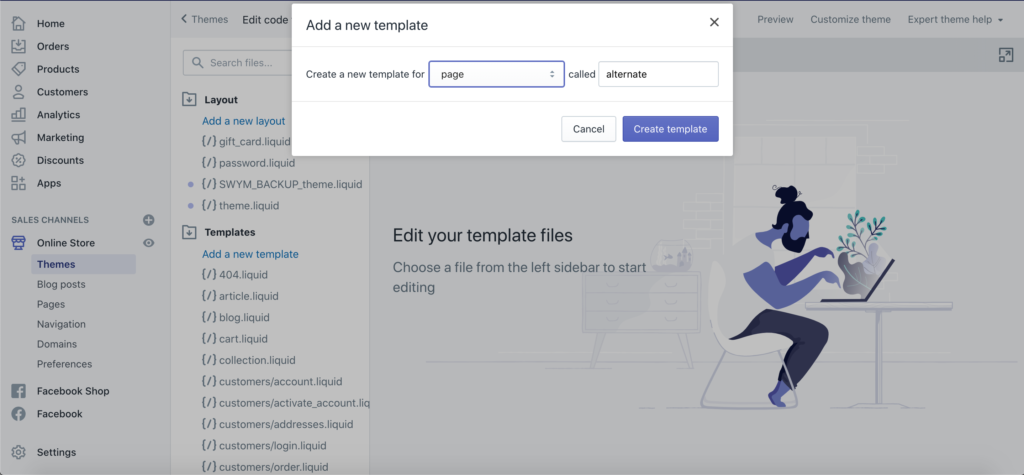
- Pick “Page” in the drop down and create a new template called “custom-wishlist”. Hit Save.
- Include asset url in “templates/custom-wishlist” to the “custom-wishlist.js”
- Include the code snippets as needed with logic and required styling. ( Check the SDK guide below)
- Navigate to “Pages” > “Add Page”
- Enter a name for the page “My Awesome Wishlist”
- Choose template suffix “page.custom-wishlist” and Save
- Your page is ready.
You can then expose the page in the navigation as you would do for any other page
- Navigate to “Navigation” > Choose a menu > “Main menu”
- Click on “Add menu item”
- Enter “My Awesome Wishlist” as Name (this will be your menu item that opens the Wishlist UI)
- Choose “Page” as Link and choose “My Awesome Wishlist” in the next dropdown
- Hit save
Navigate to your store and your custom Wishlist page is ready to use!
For a more detailed walkthrough of how to build a custom wishlist page, check this video.
It has the code snippets that you can use on your store.