")
How To Create a Custom Out of Stock Button
NOTE: We are currently in the process of migrating to a new version of our platform (V3). To learn how to figure out which version you are on, click here. This article is on a feature that is currently only on the older version of our platform (V2) and will be made available soon for our V3 users.
Intended Audience : Agency / Software Developers / Shopify Experts
Please note : In order to use a custom button, you will need to contact Support to change the settings in our backend that will enable the feature for your store, and to disable the default button injection.
This is an advanced feature and it is recommended to be handled by a developer with knowledge of Shopify theme editor and programming languages, such as HTML, CSS, Javascript and Liquid templating as required.
Shopify – Liquid based themes (from the Shopify theme store)
Disclaimer: Hiding the default button and implementing a custom button may not work as expected, there is a backend setting to be updated for this to enabled without disruption on your theme.
Note : Please ensure all the below attributes are met in your custom button, for it to work as expected.
There are just four steps to include our button on the product page.
Step 1 – Generate and set product metadata for Swym APIs.
You will need to create and add a new snippet called swym-product-view on your shopify theme files. This is outlined in this article here.
{% include 'swym-product-view', product: product %}Note: Best to include it at the product-template level, which will automatically include it on every product page.
Step 2 – Add below attributes to your custom button element
data-swaction="addToWatchlist" data-product-id="{{product.id | json}}"Note: This ensures Swym will initialize the action on the button for the given product.id
Step 3 – Add below classes to your custom button element.
product_{{product.id}} swym-add-to-watchlistNote : This is to ensure the button’s state is managed from Swym -i.e. subscribed or not subscribed.
After completing the above steps, your custom button code should look like below.
{% include 'swym-product-view', product: product %}<button data-swaction="addToWatchlist" data-product-id="{{product.id | json}}"></button>
Step 4 : Add the button to the file that controls the product page.
In order to not show the custom button on available variants, it is recommended to add the button to the non-available products or below the sold-out product code. Please see the example below.Note : The Button is shown by default, but it works on variant level, you can also use CSS to hide/ show the button based on product’s availability.
Below is an example of how one can render the button, on a product-template.liquid file.
{% for variant in product.variants %}
{% if variant.available %}
<!--  Available Variants  are here. -->
{% else %}
<!--  Render the Watchlist button / form  -->
{% include 'swym-product-view', product: product %}          <button     data-swaction="addToWatchlist" data-product-id="{{product.id | json}}"></button>
{% endif %}
{% endfor %}
Finally, contact support ( support@swymcorp.com) / or initiate a ticket via Swym Admin to disable the default app injected button.
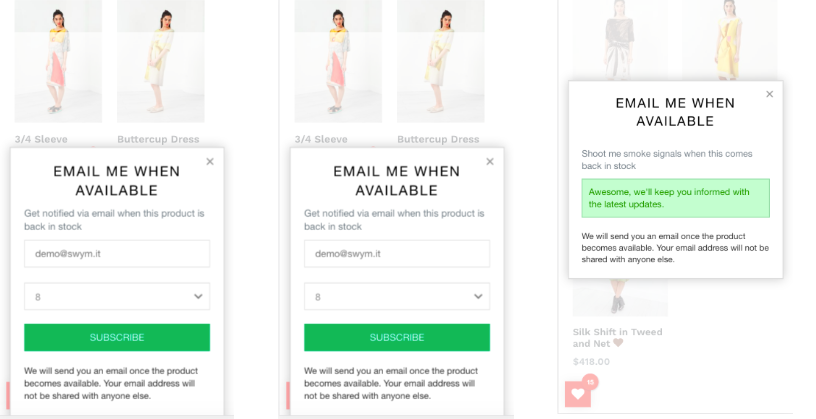
Once we take care of the default-injection setting via our backend system, you should see a button, which on click triggers the form.
Still not working?
Go ahead and create a support ticket via the dashboard with any helpful info and we’ll follow up with you to get you setup.