")
How to set up Swym back in stock subscription confirmation emails
Back in stock subscription confirmation emails are a great way to let your customers know that their request for back in stock alerts have been registered, and use this as a cross-sell opportunity.
To set up your back in stock subscription confirmation emails with alternative product recommendations simply follow the steps below
Note: This feature is currently available only for select merchants. If you’d like to enable this feature on your Swym Back in Stock alerts app, reach out to us on support@swymcorp.com.
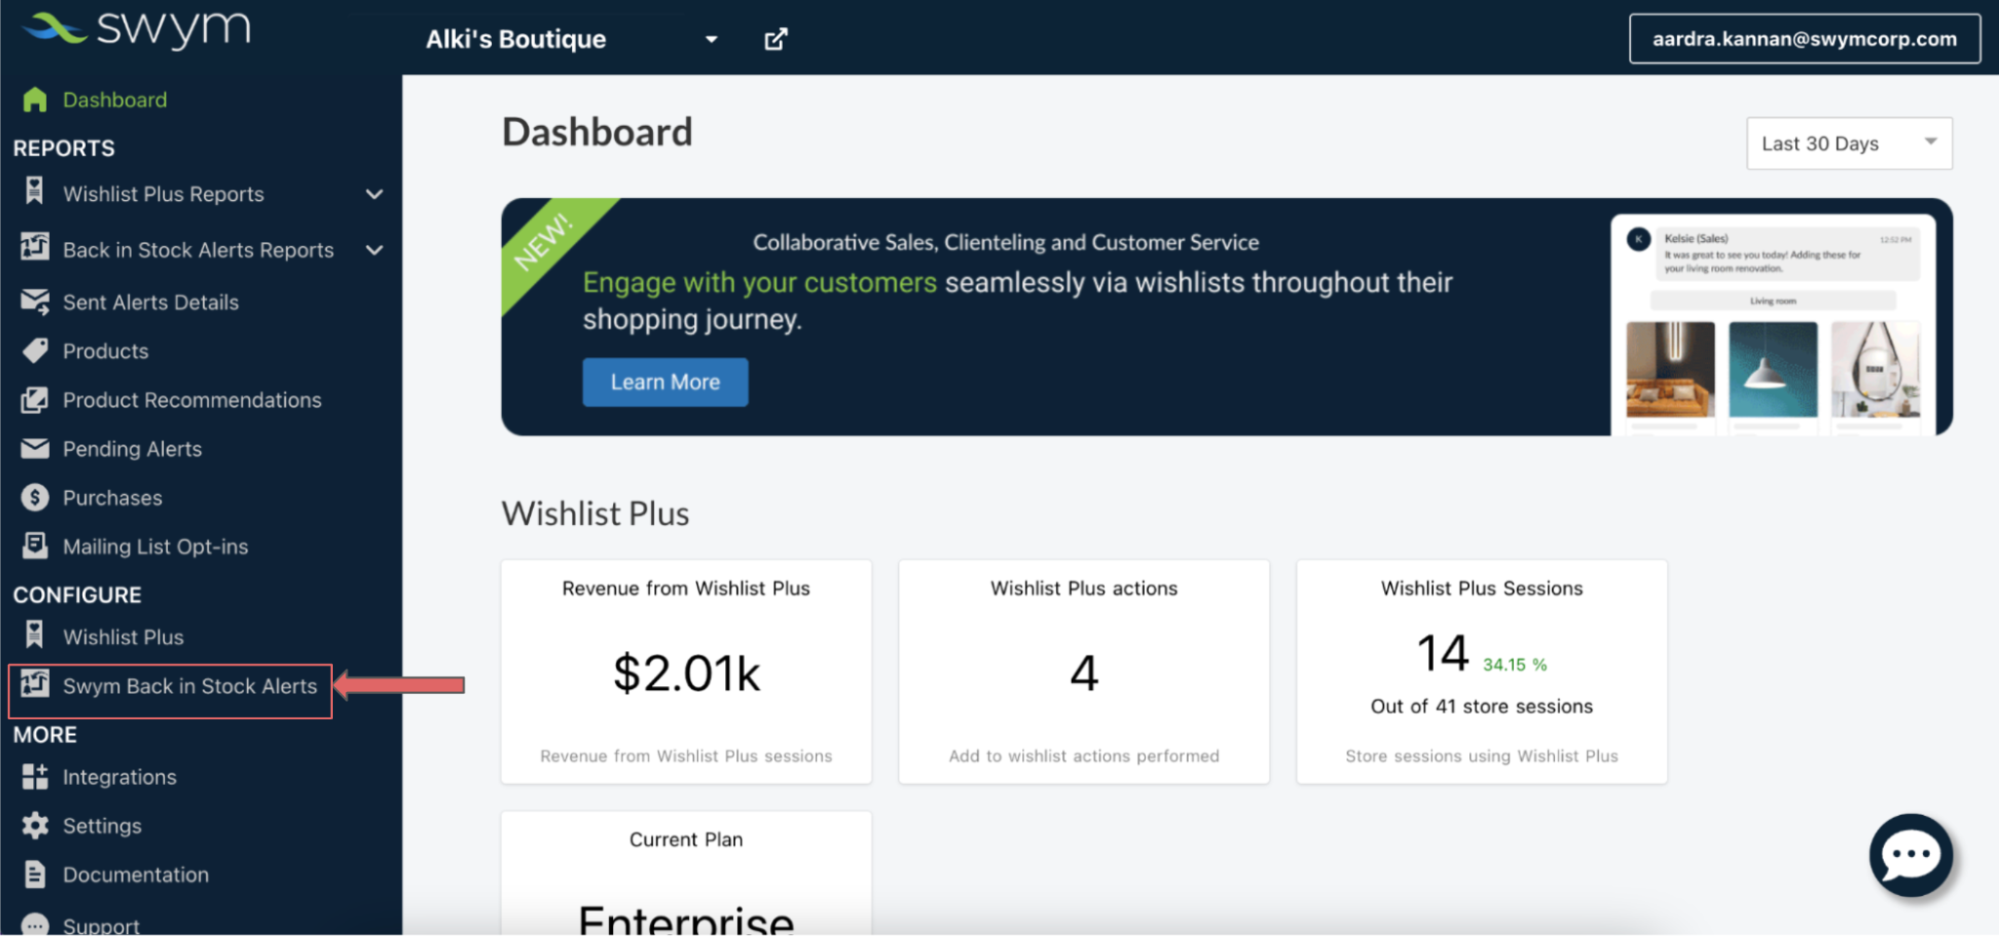
Step 1: Open up the right settings
Open up Swym Admin and click on Swym Back in Stock Alerts under the CONFIGURE section on the left navigation menu.
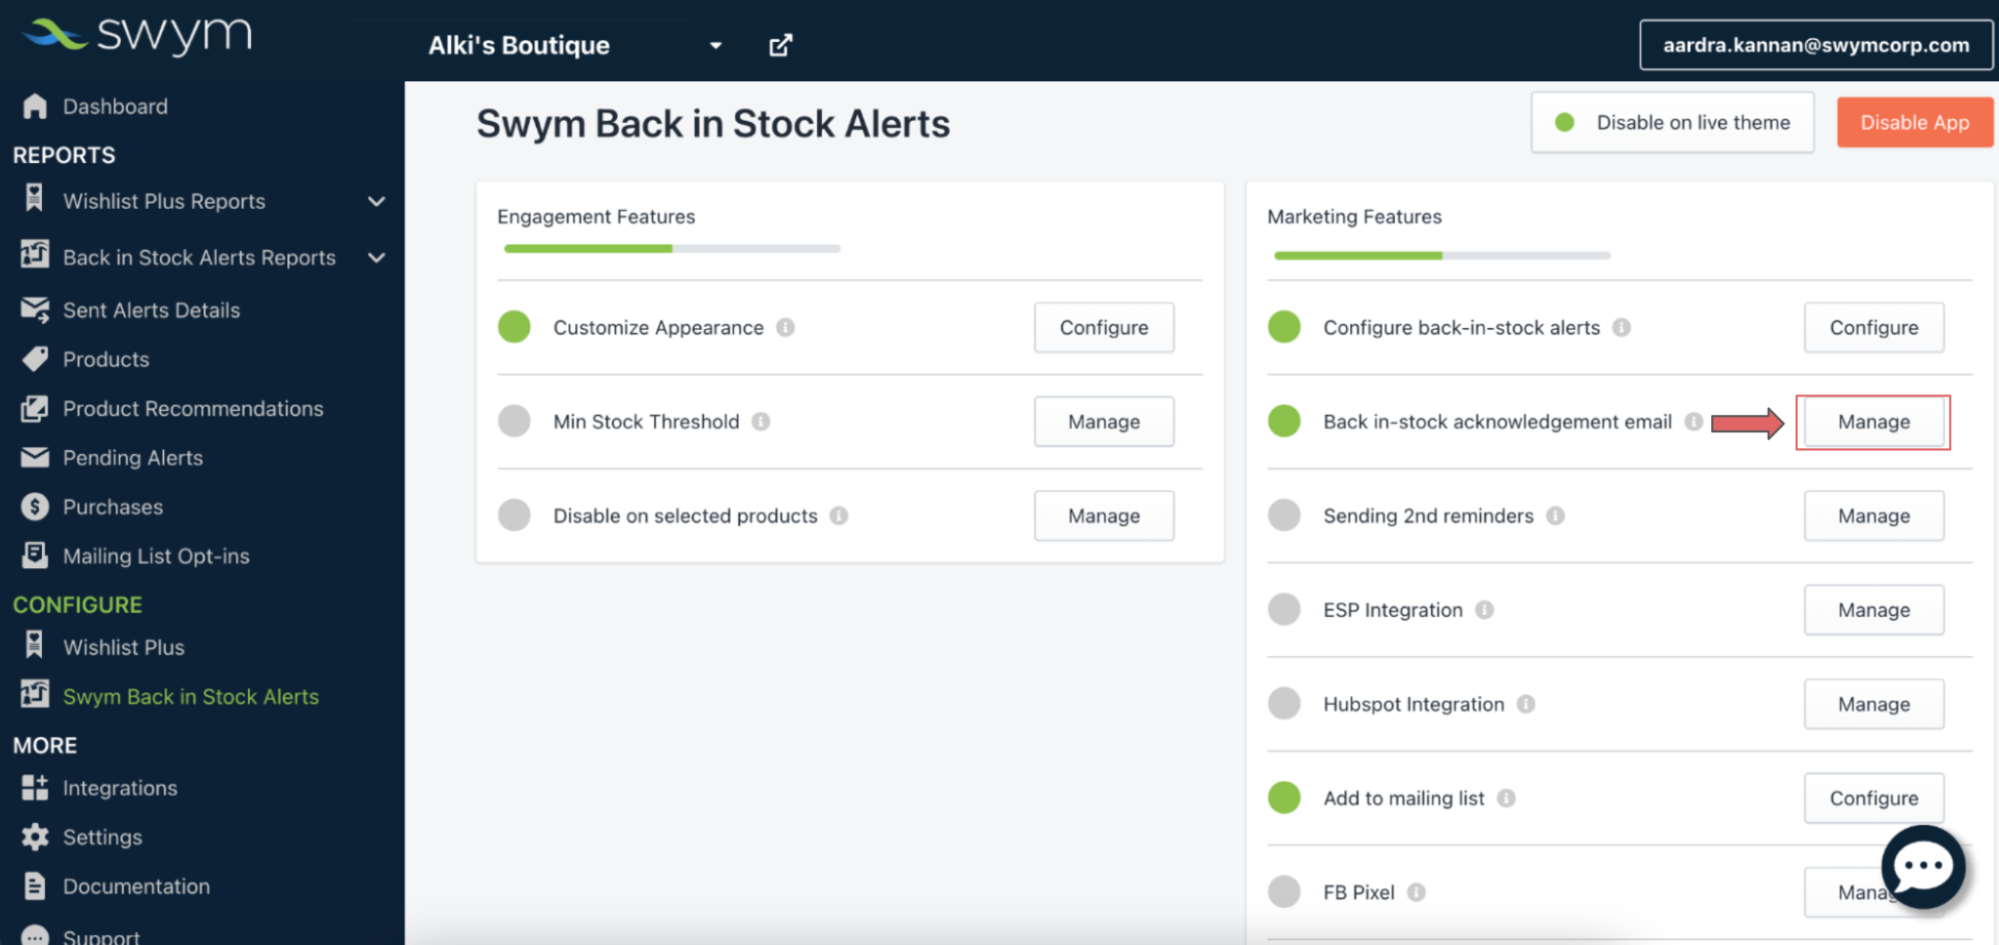
Click on “Manage” in the “Back in-stock acknowledgement email” section under Marketing Features
Step 2: Customize your email
This will open up the no code email editor and preview screen. This editor will allow you to easily customize the look and feel of your subscription confirmation email alerts.
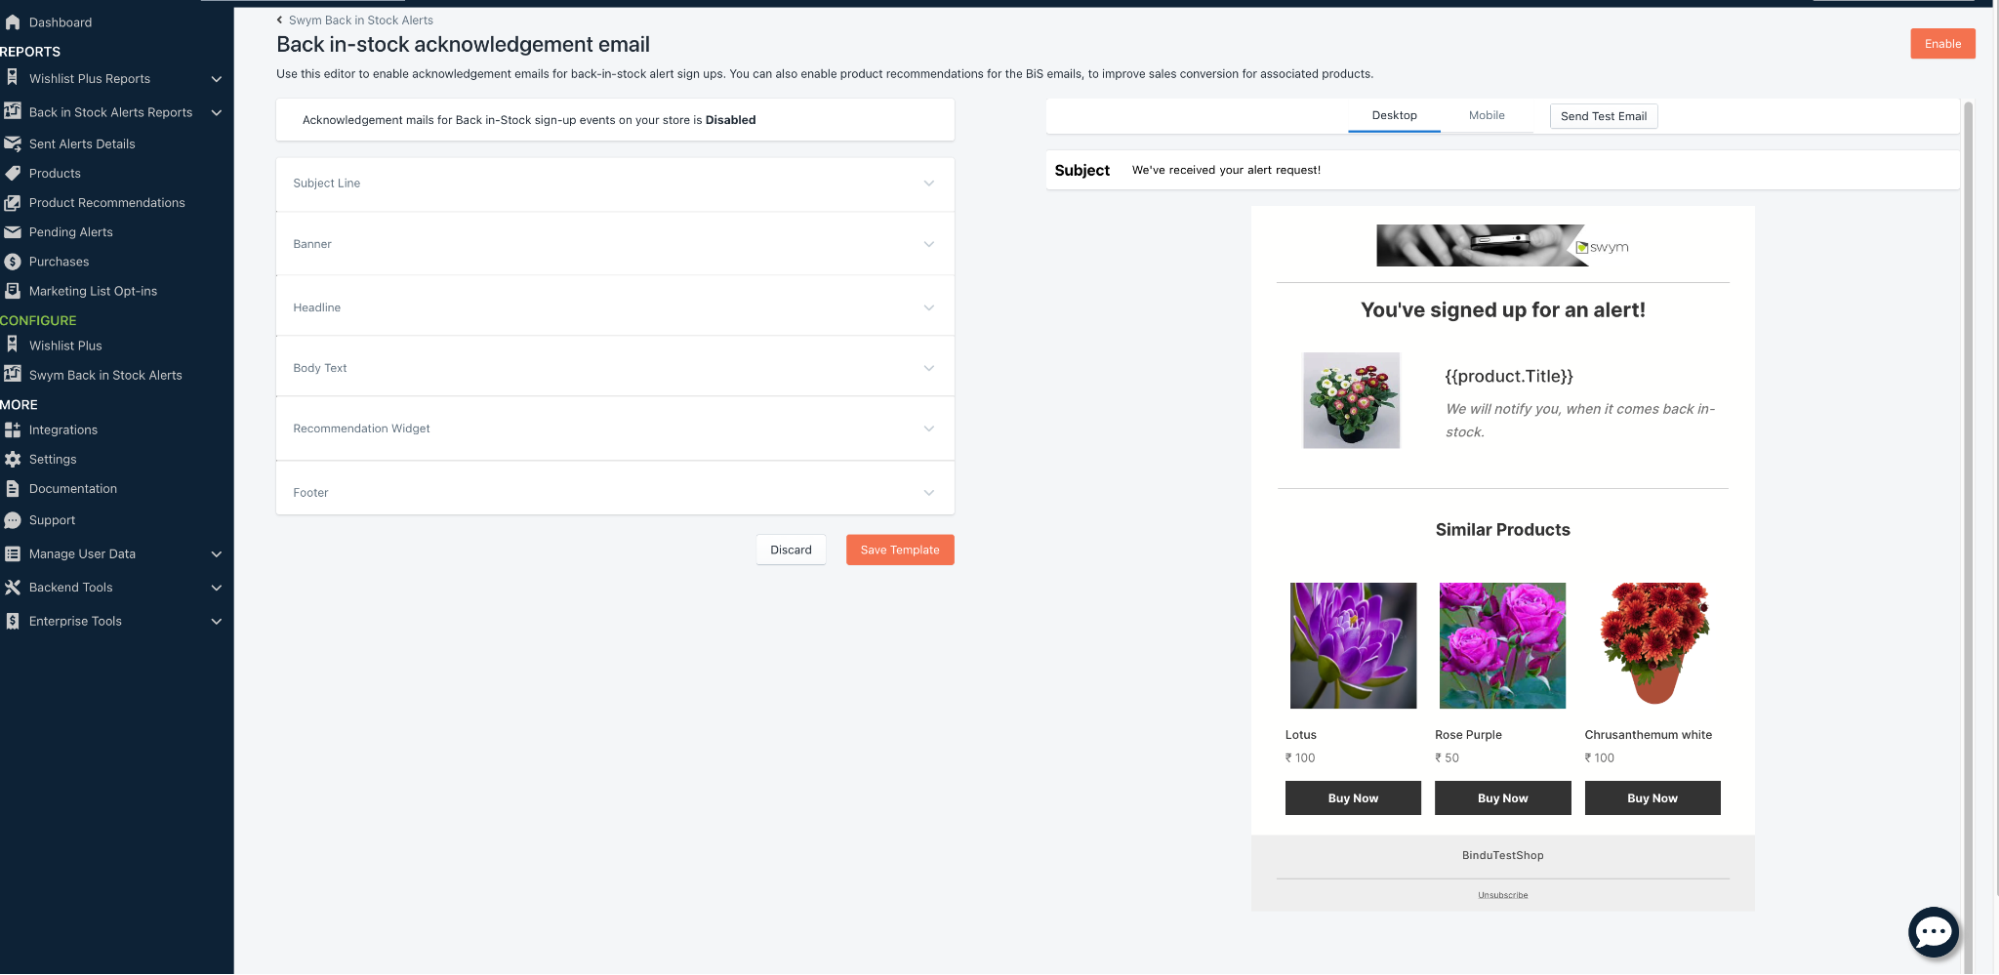
Here’s a quick look at the various sections available for you to edit:
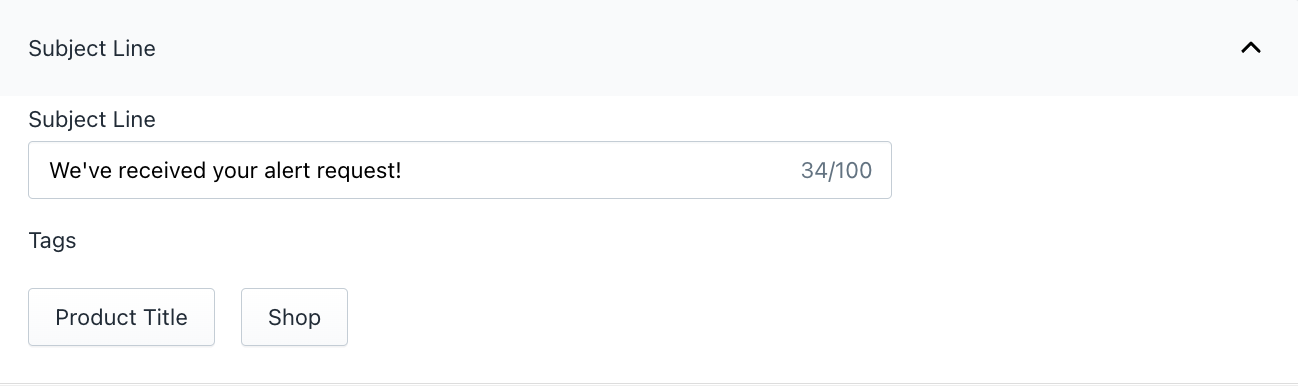
Subject Line:
This section allows you to edit the email subject line and has a character limit of 100 (including punctuation). You can use the “Product Title” button to automatically pull in the product name that the customer registered for.
Pro tip: When you’re writing a subject line and have included the product title tag, ensure that your subject line has enough characters to accommodate even your longest product name
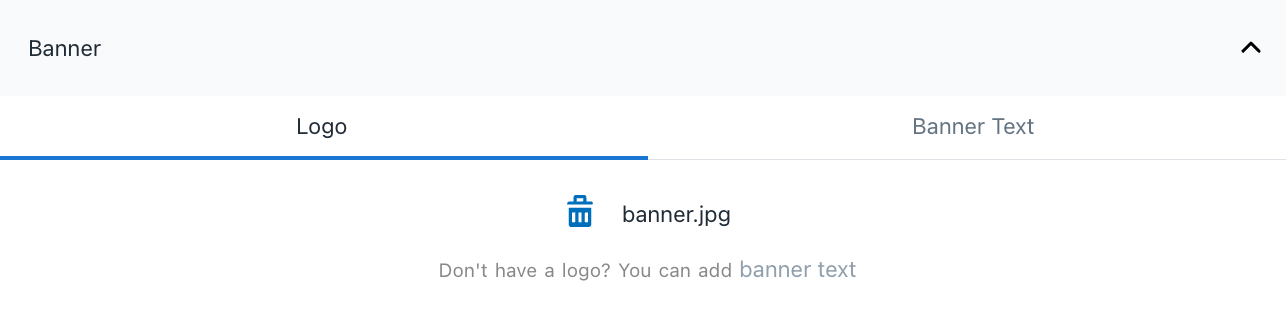
Banner:
This section allows you to edit the banner of your email. You can either upload an image or choose to go with plain text. If you’re using an image, make sure that image dimensions are 1200px x 200px and the filesize is under 200KB.
Headline:
This section allows you to change the headline of the email. The headline usually is the most eye-catching part of an email, and should communicate the CTA or crux of the message you’re trying to send. The limit for this section is 150 characters.

Body Text:
This section allows you to change the text in the email body to represent your brand voice and tone. You have 500 characters for this section. Use the Product Title or Page Link tags to personalize the content. Check the “Include product image in body” checkbox to add the product image to your email body.

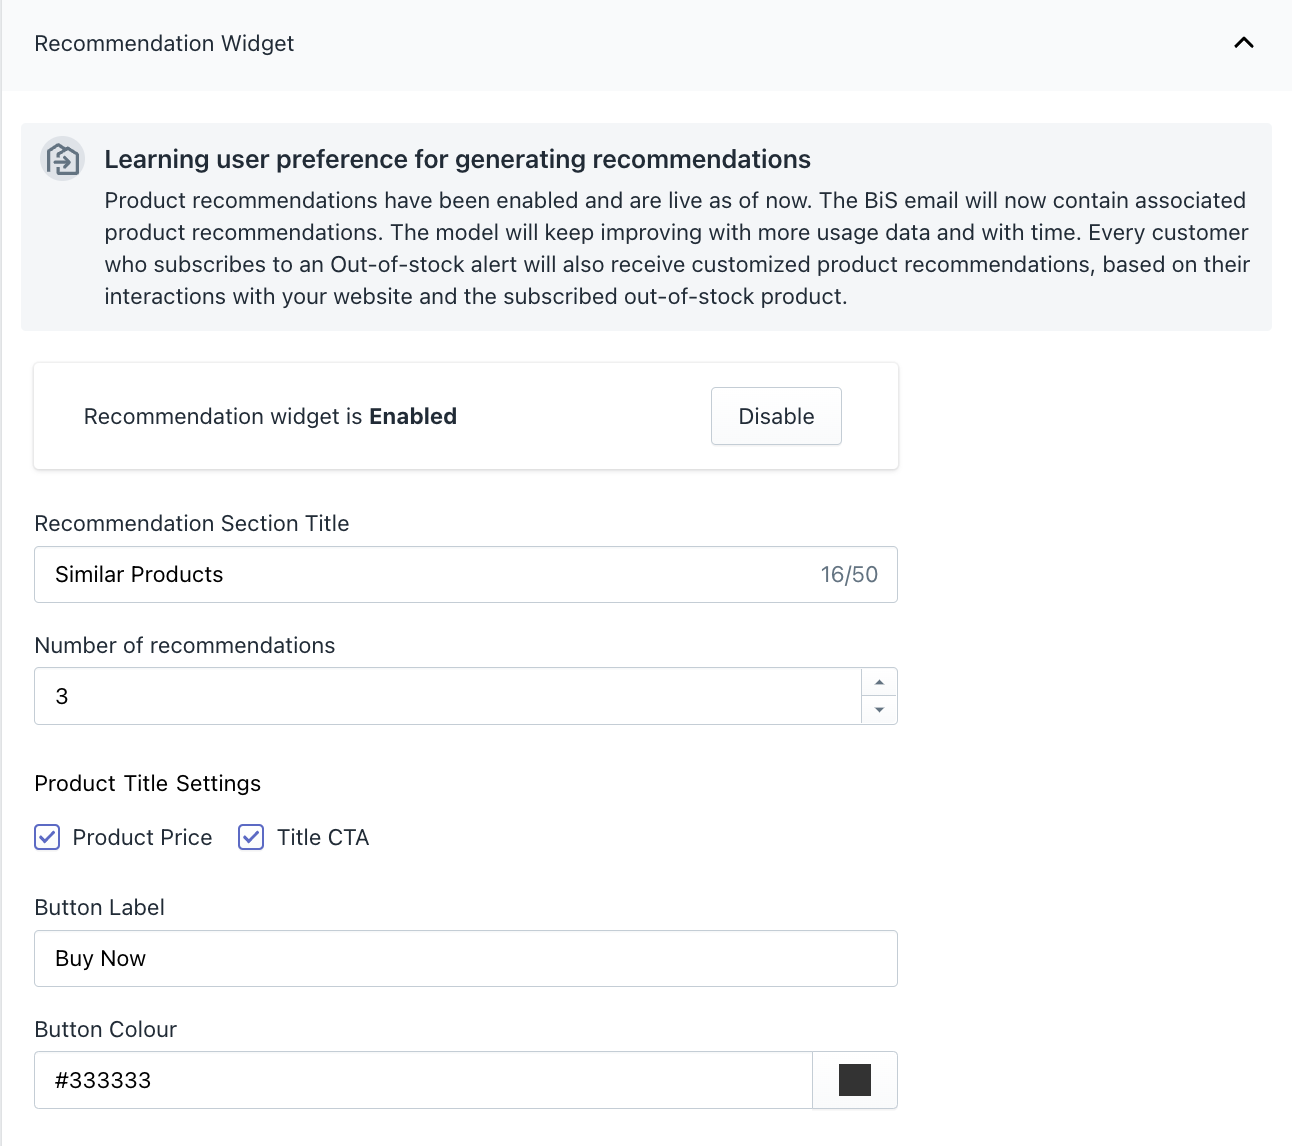
Recommendation widget:
Next in line is the recommendation widget. By enabling this section, you can include product recommendations based on the customer’s history and the product they’ve chosen to be alerted about.
While the recommendations will be automatically generated by Swym’s machine learning algorithms, you can choose to edit the section title and number of recommendations to be shown.
You can also choose to display the price of the product recommendations and add a CTA button by selecting the checkboxes under Product Title settings. If you’ve checked the Title CTA, you can also customize the text and the color of the button.
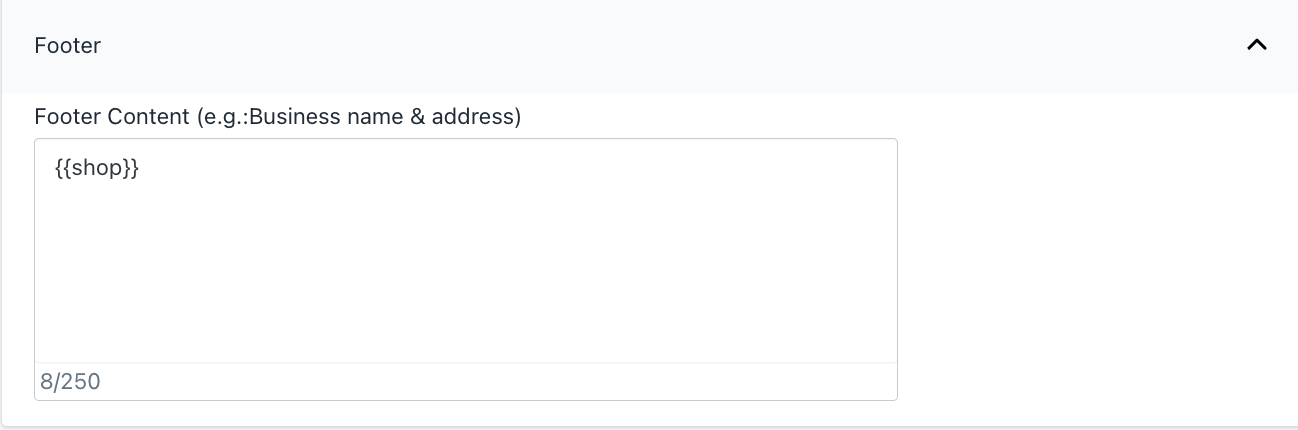
Footer:
The last section of the email is the Footer. This will appear just above the Unsubscribe section (which is configured by default), and can be used to add any other information to the email, such as your company address. The limit for this section is 250 characters, and we’ve already configured it to pull your company name by default.
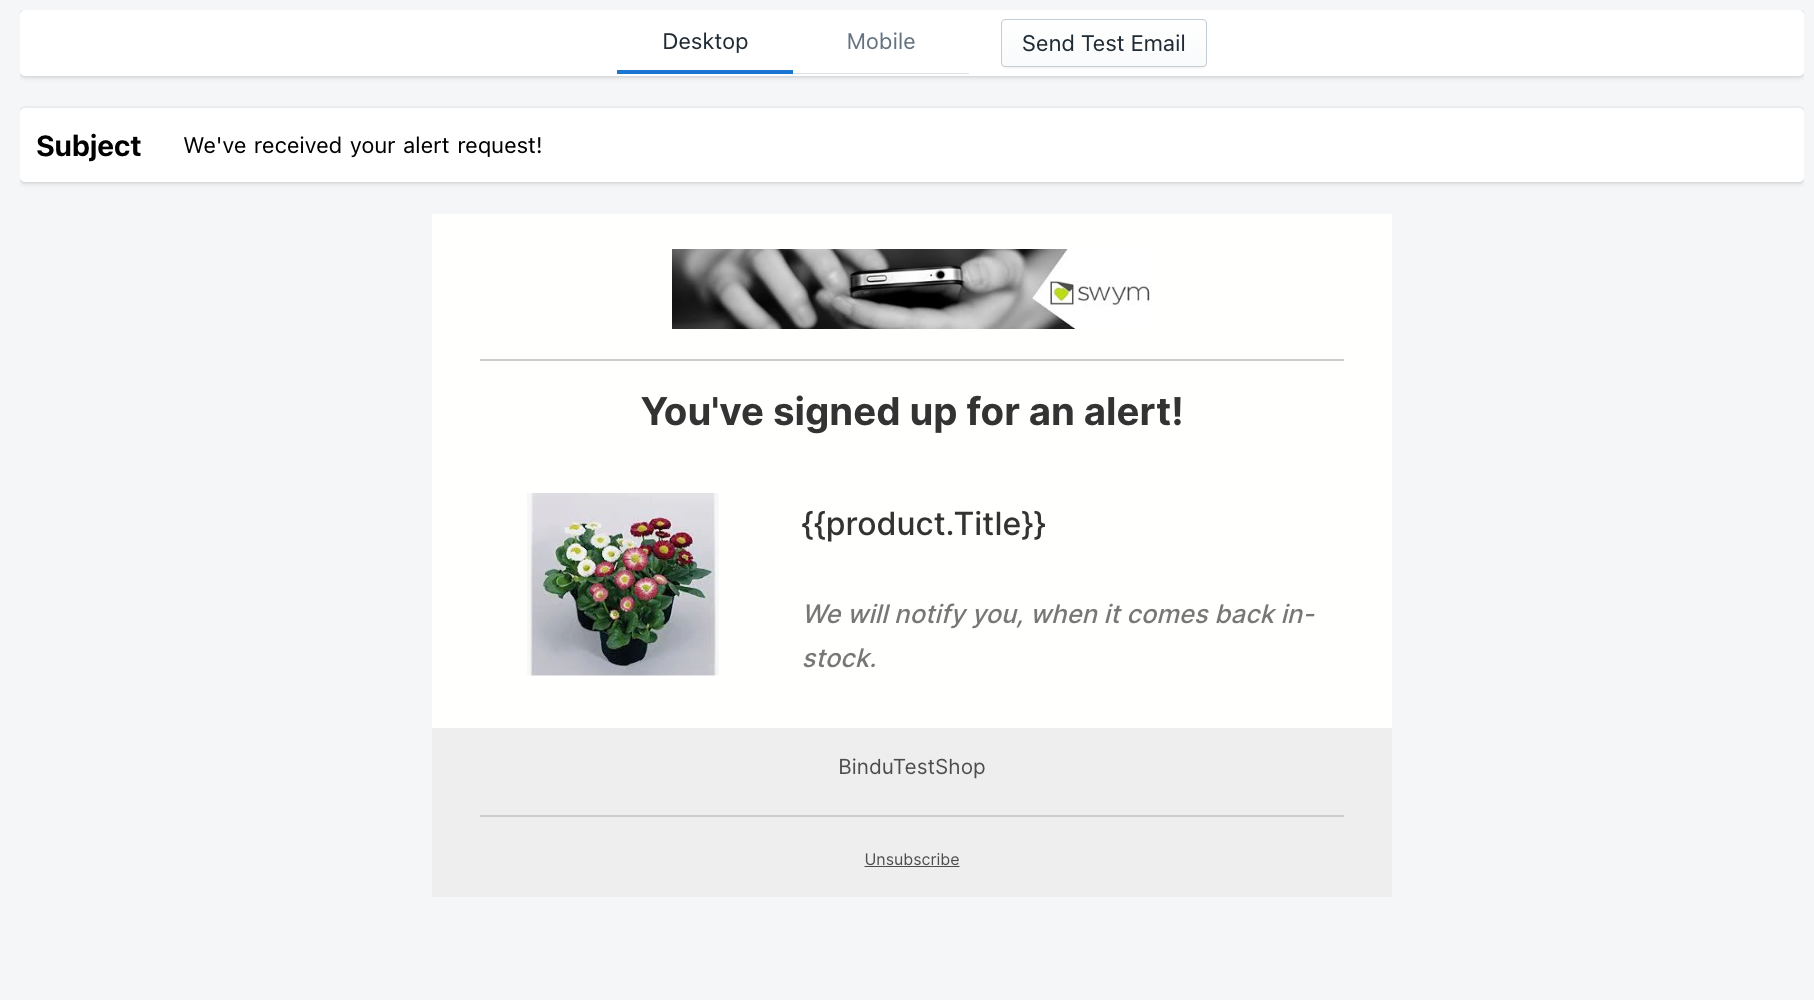
Step 3: Preview & test your email
Once you’re done editing the sections above, you can easily preview how the email will look on the right side of the configuration page. Switch between desktop and mobile previews by clicking on the tab on top to ensure that your email looks good on both device types.
Step 4: Save & enable the feature
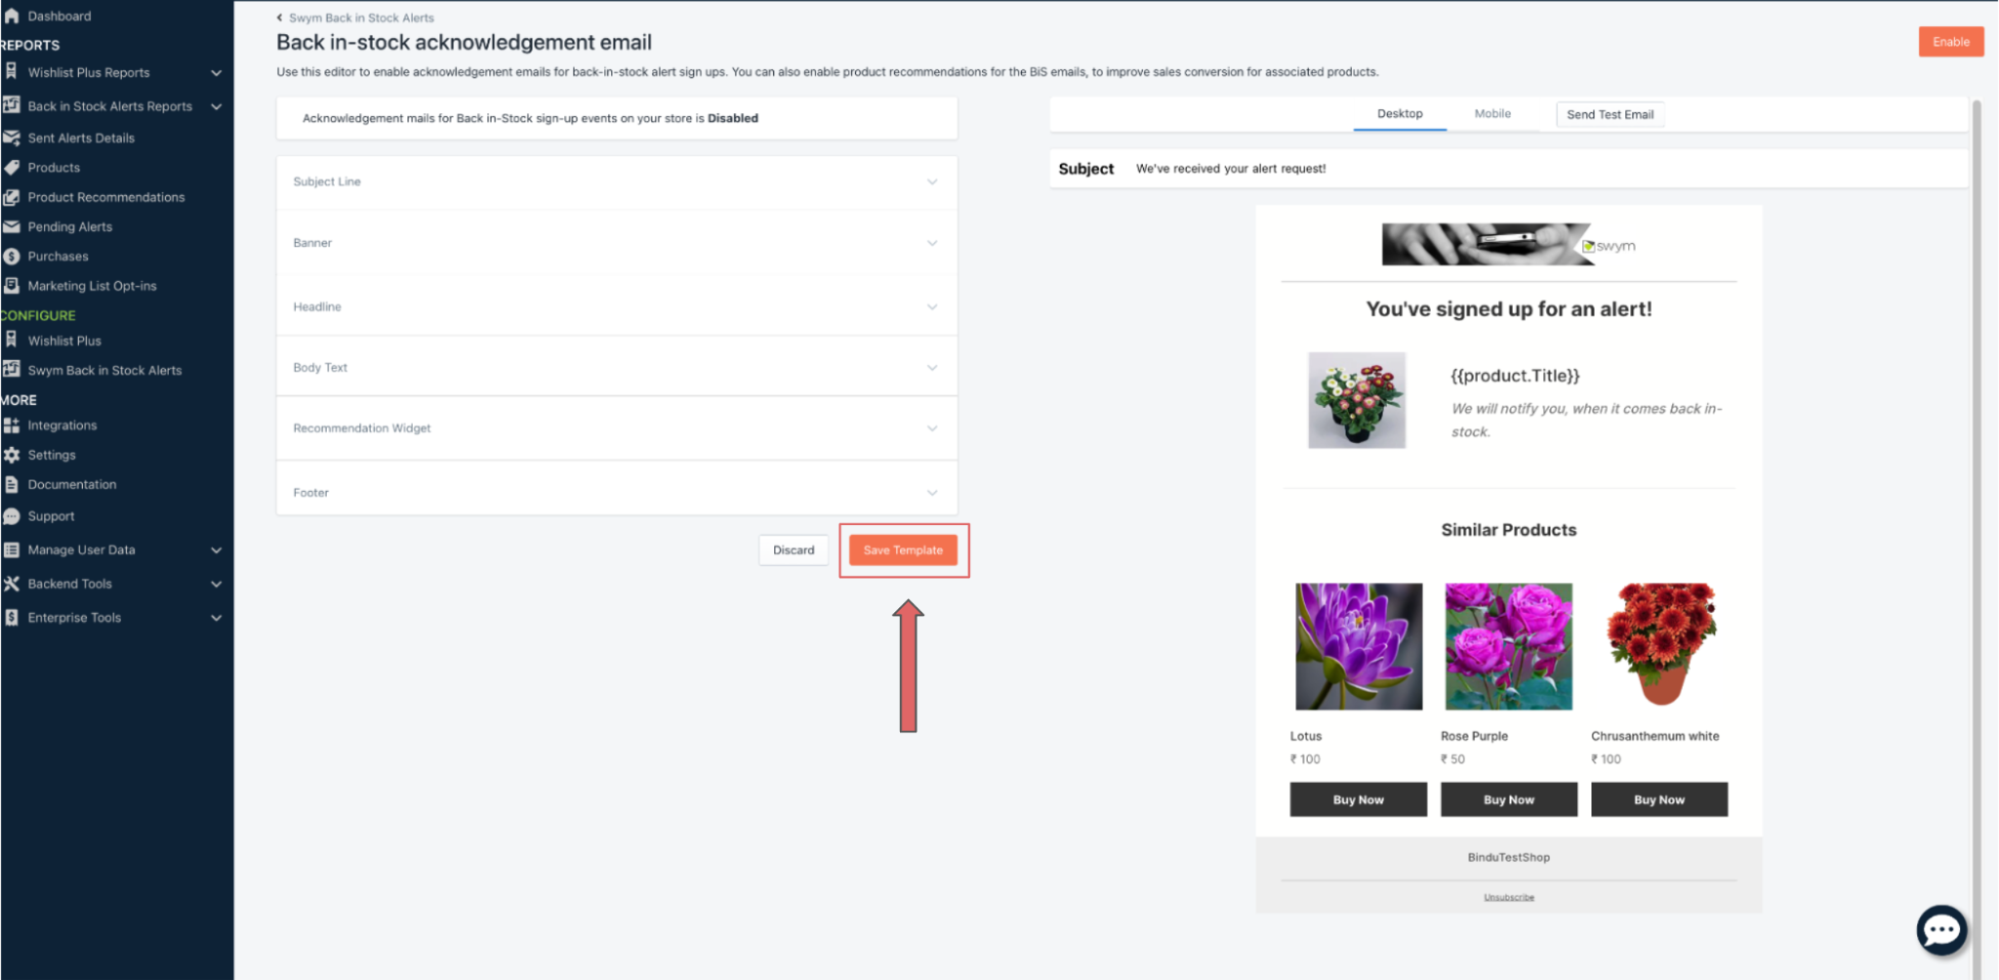
Once you’re happy with the way the email looks, click on “Save Template” at the bottom of the screen.
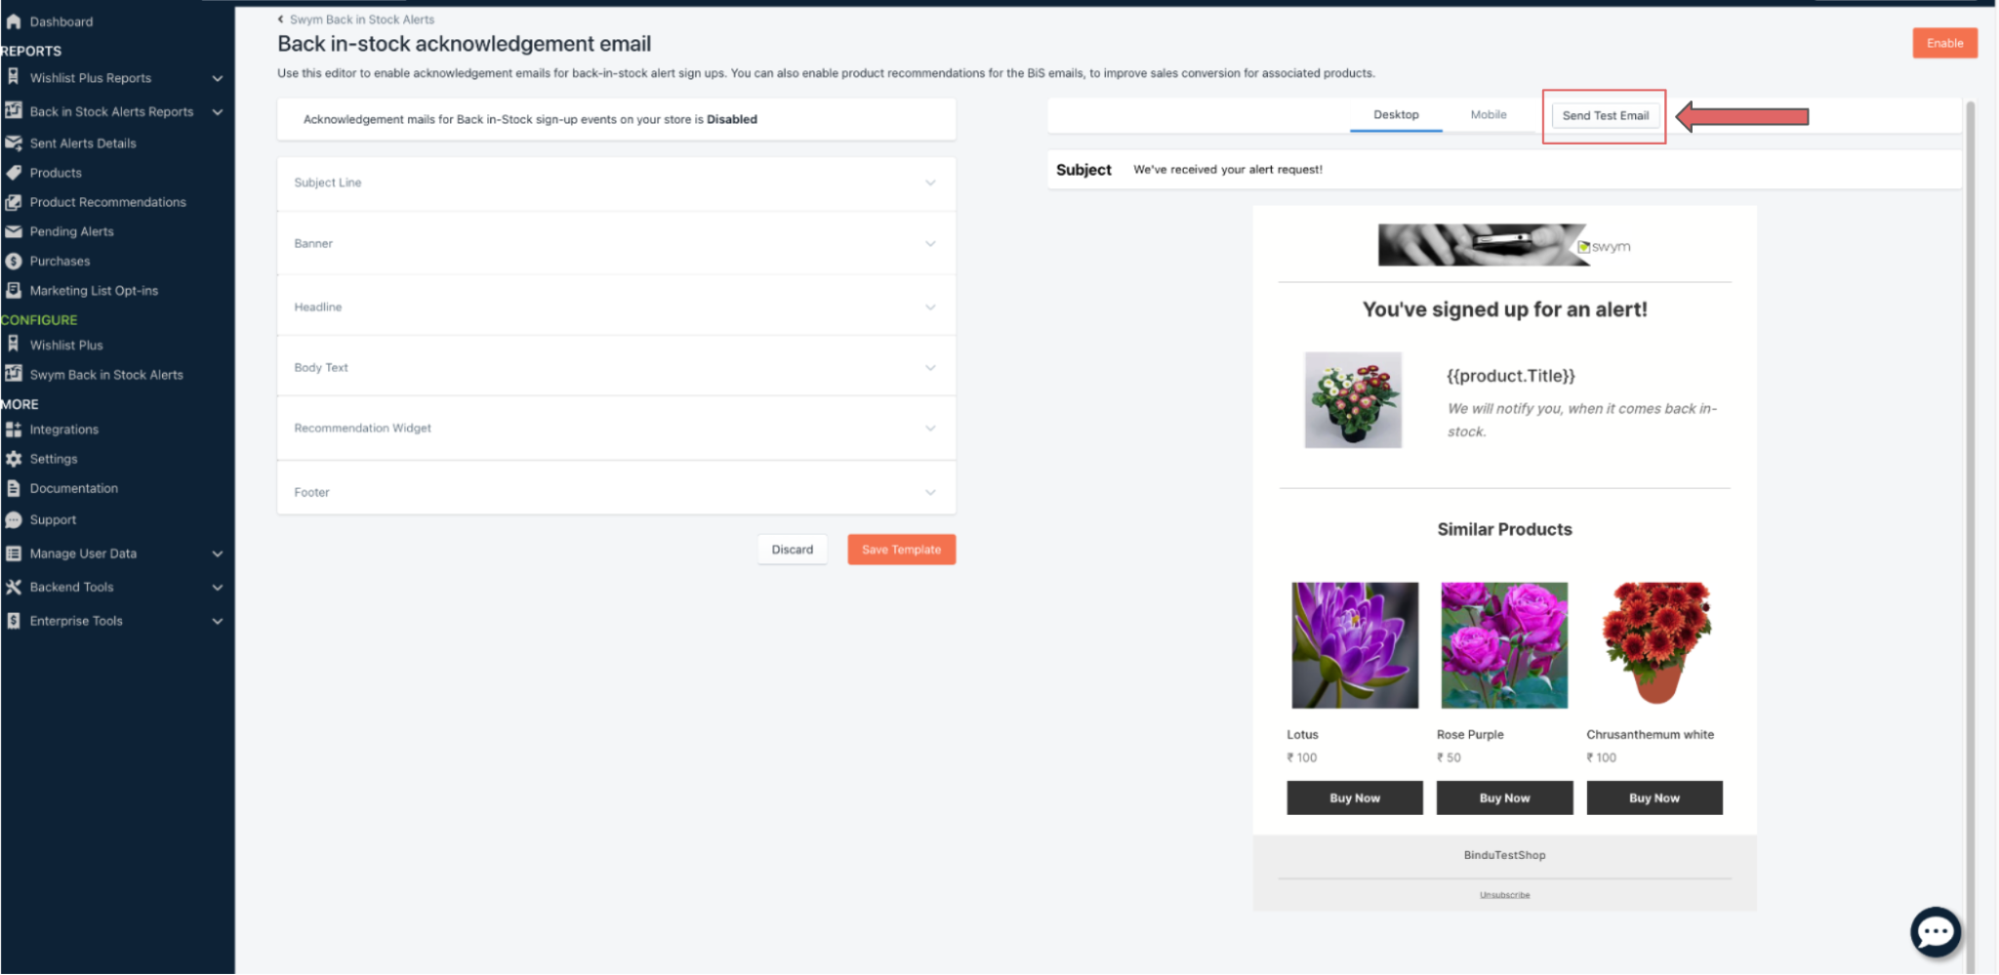
With your email now configured, send a test email to check whether everything looks good in your inbox. To do this, click on the “Send Test Email” button on top of the preview section, enter the email you want to send the test email to and click on the Send button. Make sure to click on the checkbox to include product recommendations.
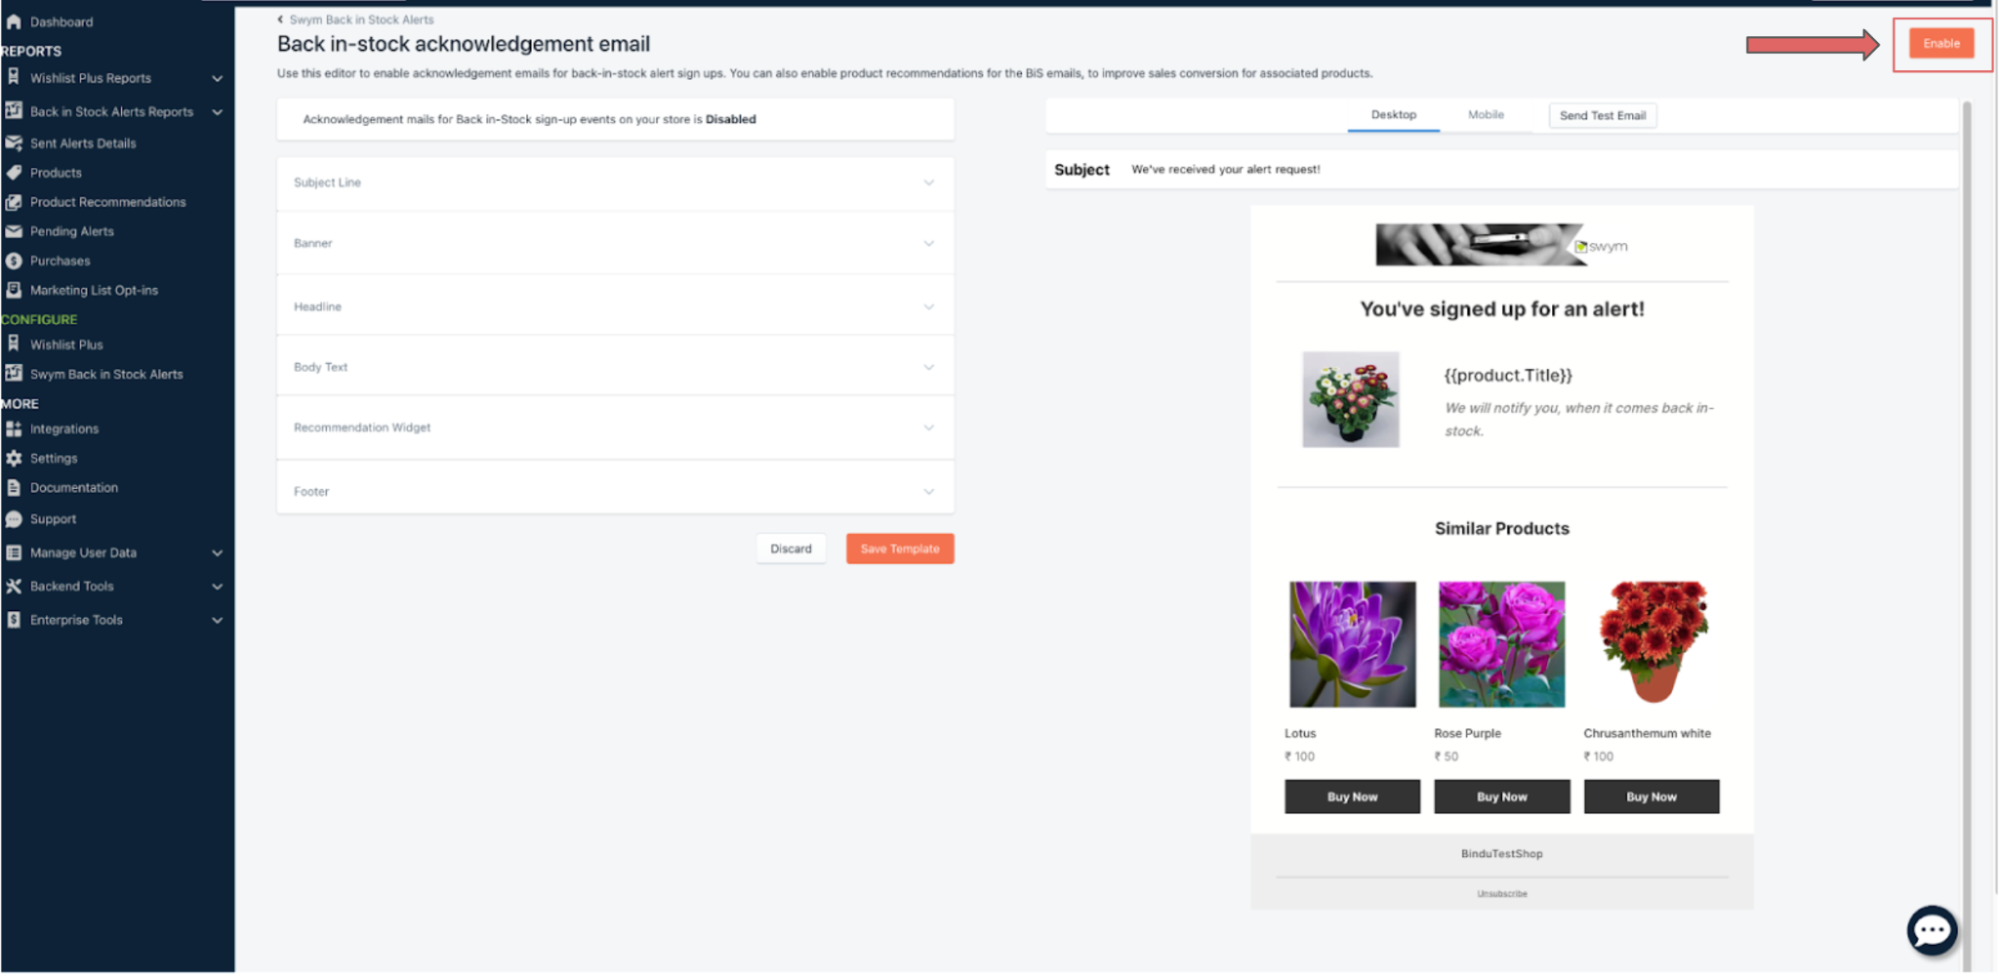
If everything looks good in your inbox, click on the “enable” button to the top right of your screen. Your back in stock subscription emails are configured and will be sent out automatically!
If you want to make more changes, you can come back to the editor and edit all or individual sections of the email. Remember to click on the “Save Template” button as highlighted in Step 4 to ensure that the changes are reflected.
FAQs
At the moment, you cannot configure the exact products that will be shown in the recommendations section as this will be auto-populated using Swym’s machine learning algorithms based on user behavior and other historical data.