")
How to integrate your Shopify store with Facebook Pixel?
Facebook and Instagram ads while very popular, can be a little daunting to set up. Facebook Pixel provides you with a number of features, which also unfortunately makes it very complex.
This help article, outlines the very basics of setting up your Facebook Pixel account and connecting it to your Shopify store. To do this, you will first need to have a personal Facebook account through which you will create a page for your store. Then follow these steps to complete your set up.
- Create a Facebook Pixel
- Add Facebook Pixel to your website
- Create a Business Manager account
- Add an Ad account in Business Manager
- Setup the Facebook channel on Shopify
Create Facebook Pixel
Go to Events Manager from your Facebook Account.
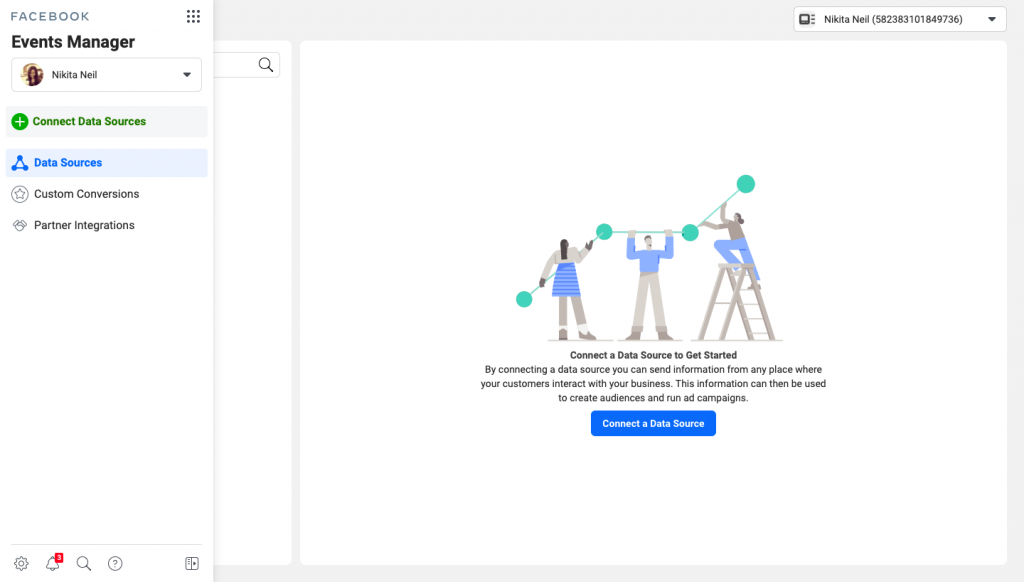
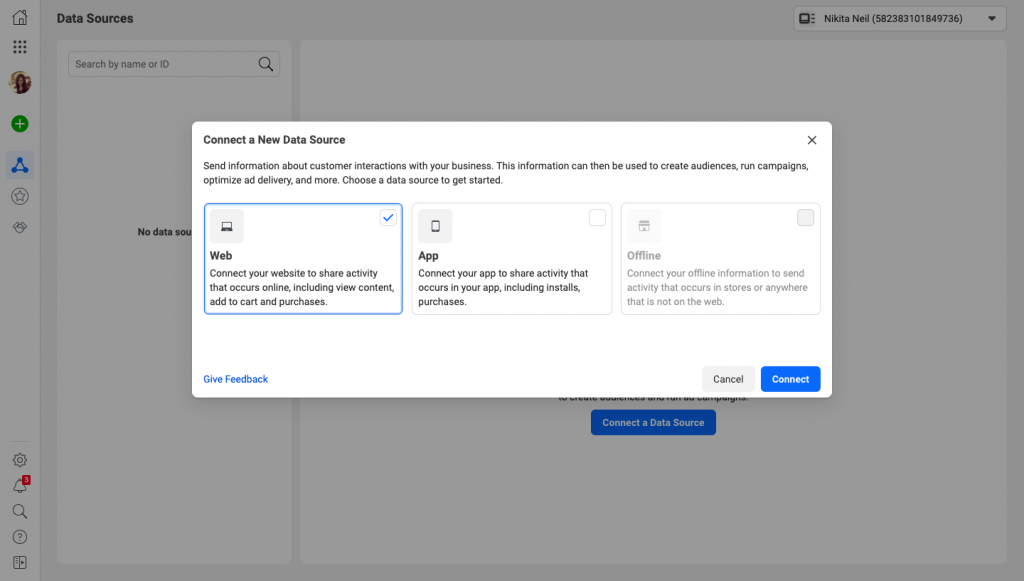
Click + Connect Data Sources and select Web.
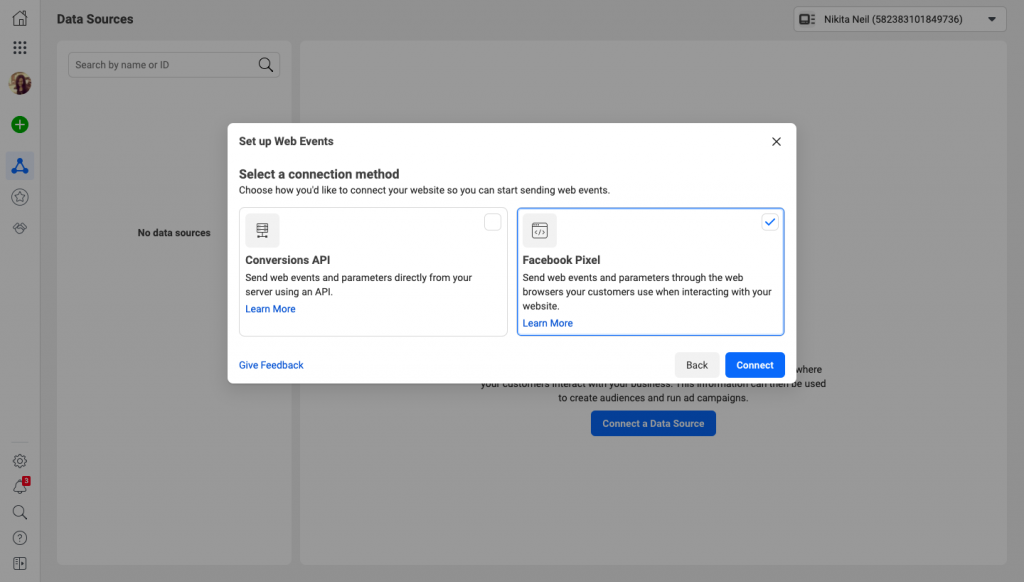
Select Facebook Pixel and click Connect.
Add your Pixel Name and enter your website URL to check for easy set up options.
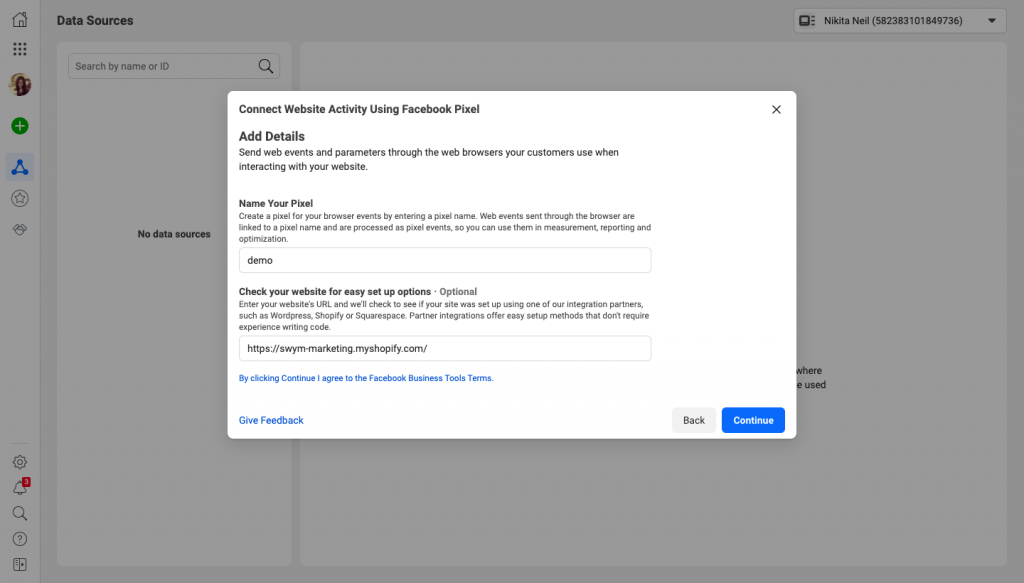
Click Continue to create your Pixel.
Add Facebook Pixel to your website
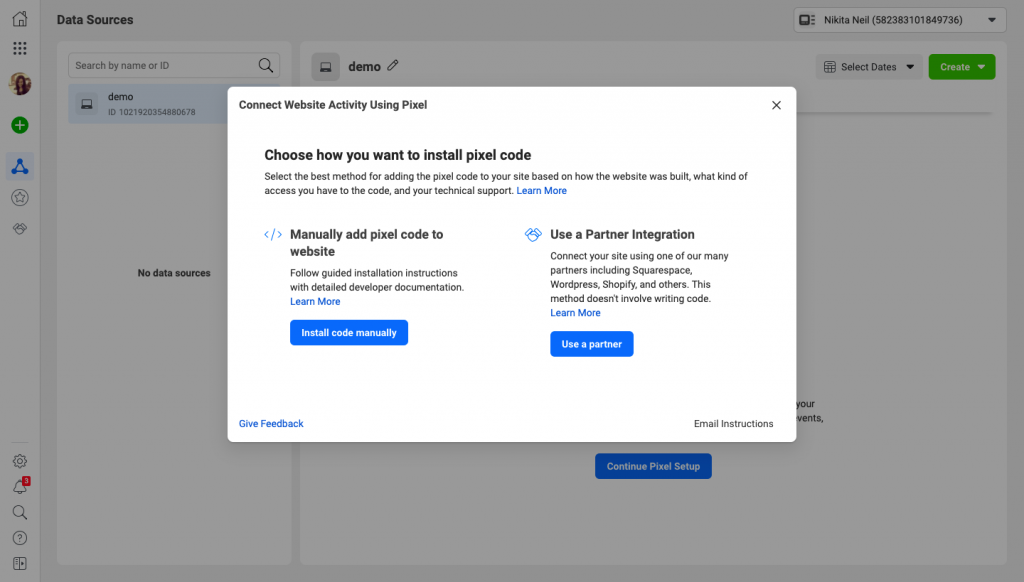
Select the Pixel you want to set up. Click Continue Pixel setup. Click on Use a partner.
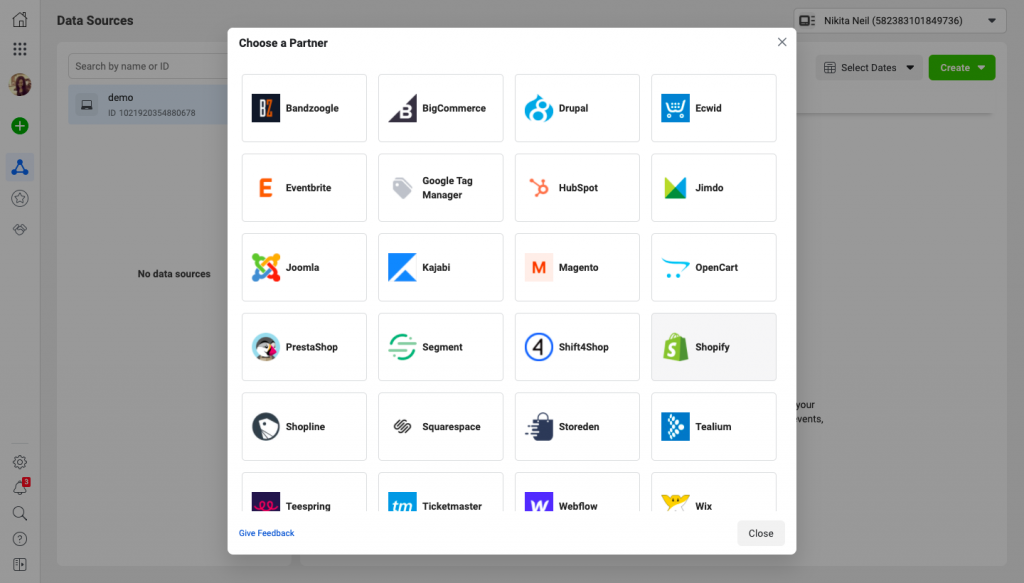
Select a partner from the list.
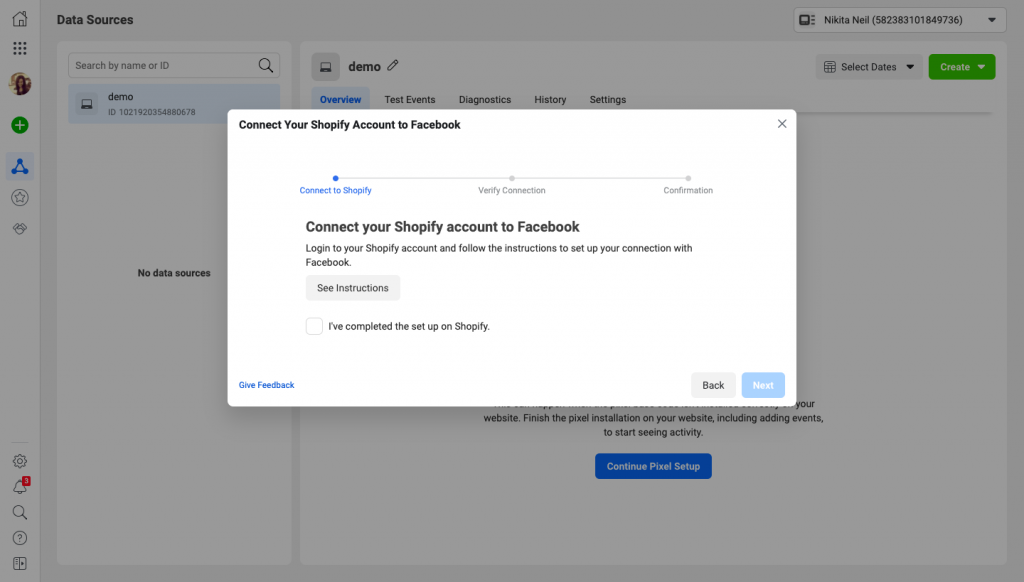
Complete the set up on Shopify before coming back here.
Creating a new Business Manager account on Facebook
Click on Create Account.
Add your Business Name and Email ID.
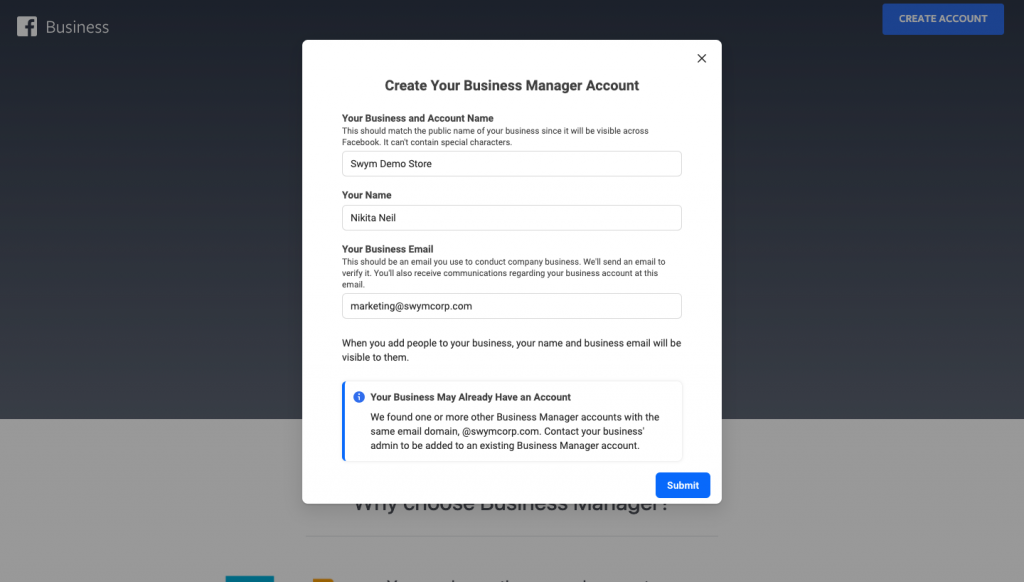
Confirm your email address.

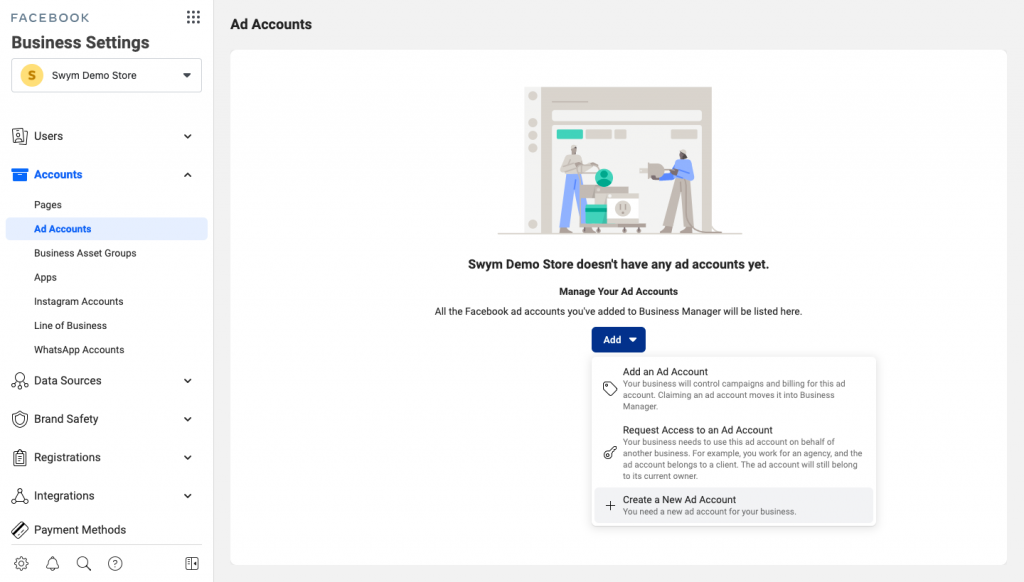
Add an Ad Account in Business Manager
Go to Business Settings. Click Accounts on the left side menu and click on Ad Accounts.

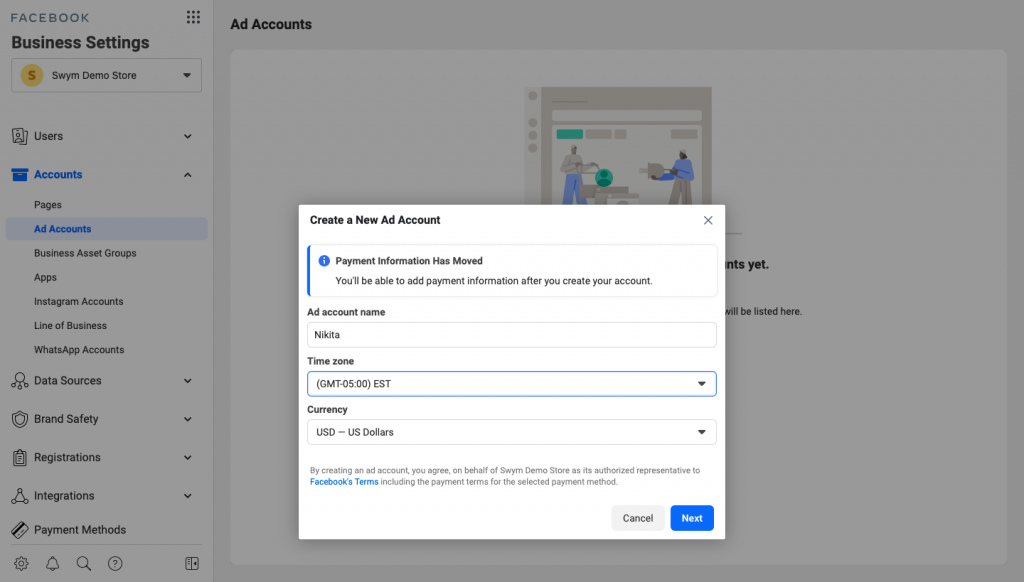
Click the blue Add dropdown menu and choose Create a new ad account.
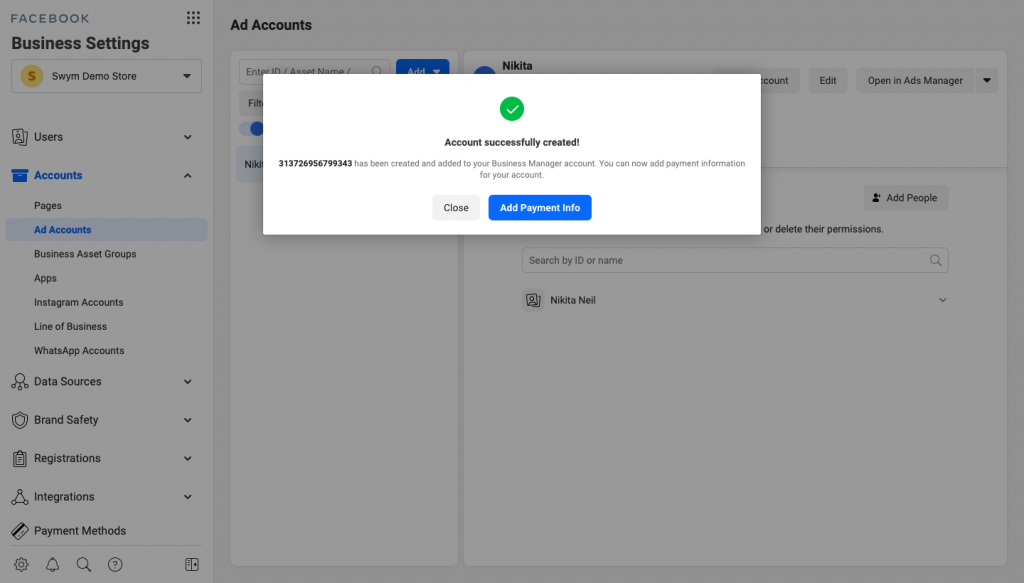
Fill in the required details.
Choose ‘My Business’ in the next step.

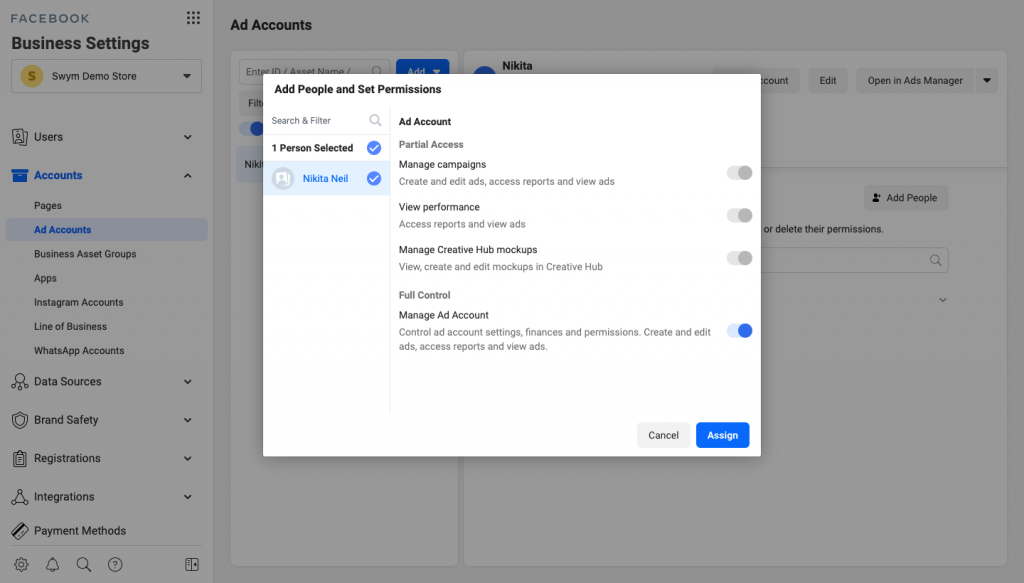
Add People and Set Permissions.
Set up your Payment Information.
Setup the Facebook channel on Shopify
From your Shopify Admin, click + next to Sales Channels.

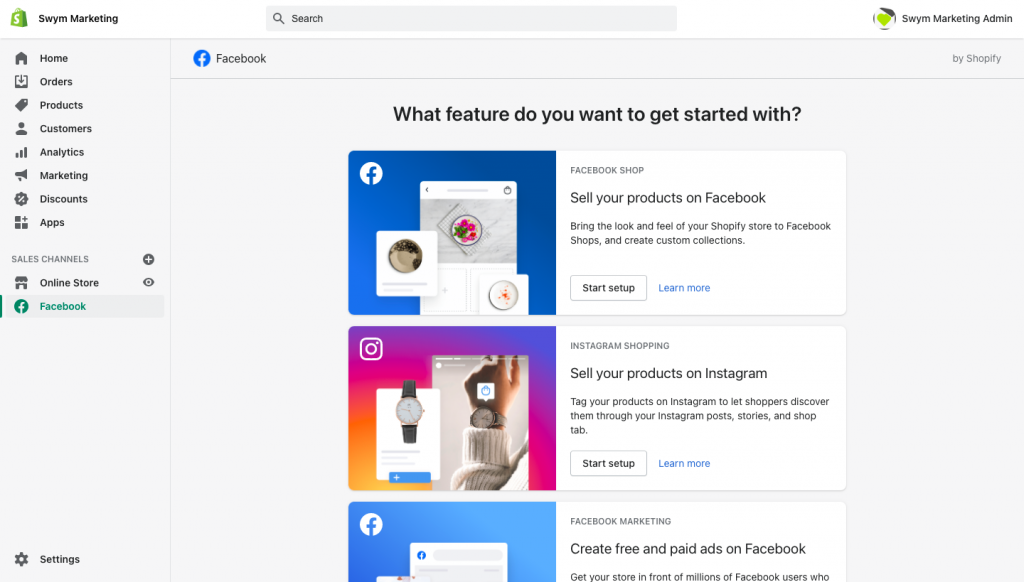
Click + next to Facebook and click on Update Sales Channel to install.
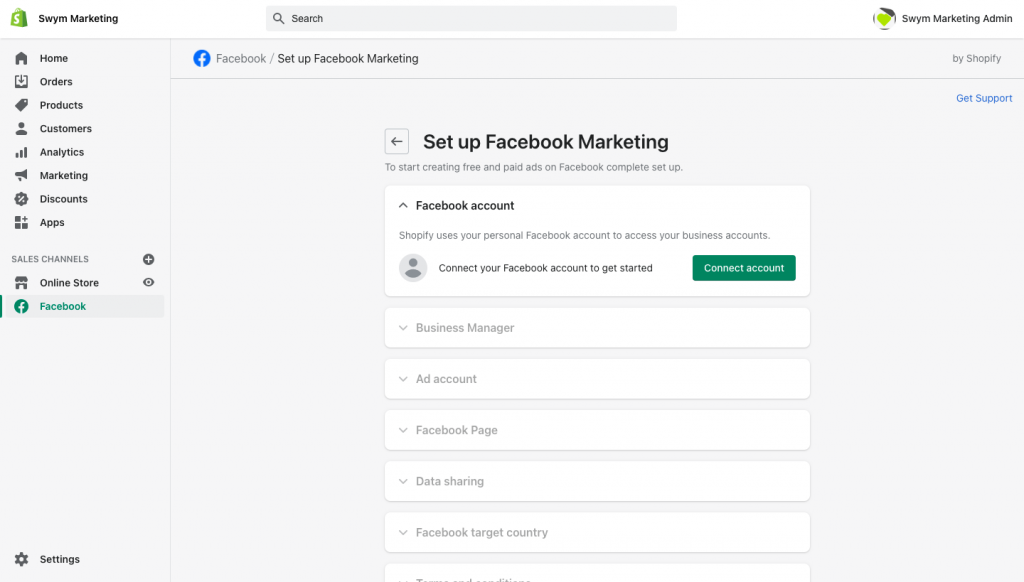
Click Start setup on the feature you wish to install first.
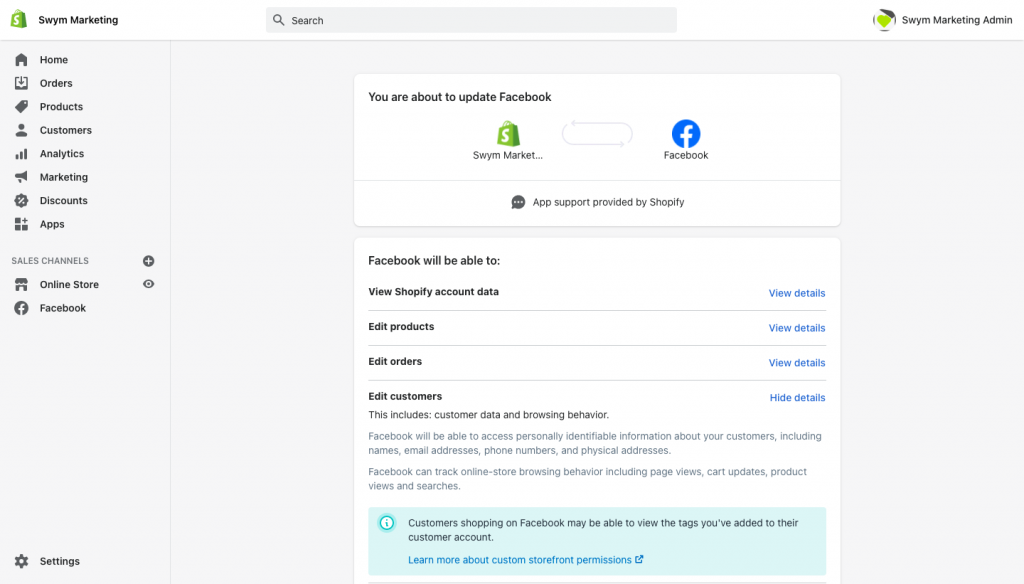
Click Connect Account.
Sign in to your Facebook account.
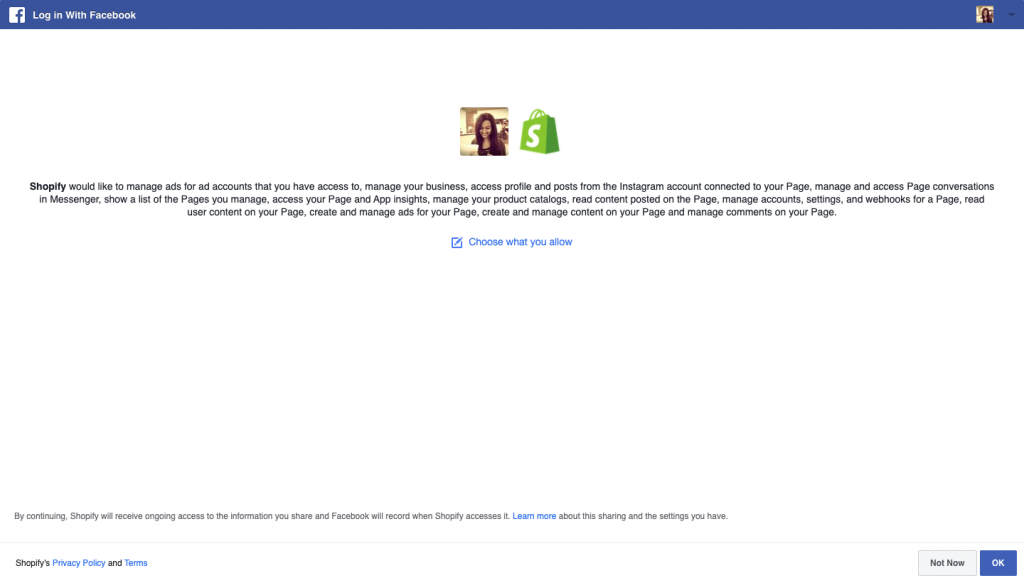
Connect the Facebook assets that are required and accept the terms and conditions. Most of this should auto-populate if you’ve followed all the previous steps.
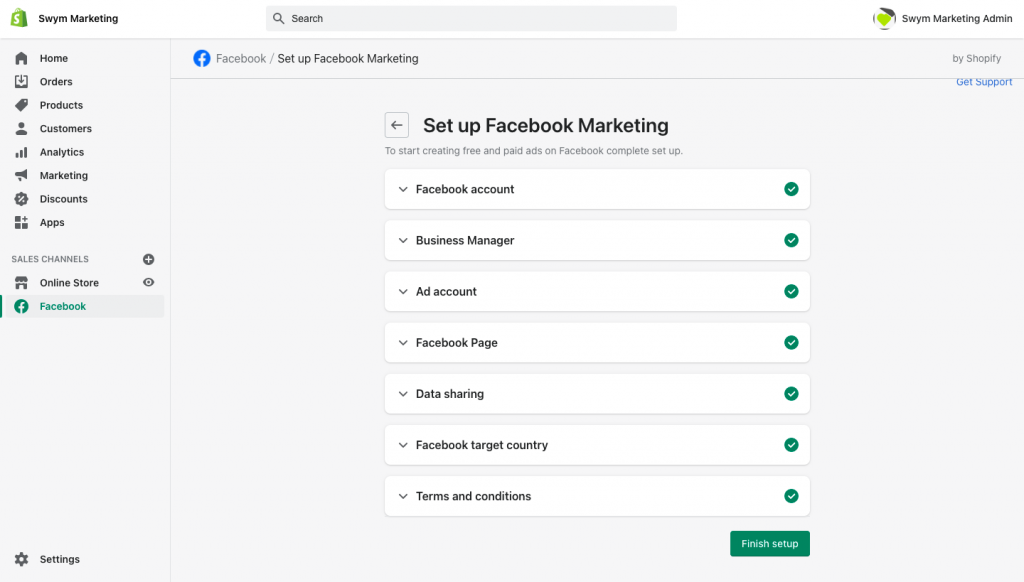
Click Finish Setup and your Facebook marketing will be active.
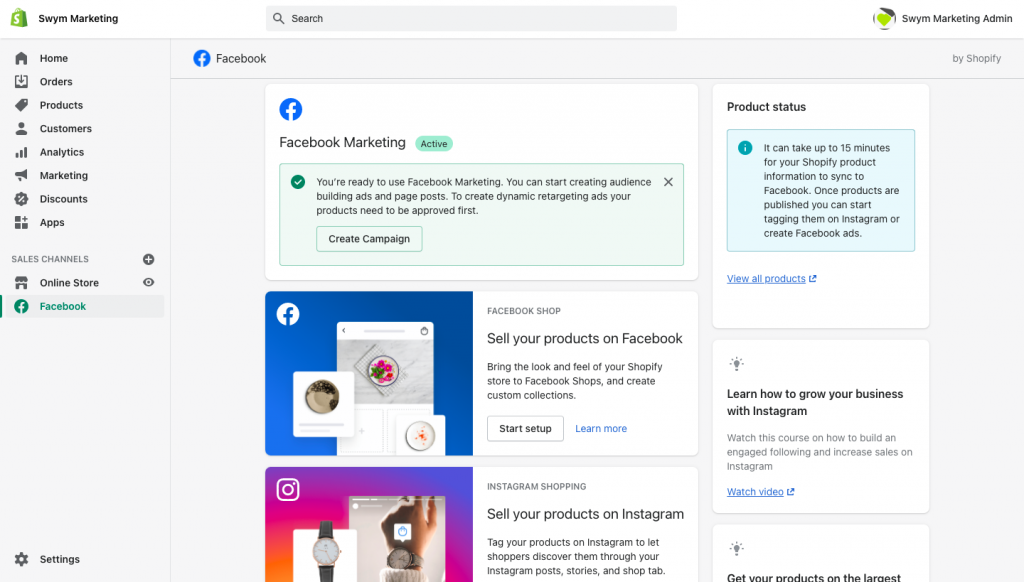
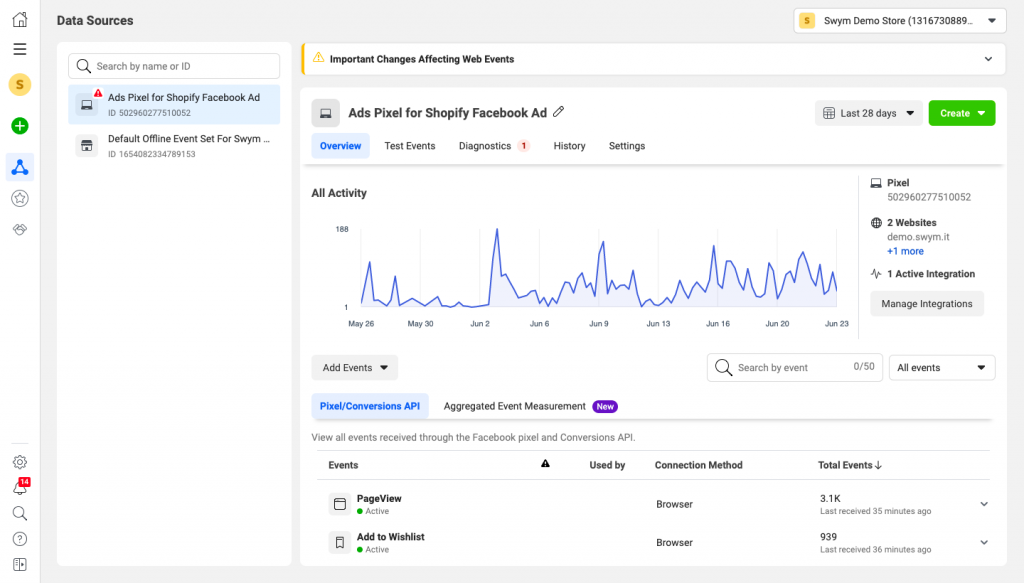
You can go back to your Facebook Business Manager and see the data from your store reflecting there.