")
MARKETING PLAYBOOKS
Sending Wishlist Price Drop Emails via Klaviyo
When shoppers add products to their wishlist, they’re making it clear that they are considering purchasing it. Our job as marketers is to look for excuses to remind them about the product, and hopefully nudging them toward purchasing. One of the best nudges possible is to let them know the product now costs less.
“Remember that product you were looking at? It now costs less!” With Wishlist Plus and your Klaviyo account it is incredibly easy to set up this high-performance event-triggered campaign to run under full automation.
Prerequisites
- Wishlist Plus Starter Plan or above
- Klaviyo Email Account
- Swym-Klaviyo integration enabled
How To Implement
How To Implement
1. Enable Wishlist Price Drop Event
Before you get started, you need to make sure you’ve enabled the wishlist price drop event within Swym Admin. To confirm, once you’ve logged in to Swym Admin, navigate to Integrations via the left nav. Click Configure option next to “The price drops on a product in a user’s wishlist.” The trigger threshold is set to 10% by default, which you can change according to your requirement and click Enable.

There is no time delay built into the integration logic, so expect to see price drop events show up in Klaviyo shortly after each price change.
A test trigger feature is also available that enables you to simulate Wishlist and Back in Stock events instantly, letting you check if the event triggers work as intended. You can test the trigger from the ‘Send a Test Event’ section, which you can find by scrolling down after saving the trigger. Simply input the email address, choose the “Price Drop Alert” trigger, and then click on “Send Test trigger” and a test trigger of the event will be sent to Klaviyo, which can be found in the Activity feed of the respective event section of Klaviyo.

You can check if the test trigger has been sent by checking the same on Klaviyo which we will discuss in the next step.
2. Create Klaviyo Flow and Select Trigger
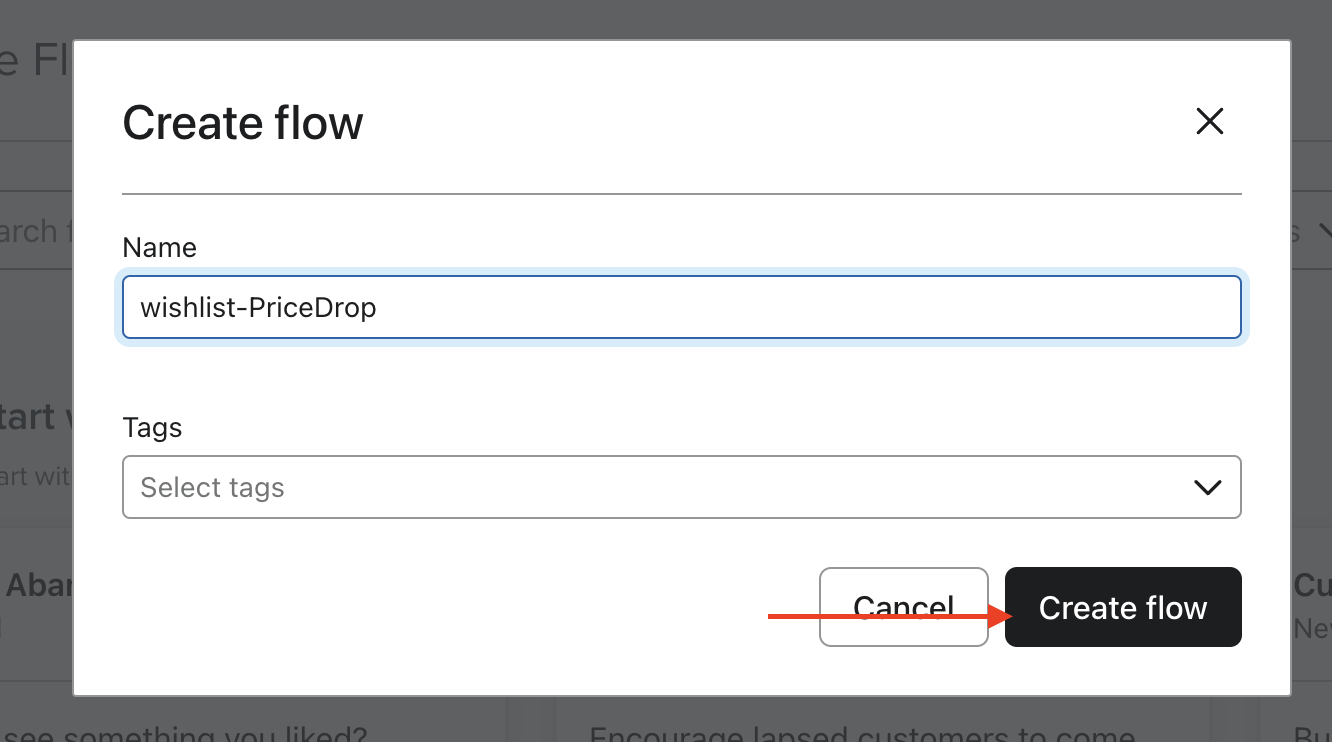
In Klaviyo, navigate to the Flows page and select “Create from Scratch”–>“Build your Own”.


In this example we’re going to call this flow “Wishlist Price Drop”.
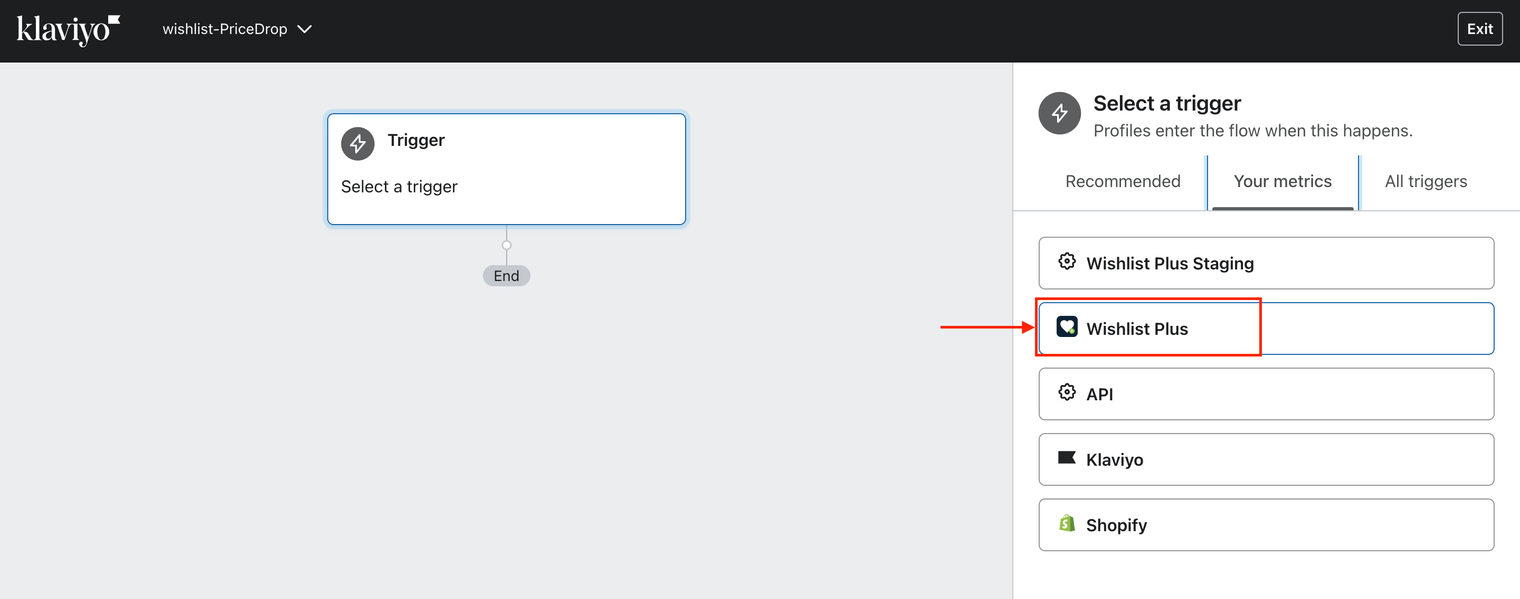
Next, you’ll need to set the trigger for this flow. For this, go to the ‘Your Metrics’ tab from the options on the right and select ‘Wishlist Plus’
Choose “Swym-pricedrop” from the Metric list. You can optionally filter based on any of the attributes passed (outlined in the next section) with this event or to only apply to certain groups of people.
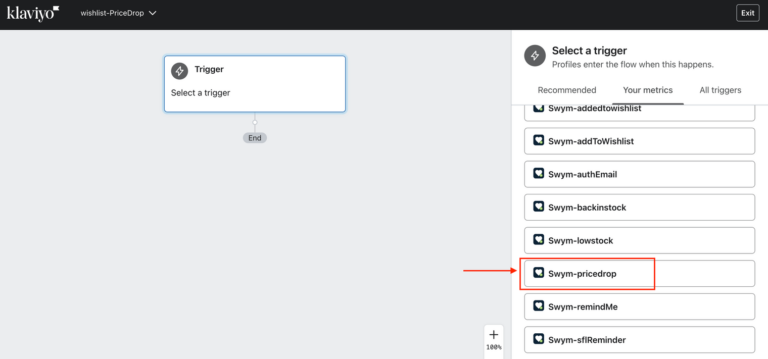
You can optionally filter based on any of the attributes passed (outlined in the next section) with this event or to only apply to certain groups of people.

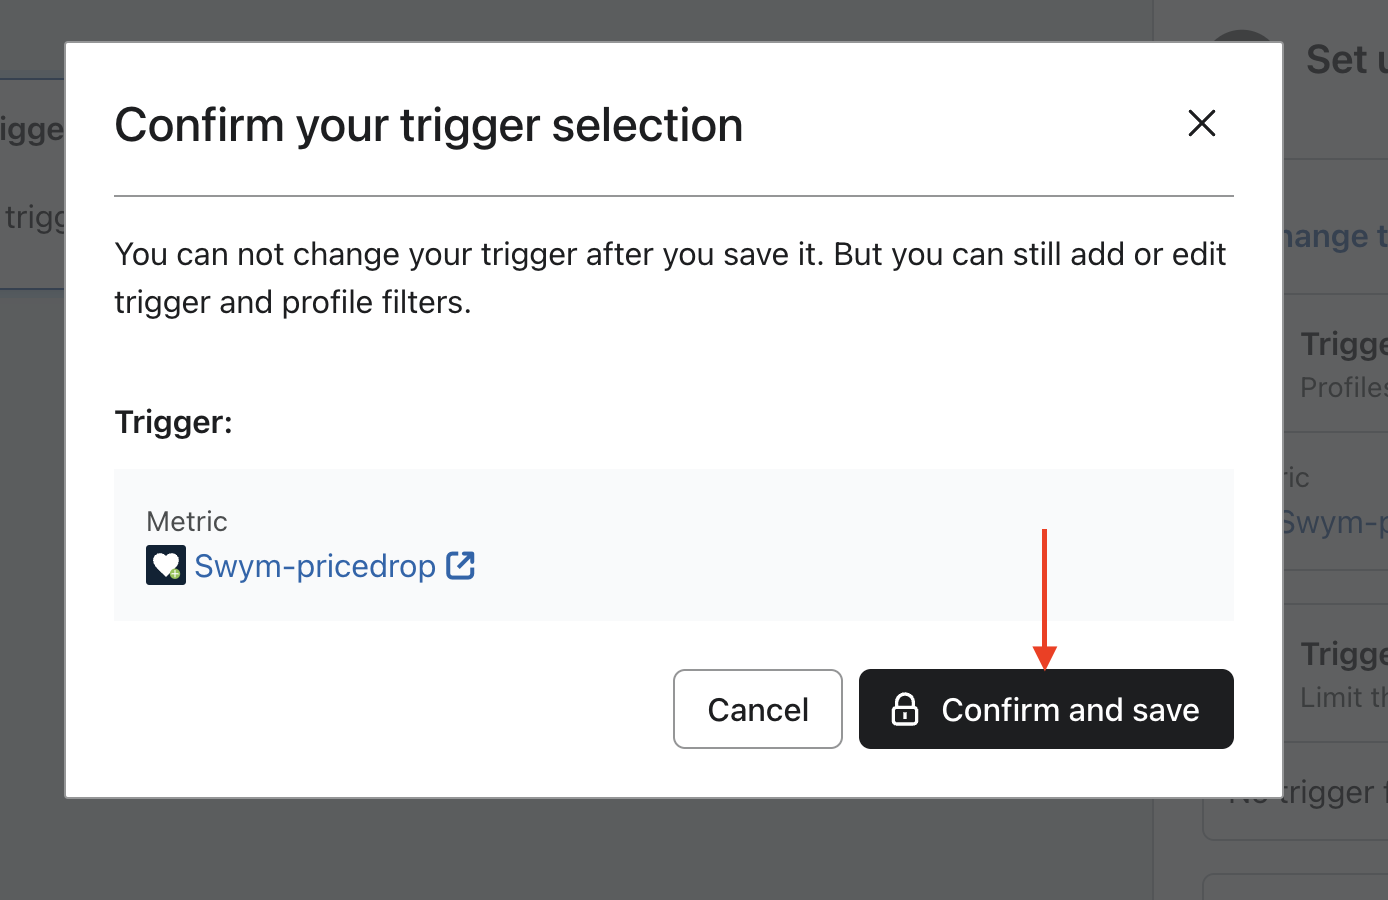
Once the changes are saved, a dialogue box will appear to confirm the trigger, click on “Confirm and save”.
If you’re not seeing “Swym-pricedrop” in your trigger list you probably haven’t lowered the price on a product since you enabled the event in Swym Admin. Klaviyo will not display flow triggers until they’ve received at least one event. In this scenario, you can make use of our Test Trigger feature as discussed earlier.
After sending a test alert you can check it in Klaviyo under Analytics>Metrics>Swym-pricedrop>Activity Feed.

In the Activity Feed, you will find the email address from which the sample alert was sent and the time at which it was sent.

Because the timing of this event isn’t driven by an action taken by the shopper, there’s no benefit to adding a time delay before the email is sent.
Next add an email to your flow, this is will be your price drop message.
3. Create Your Email Template
The next thing we’ll do is build an email template that consumes the price drop data passed from Swym to create our triggered email campaign.
Here are the event-level data elements included with the event:
Data Element | Element Label | Example | Comment |
Event | Swym-pricedrop | We used this in our trigger definition | |
Event Time | EventTime | 2020-10-30T07:42:48Z | UTC time format |
Product ID | ProductId | 4269834960999 | eCom platform Product ID |
Product Name | ProductName | Circle Logo Hoodie | – |
Current Price | ProductPrice | 18.50 | Most recent price |
Original Price | ProductPriceOriginal | 25 | Price when added to wishlist |
Quantity | ProductQuantity | 1 | Quantity in wishlist |
Brand | ProductBrand | Sweatshyrts | – |
Category | ProductCategory | Sweatshirts | – |
Variant ID | VariantId | 30774347071591 | – |
Variant Info | VariantInfo | Color Pink | – |
Variant SKU | VariantSKU | sku-23-lsk | – |
Product URL | ProductURL | – | |
Image URL | ImageURL | https://cdn.shopify.com/s/files/1/0512/3627/4349/products/img.jpg | – |
State | State | addToWishlist | addToWishlist → Source of this event is wishlist. |
Event |
Select the email object you added to your flow, and click the “Select Template” button from the template section in the right panel.
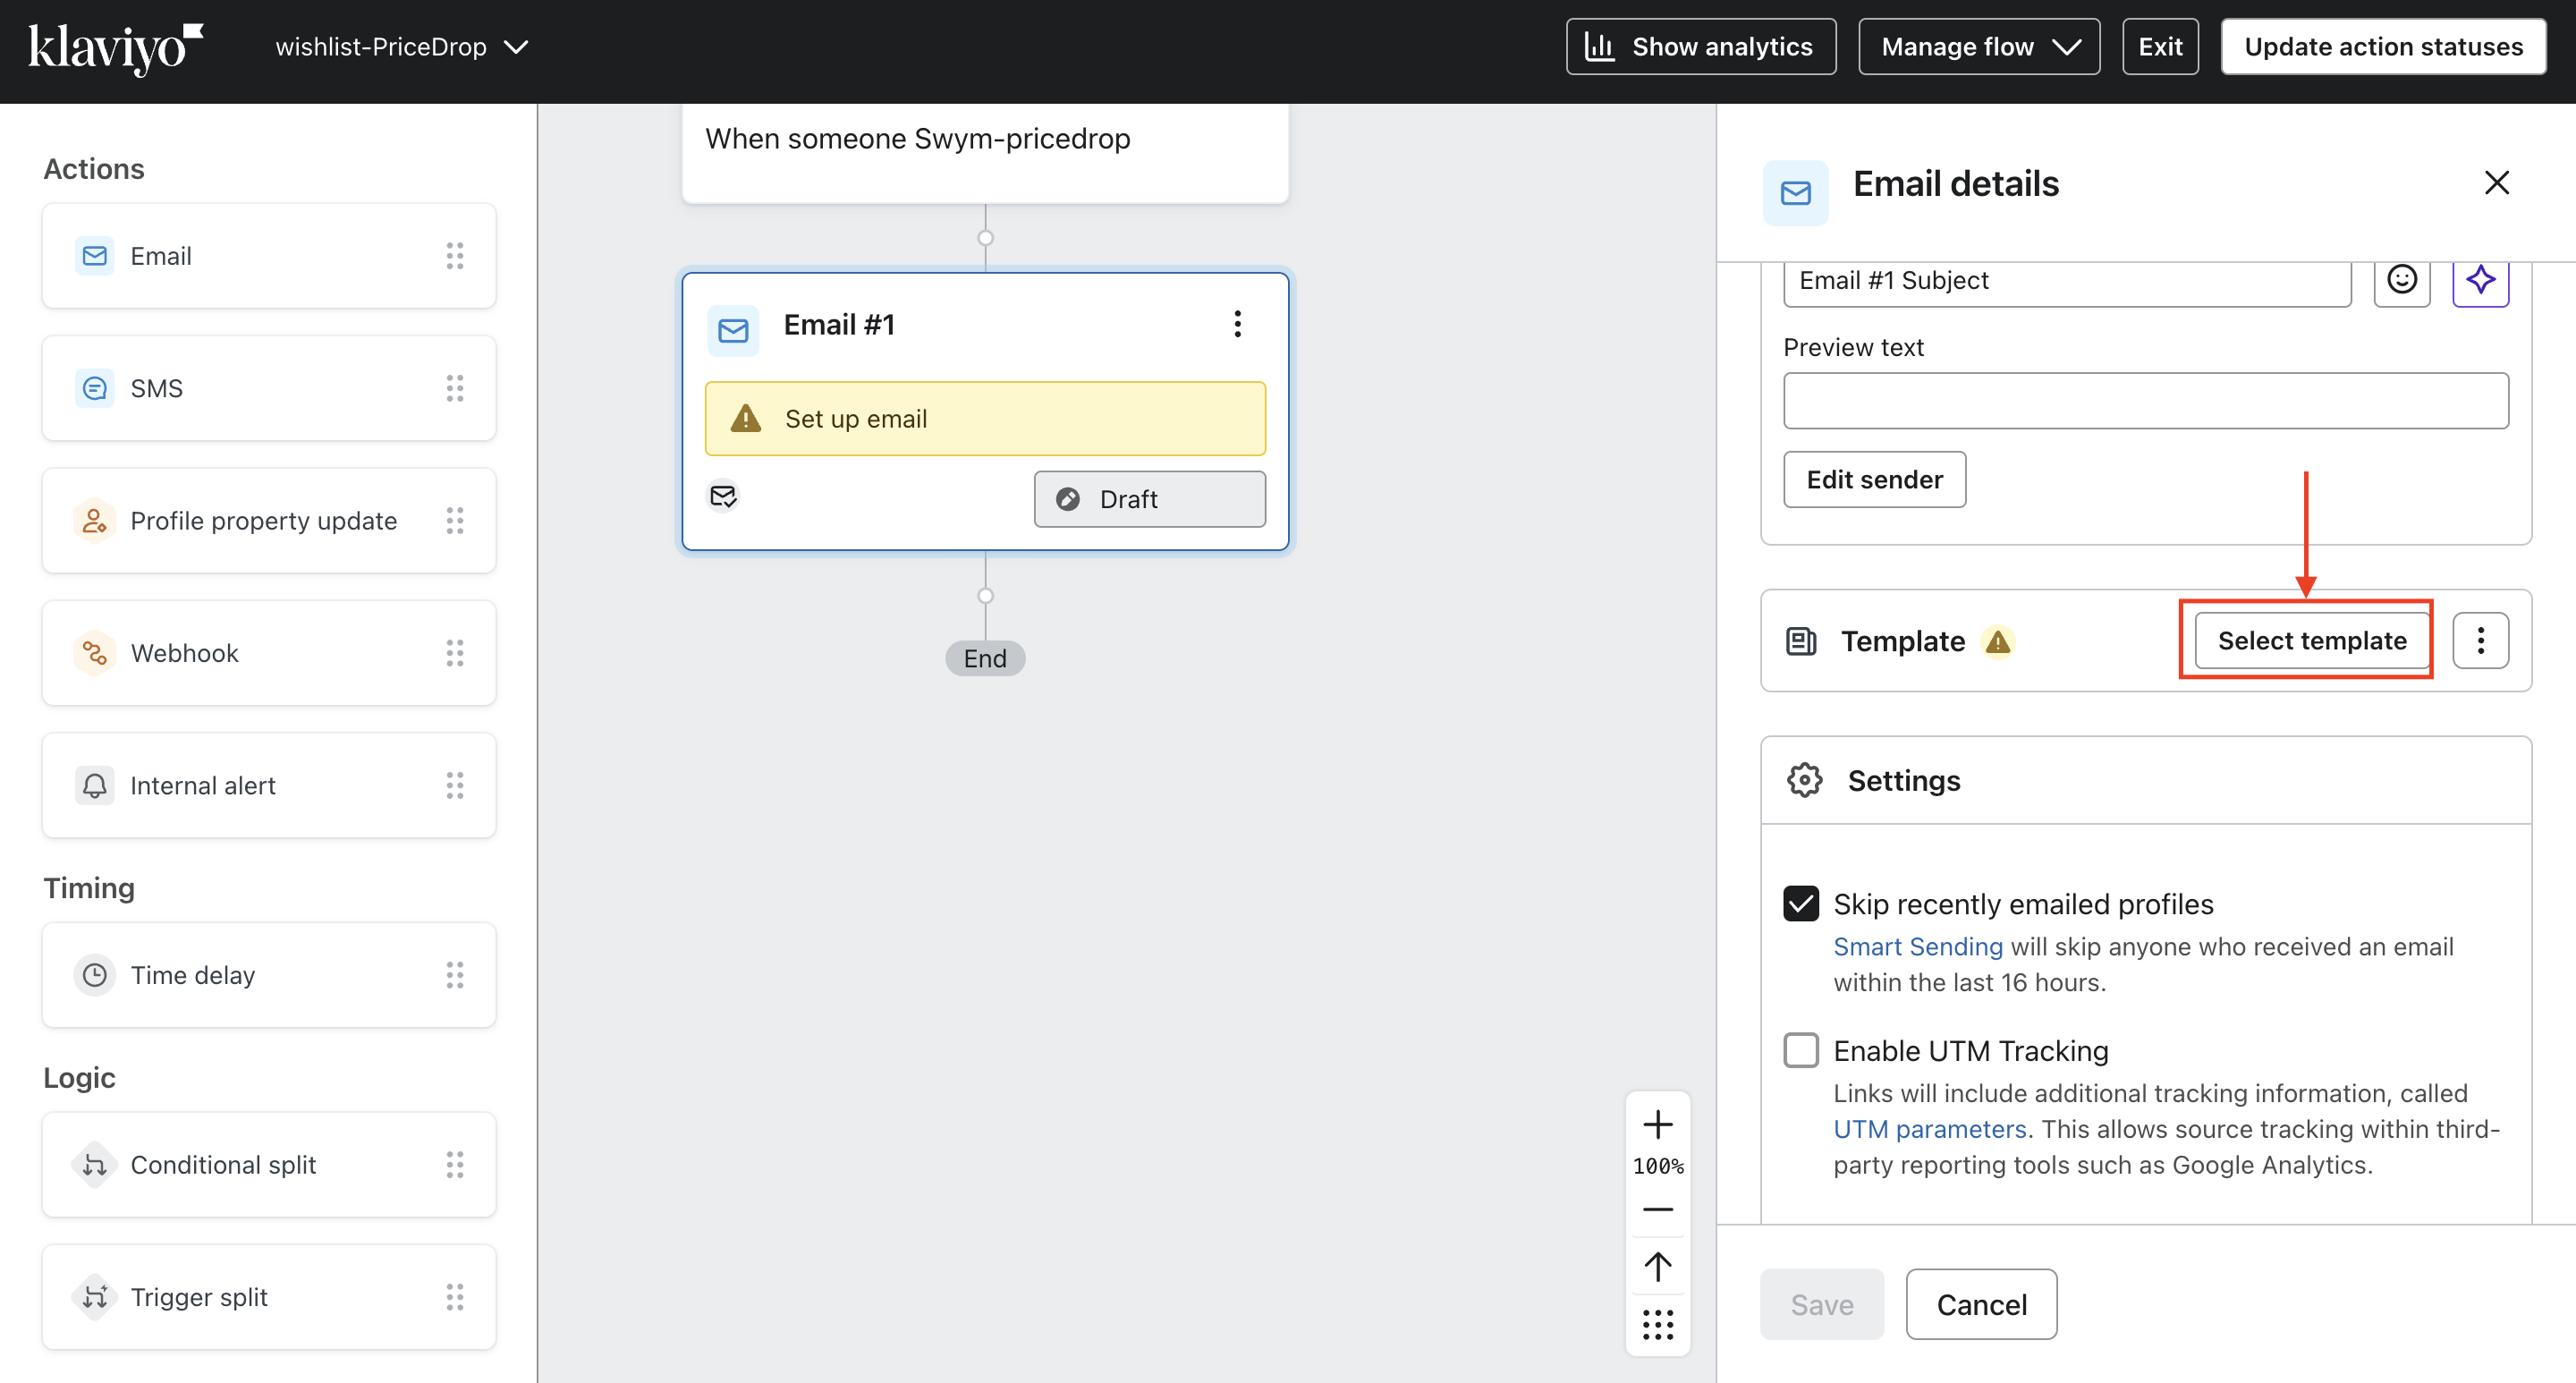
If you’ve been using Klaviyo for a while you probably already have your templates set. For this exercise we’re going to choose the “Create Blank email” method which uses the drag-and-drop method if you don’t have an already existing template.

Once the template is open you can add your logo to the top if you like or remove the image block. We’ll use the placeholder “text block” for the main message content. For this example we’ll keep things simple, centering everything and using HTML to pull in data from the Swym-pricedrop event.
Now, once you have added the Text block, you will have to work on the content section of the text block. For this please select the “Source Code ( </> )” option from the menu in the Left section.

Here is the HTML we used for our simple email template:
<p style=”text-align: center; color:#333333; font-size:16px; font-family:verdana,geneva,sans-serif;”>The {{ event.ProductName }} is now only {% currency_format event.ProductPrice %}!</p>
<p style=”text-align: center; font-size:10px; color:#666666; font-family:verdana,geneva,sans-serif;”>It was {% currency_format event.OriginalPrice %} when you added it to your wishlist.</p>
<p style=”text-align: center; font-family:verdana,geneva,sans-serif; font-size:16px”><a href=”{{ event.ProductURL }}”>Buy Now</a></p> <p style=”text-align: center;”>
<img src=”{{ event.ImageURL }}” /></p>
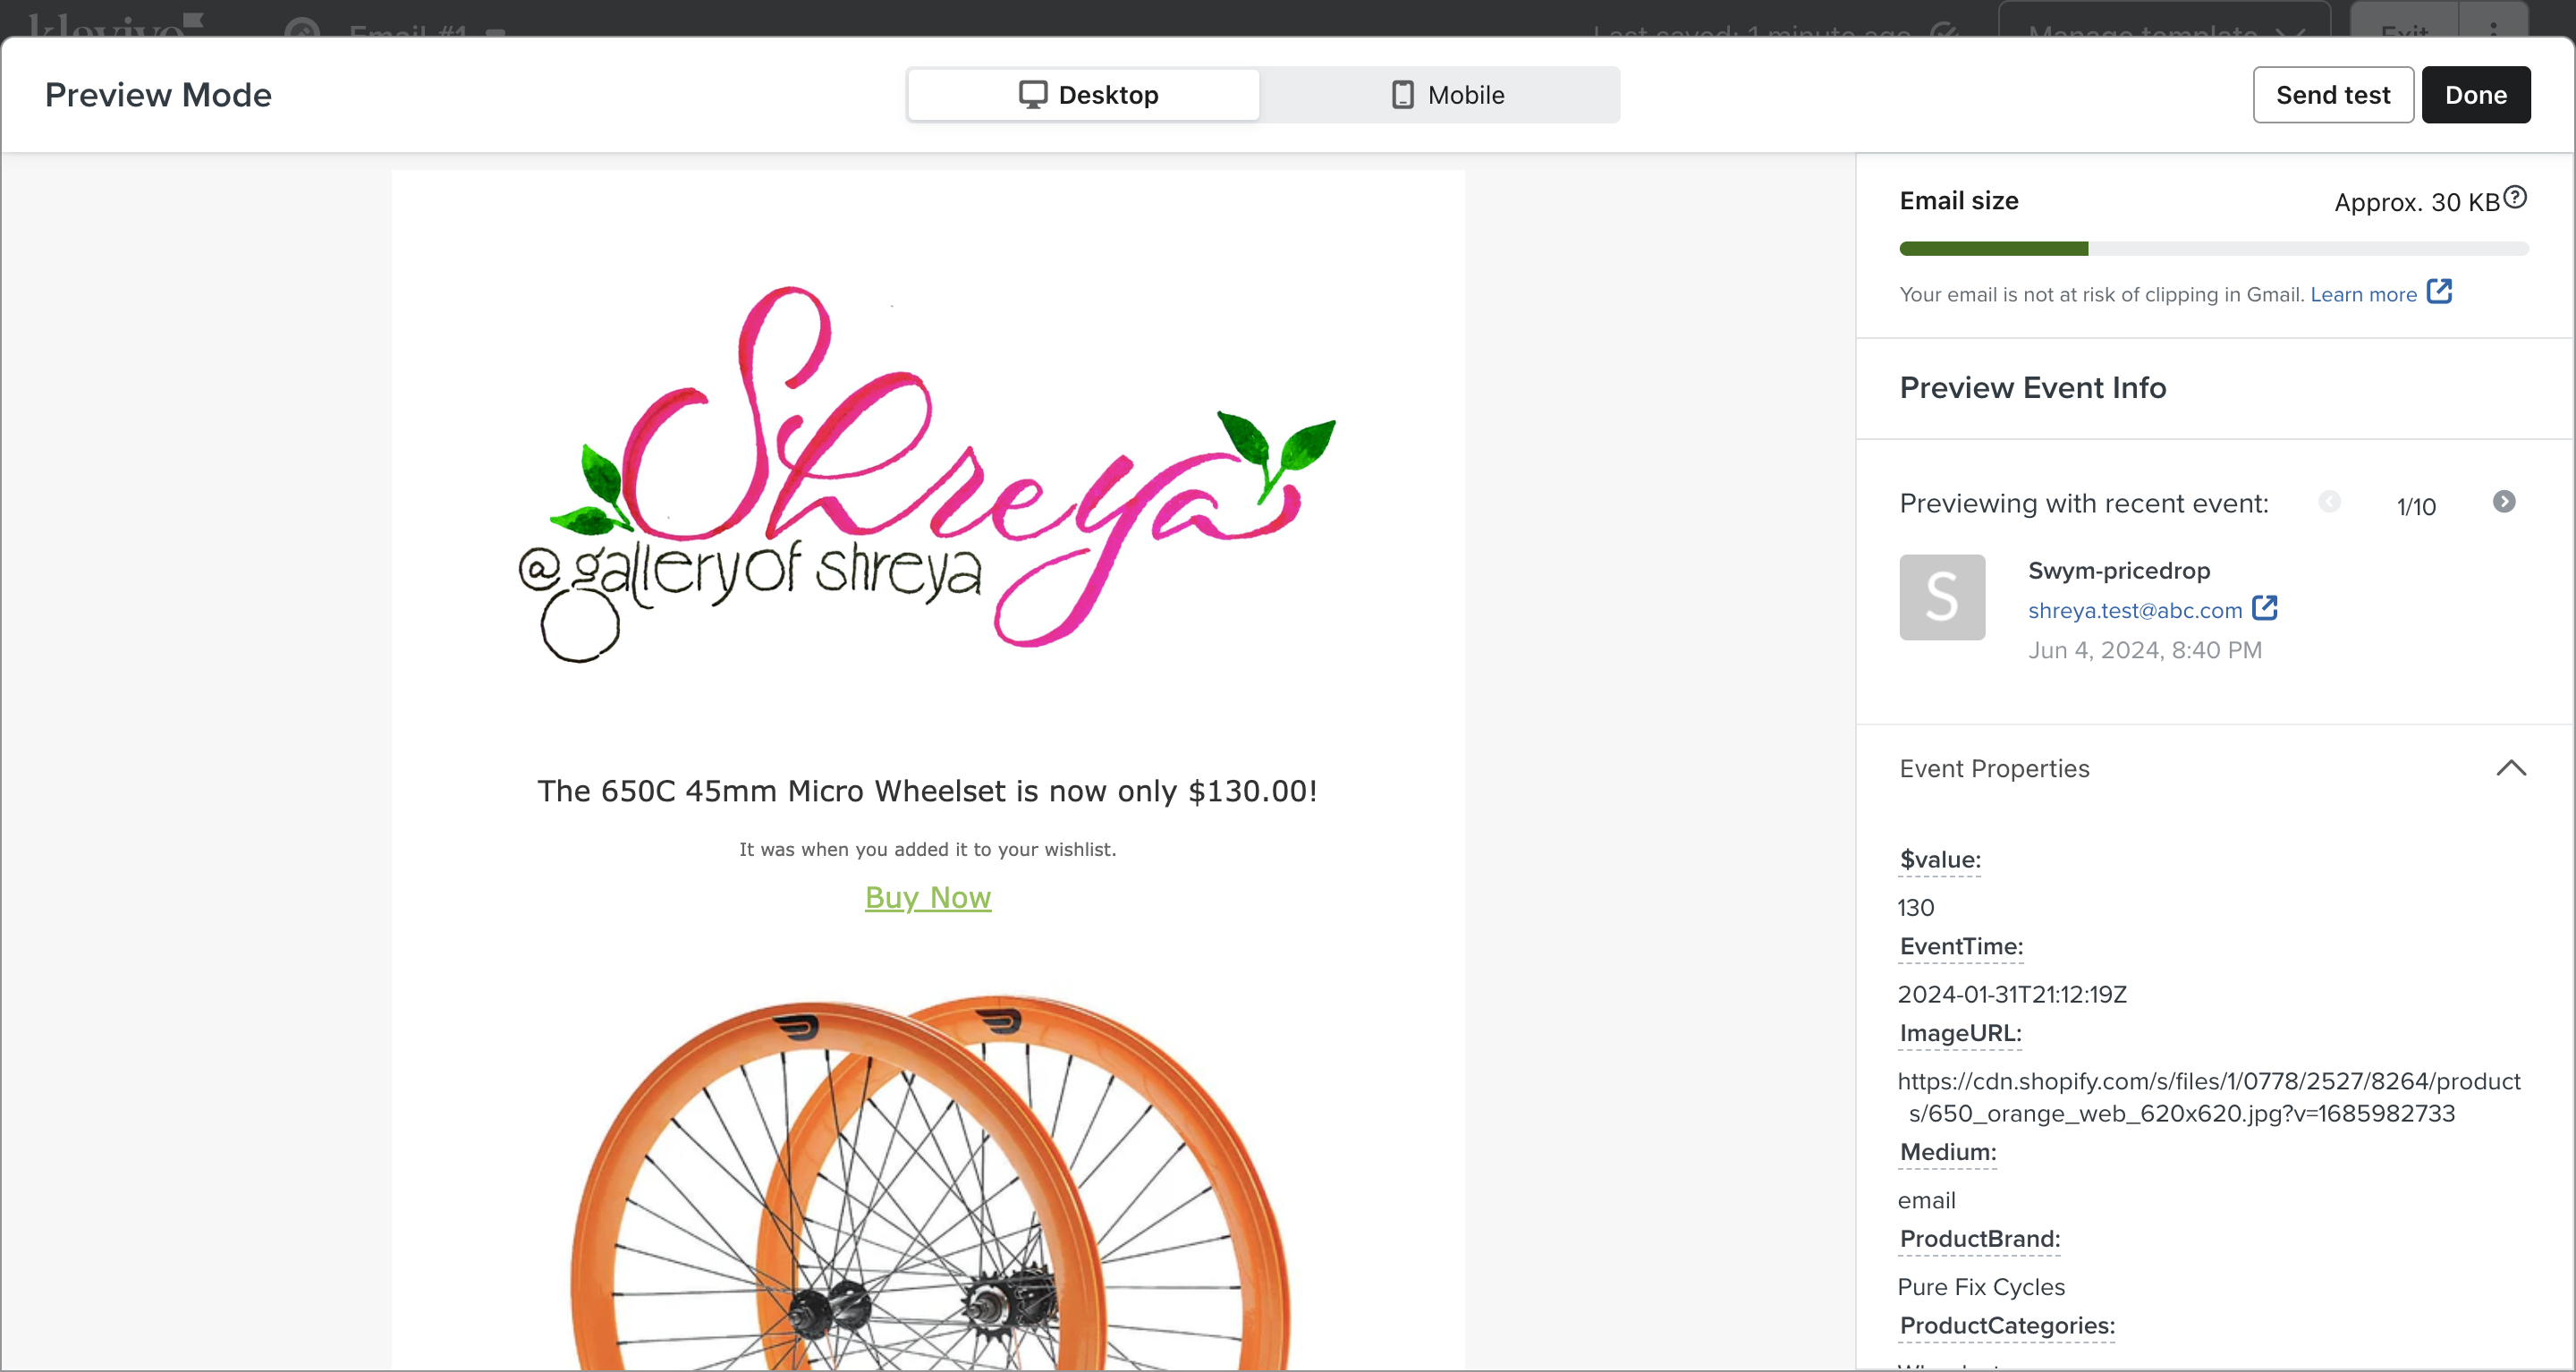
4. Preview the Message
Once you are satisfied with your template and have saved it off you can preview it to make sure everything is working as expected. Klaviyo lets you choose real example events that have flowed over for the preview, so the previews should expose any issues you might be experiencing.

We like to preview first in Klaviyo to make sure everything is working and then check it out in a real inbox. Here’s what our preview looked like:
Once you’re happy with the preview in Klaviyo we strongly recommend you send yourself a test via email as well so you can check the links and make sure it renders well in the inbox.
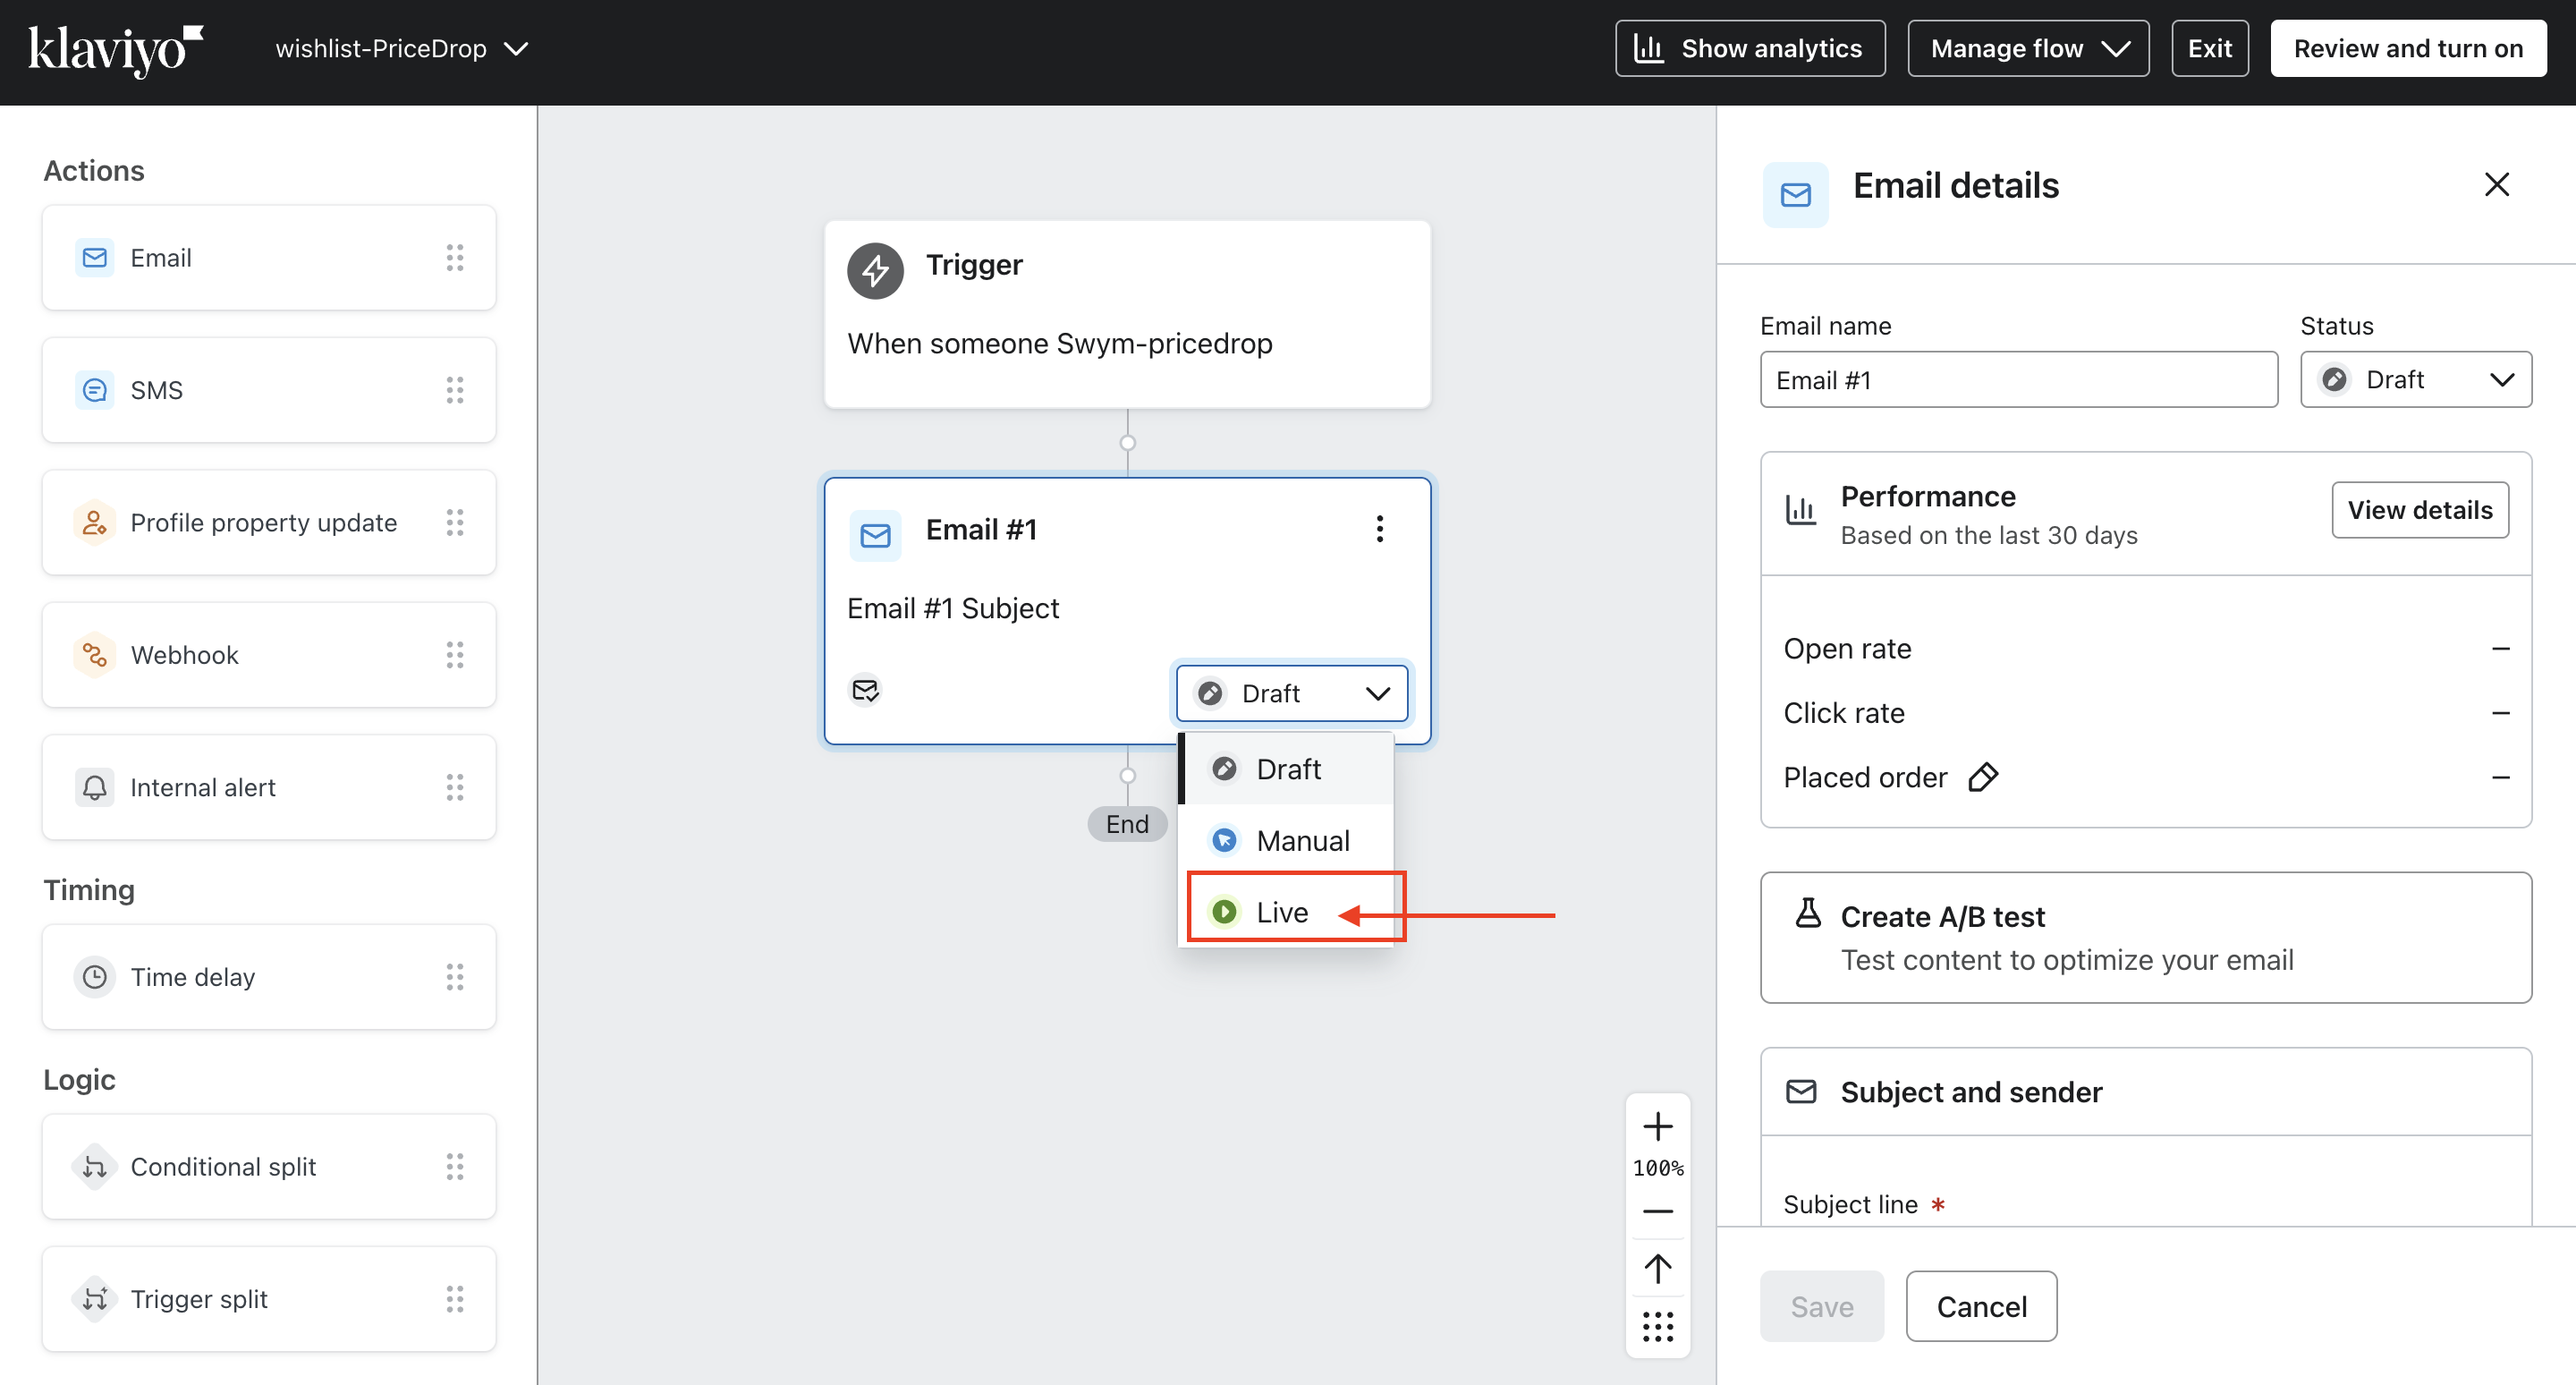
5. Set Your Email Status to "Live"
When you’re satisfied with your testing the last step is to set your email status from “draft” to “live”. Once that switch is flipped your emails should start flowing!