MARKETING PLAYBOOKS

Authorizing Emails via Klaviyo

Prerequisites

  1. Wishlist Plus Starter Plan or above

  2. Klaviyo Email Account

  3. Swym-Klaviyo integration enabled

The authorization email is generally sent via Swym when a customer needs to log in or retrieve their wishlist from your store.

A customer on your store, can log in or save their wishlist list to an existing email ID. This will allow them to access their wishlist at any time, across multiple devices.

By clicking the ‘Save List’ button, an authorization email is sent out to the customer.

How To Implement

1. Enable Wishlist signup confirmation event

Before you get started, you need to make sure you’ve enabled the share wishlist event within Swym Admin. To confirm, once you’ve logged in to Swym Admin, navigate to Integrations via the left nav. Make sure that the checkbox next to “Shoppers share their Wishlist contents with others” is checked.

A test trigger feature is also available that enables you to simulate Wishlist and Back in Stock events instantly, letting you check if the event triggers work as intended. Upon clicking the test trigger you will be prompted by a pop-up to enter an email address.

Once the Klaviyo integration is enabled and saved on Swym Admin, Swym immediately stops sending these emails on your behalf. To keep sending out the authorization emails without a break, you will need to have a Klaviyo flow built in its place.

Setting up the Klaviyo flow for this event is very simple. Create a flow on your Klaviyo Dashboard for the event Swym-authEmail.

Pro Tip: In order to create a flow, you will first need the shareWishlist event recorded on Klaviyo. Do this by triggering the event yourself or sending a test trigger as shown earlier.

While creating the email template, you can refer to this table that will give you the schema/merge tags that you can use inside the template, along with the values from the events.


Data Element

Element Label

Example

Comment

Event Name

Event

Swym-authEmail

Used in trigger definition

Customer Email

$email

nikita@swymcorp.com


Event Time

EventTime

March 17, 2021 at 10:49 AM


Device

Device

Mac


First Name

FirstName

Nikita


Last Name

LastName


Validate URI

ValidateURI

https://swymstore-v3free-01.swymrelay.com/remote/validate

Used for the ‘Confirm’ button


2. Create Klaviyo Flow and Select Trigger

Now that you’ve enabled the flow on Swym Admin, log in to your Klaviyo dashboard, navigate to the Flows page, and select “Create Flow”–> “Build your Own”.

In this example, we will call this flow “Wishlist Signup”.

Next, you’ll need to set the trigger for this flow. For this, go to the ‘Your Metrics’ tab from the options on the right and select ‘Wishlist Plus’.

Choose “Swym-authEmail” from the Metric dropdown.

Once the changes are saved, a dialogue box will appear to confirm the trigger, click on “Confirm and save”.

Next, add an email to your flow, this will be your share wishlist message.

3. Create Your Email Template

Click on the Email added to your flow and click on Configure Content or Edit in the left panel.

If you’ve been using Klaviyo for a while you probably already have your templates set. For this exercise, we’re going to choose the “Create Blank email” method which uses the drag-and-drop method if you don’t have an already existing template.

Once the template is open you can add your logo to the top if you like or remove the image block. We’ll use the placeholder “text block” for the main message content. For this example we’ll keep things simple, centering everything and using html to pull in data from the Swym-authEmail event.

Now, once you have added the Text block, you will have to work on the content section of the text block. For this please select the “Source Code ( </> )” option from the menu in the Left section.

Here’s the HTML we used for our simple template:


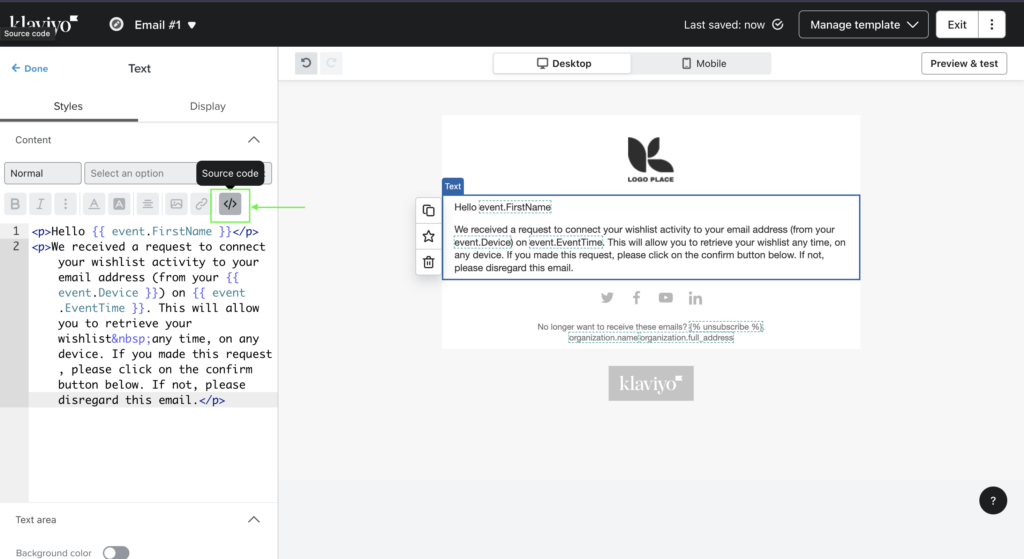
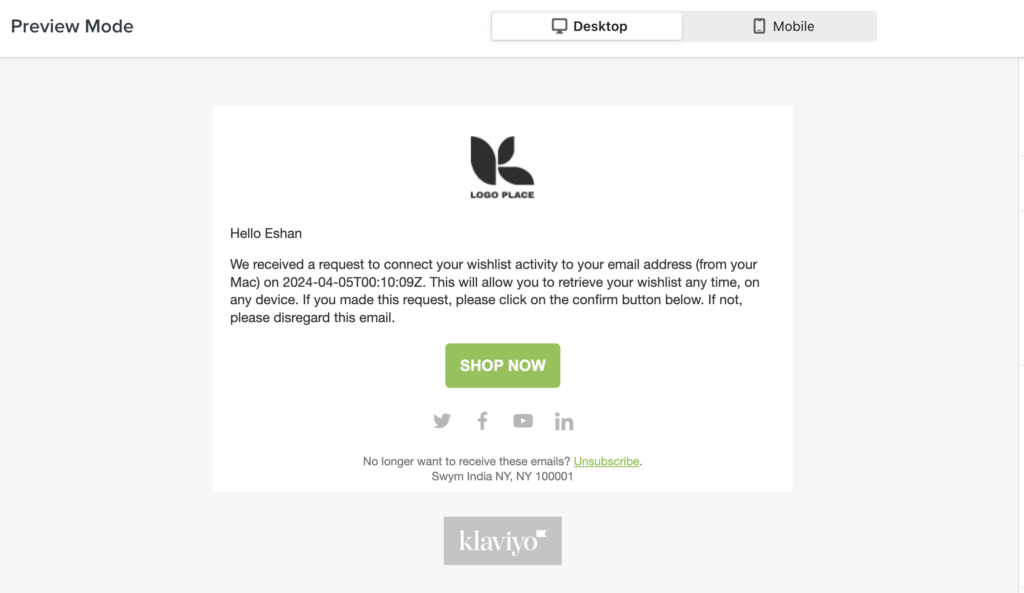
<p>Hello {{ event.FirstName }}</p>

<p>We received a request to connect your wishlist activity to your email address (from your {{ event.Device }}) on {{ event.EventTime }}. This will allow you to retrieve your wishlist&nbsp;any time, on any device. If you made this request, please click on the confirm button below. If not, please disregard this email.</p>

Your customers will need to click on the ‘Confirm’ button to validate their email ID. To do this, add a ‘Button’ block below the text block.

You can customize the text on the button and link it to the {{event.ValidateURI}} element.

4. Preview the Message

Once you are satisfied with your template and have saved it you can preview it to make sure everything is working as expected. Klaviyo lets you choose real example events that have flowed over for the preview, so the previews should expose any issues you might be experiencing.

We like to preview first in Klaviyo to make sure everything is working and then check it out in a real inbox. Here’s what our preview looked like:

Once you’re happy with the preview in Klaviyo we strongly recommend you send yourself a test via email as well so you can check the links and make sure it renders well in the inbox.

5. Set Your Email Status to “Live”

When you’re satisfied with your testing the last step is to set your email status from “draft” to “live”. Once that switch is flipped your emails should start flowing!

We're stoked to see your interest in using Wishlist Plus! You'll receive an email from our team shortly to take this ahead.

Book a call with us! if you'd like to dive into a conversation!

Gorgias Integration - Early Access

Gift Registry- Early Access

Save for Later - Early Access

Let's discuss your needs!

Let's discuss your needs!

Let's discuss your needs!