")
Wishlist Plus App Setup on Your eCommerce Store
Why Swym Wishlist?
It takes most customers more than one visit to your website to decide whether they are going to buy your product. They take time to browse through your products and sometimes even compare them with what other retailers have to offer before finally making a purchase. It is understandably hard for your customers to keep track of everything they’ve looked at when your store has hundreds of products, especially when they come back a second time to find what they liked on their previous visit.
With the Swym Wishlist Plus, your customers can save their favorites and create their own wishlist that can be accessed anywhere, at any time! Their shopping activity can be connected to all their devices, and only requires them to be logged in.
We have a simple, code-free way to set up the Wishlist Plus app on your Shopify or BigCommerce store, and here is a quick guide to walk you through the process. If you’re on a different platform you’ll need a little help from our support team.
How to install?
On the Shopify platform
Step 1
Search and install the Wishlist Plus app by Swym Corporation from the Shopify App store.
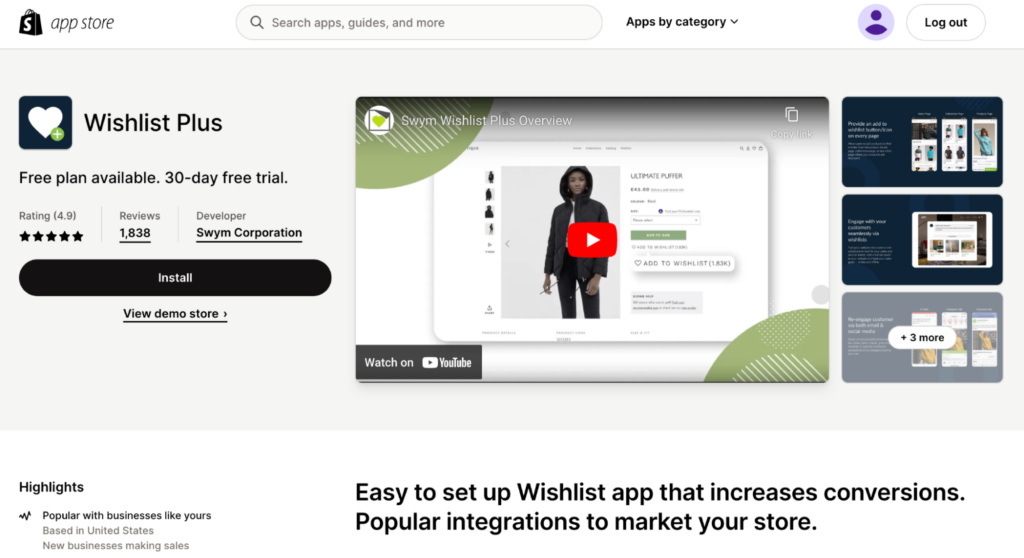
On the subsequent screens, choose your account and the online store you want to install the wishlist app.
Step 2:
You will be taken to the Shopify admin page. Click on the ‘Install app’ button either from the top or bottom right.
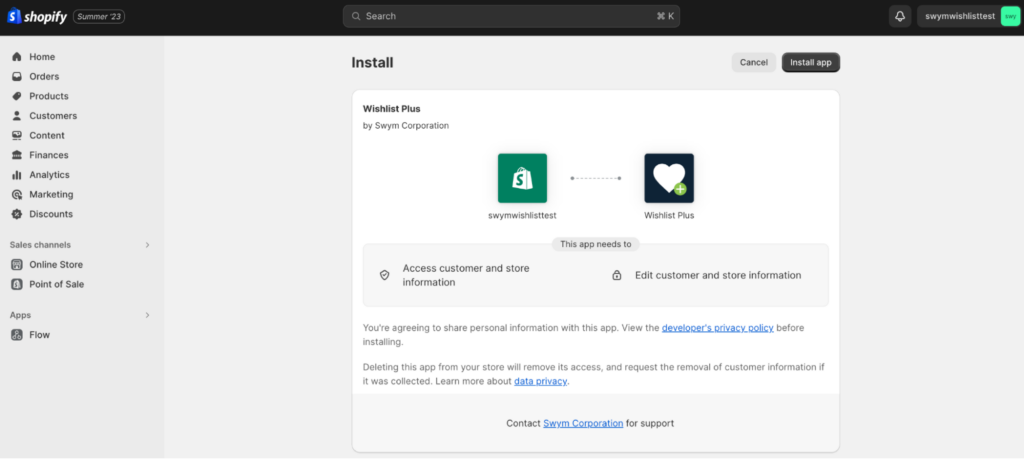
You will be redirected to the Swym admin.
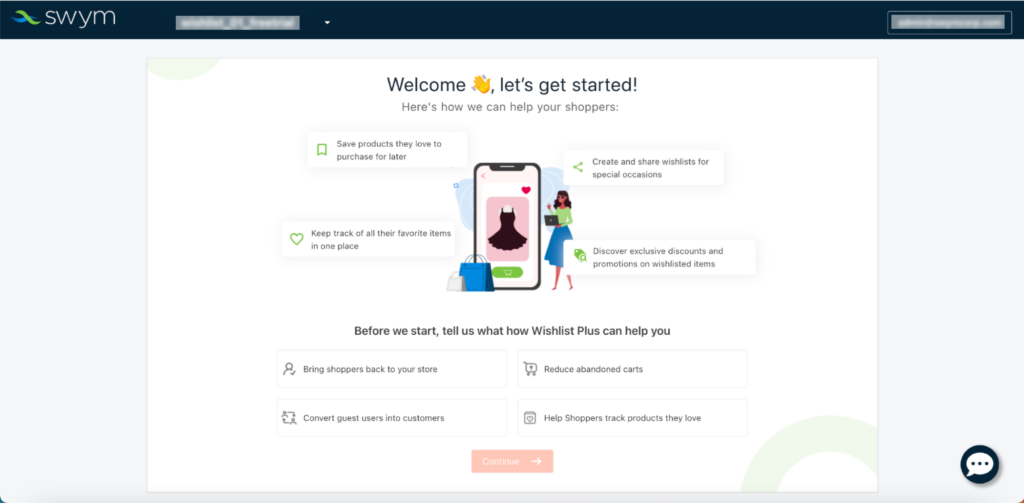
Step 3:
Choose the goal that you are trying to achieve by installing Wishlist Plus on your store. And, then click on ‘Continue’.
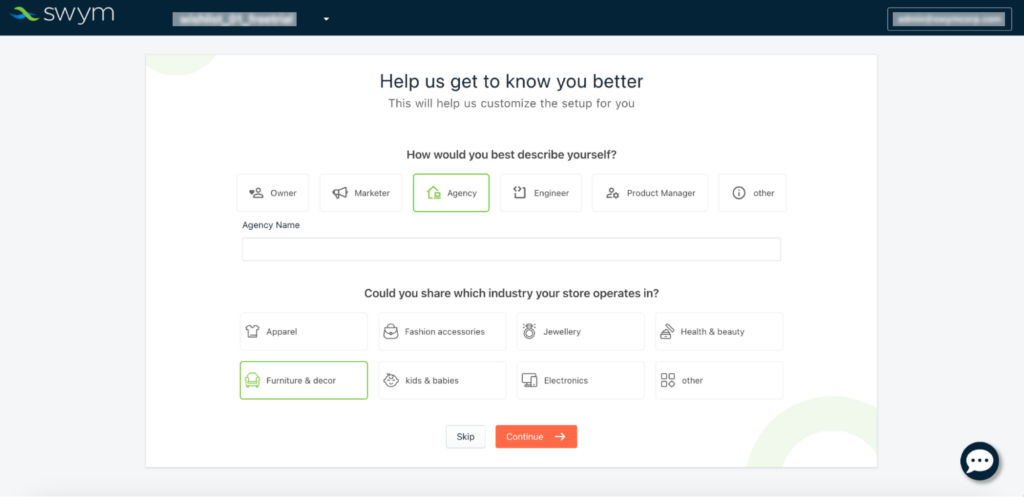
Step 4:
Choose your role and the industry your store belongs to.
If you don’t find your respective designation and industry, select other. Click on ‘Continue’ to proceed. To skip this step, click on ‘Skip’.
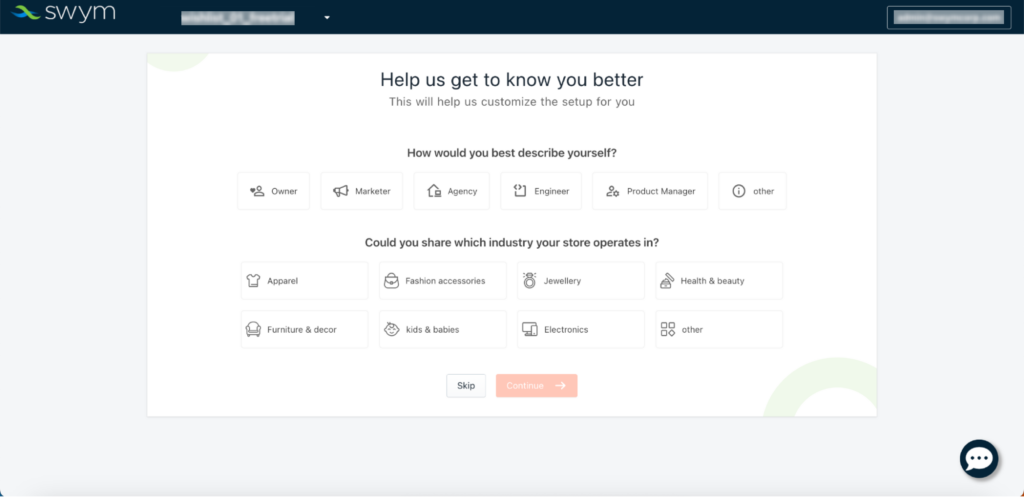
4.1:
If you select your designation as Agency, you have to input your agency name in the text box given.
- Step 5:
Choose a plan that will suit your business. Features that come along with each of these plans are listed. Click on ‘Continue’ after selecting the plan.
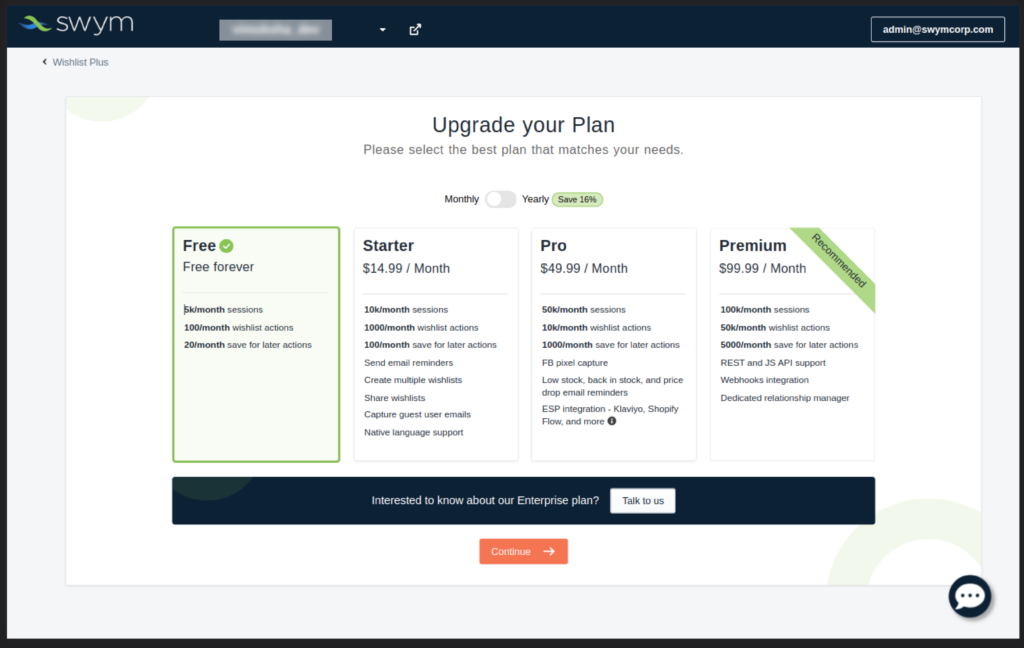
Note:
1. You will be taken to the Shopify admin page again where you have to approve the payment.
2. On the other hand, if you are looking at an Enterprise plan, click on the ‘Talk to us’ button to get in contact with the Sales team.
3. Once your payment is approved, you will be redirected to the Swym admin page where you will setting up the Wishlist Plus app on your store.
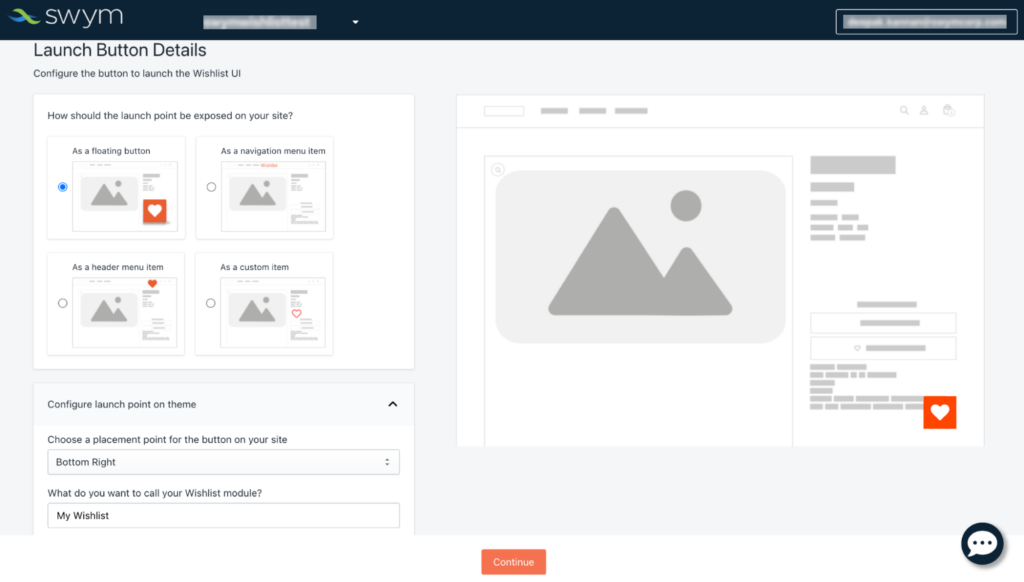
Launch button
Step 6:
Choose the style of the launch button. There are four different options to choose from.
For the uninitiated, a launch button provides you with quick and easy access to a shopper’s wishlist.
6.1: Choose the placement position for the wishlist launch button. There are four options to choose from.
6:2: Enter the default name for your shopper’s wishlist. We have defined it as ‘My Wishlist’, you can edit it.
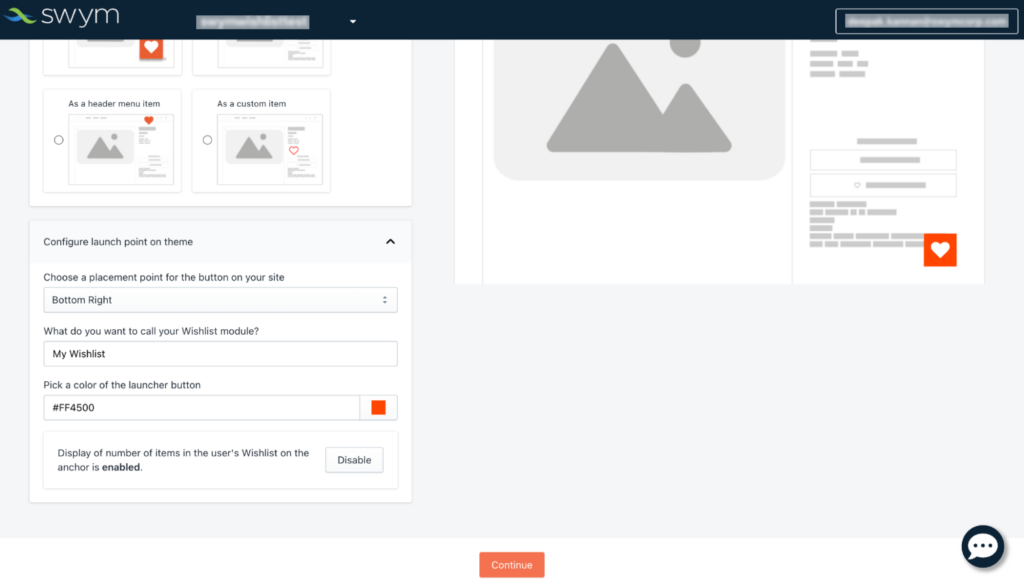
Step 7:
Pick a color for your wishlist launch button from the palette.
Note:
By default, we have enabled the wishlist launch button to display the number of times a particular item has been wishlisted. You can click on ‘Disable’ to not show this.
Click on ‘Continue’ once you’re done.
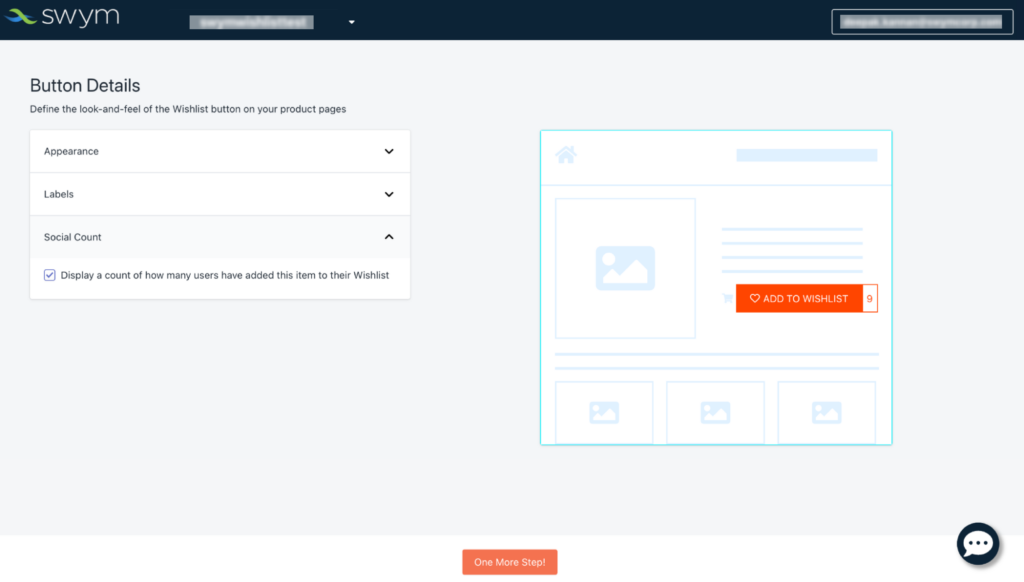
Wishlist button
Step 8:
Choose the style of the Wishlist button. There are 5 different styles to choose from.
8.1: Pick a color for the wishlist button.
You can choose two different colors to let the shopper know if they are yet to add an item or if they have already added it to their wishlist.
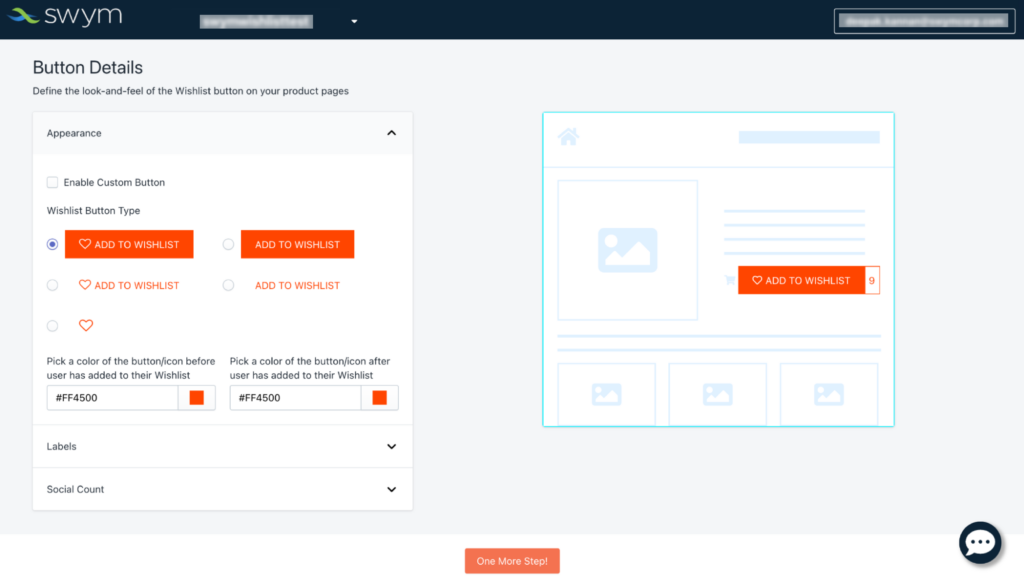
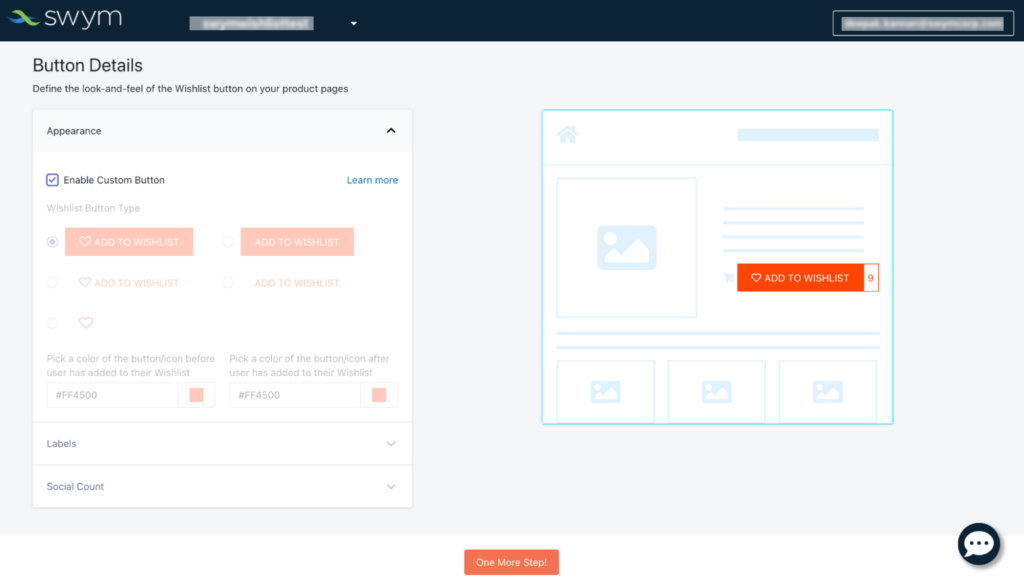
Note: If you want to personalize the button placement, enable the custom button checkbox. Click on ‘Learn more’ to learn how to enable a customized wishlist button on your store.
8.2: Pick a color for the Wishlist Nudge
You can pick a color and edit the labels of the pop-up that prompts shoppers to add the product into Wishlist on the product detail page.
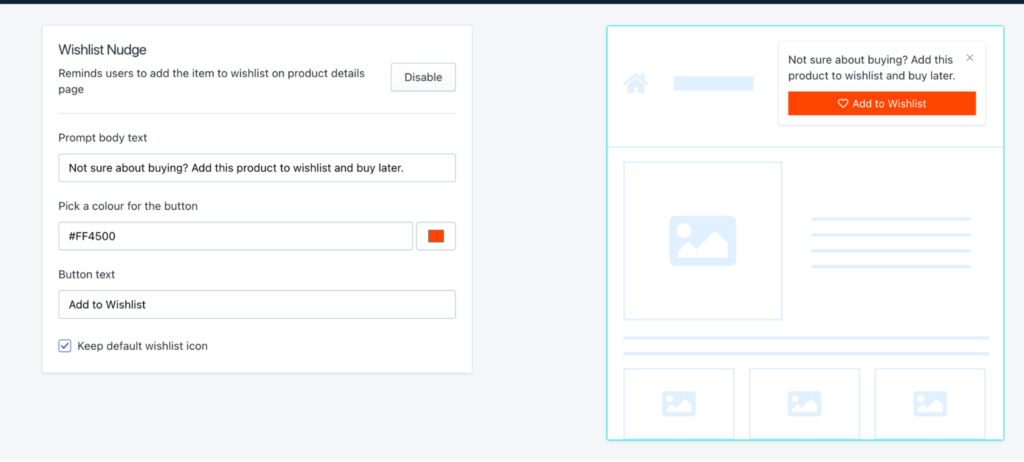
Note: By default we have switched on the Wishlist nudge and you can click on “Disable” to switch this off. Click on ‘Learn more’ to learn why this helps your store.
Step 9:
Enter the name for the wishlist button.
Just like how you can define two different colors, you can also define two different labels for your wishlist button.
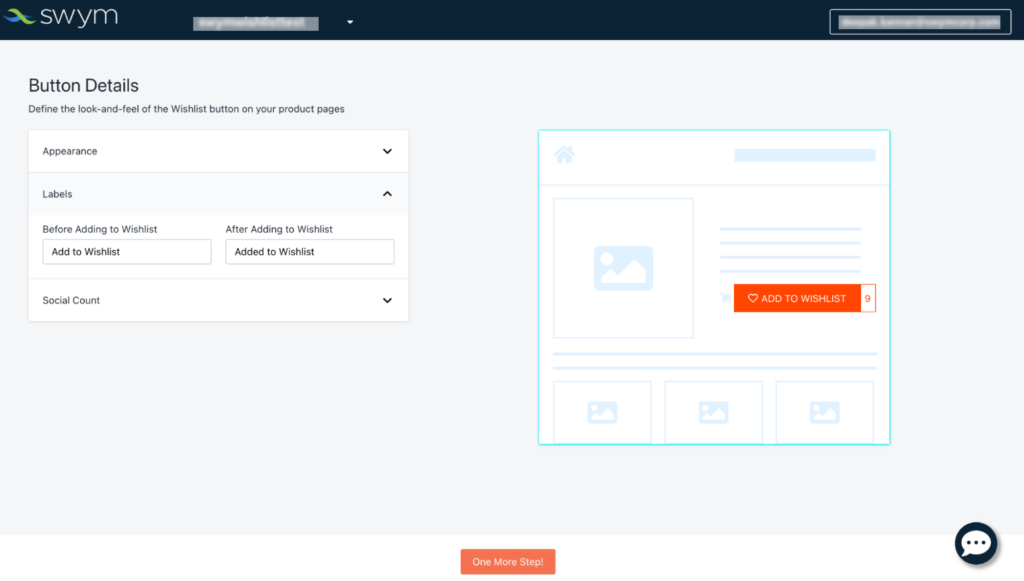
Note: By default, we have enabled the wishlist button to display the number of times a particular item has been wishlisted. You can disable it by unchecking the box. Click on ‘One more step’ to proceed to the next step.
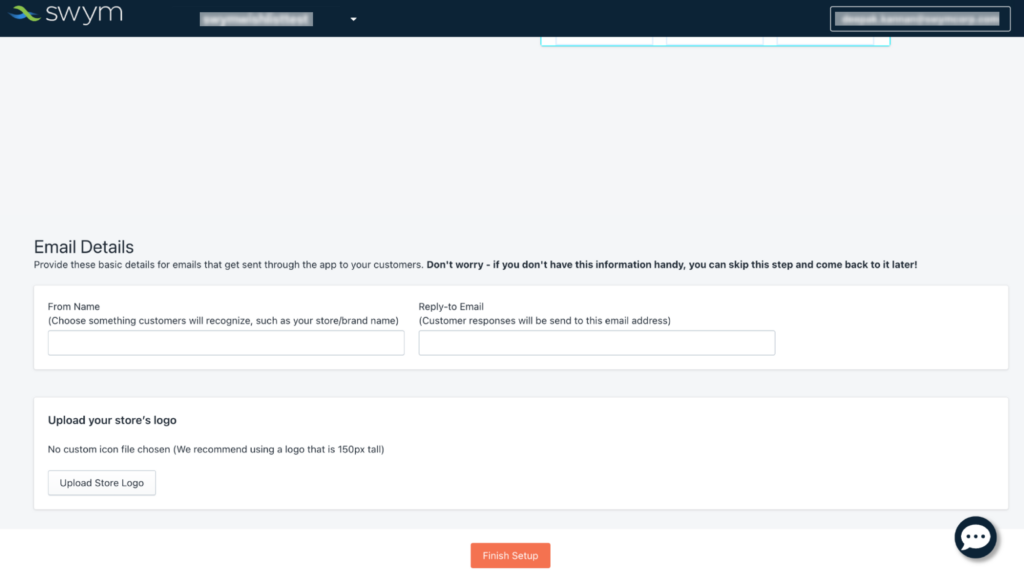
Set up email communication
Set up the information for email reminders or any form of communication that would go from your store to your shoppers.
Step 10:
Enter the from and reply-to-email in the text bo given.
10.1: Add your store’s logo by clicking by ‘Upload Store Logo’.
You can skip both these steps and come back to it later as well.
10.2: Click on ‘Finish Setup’ to complete the installation of Wishlist Plus on your store.
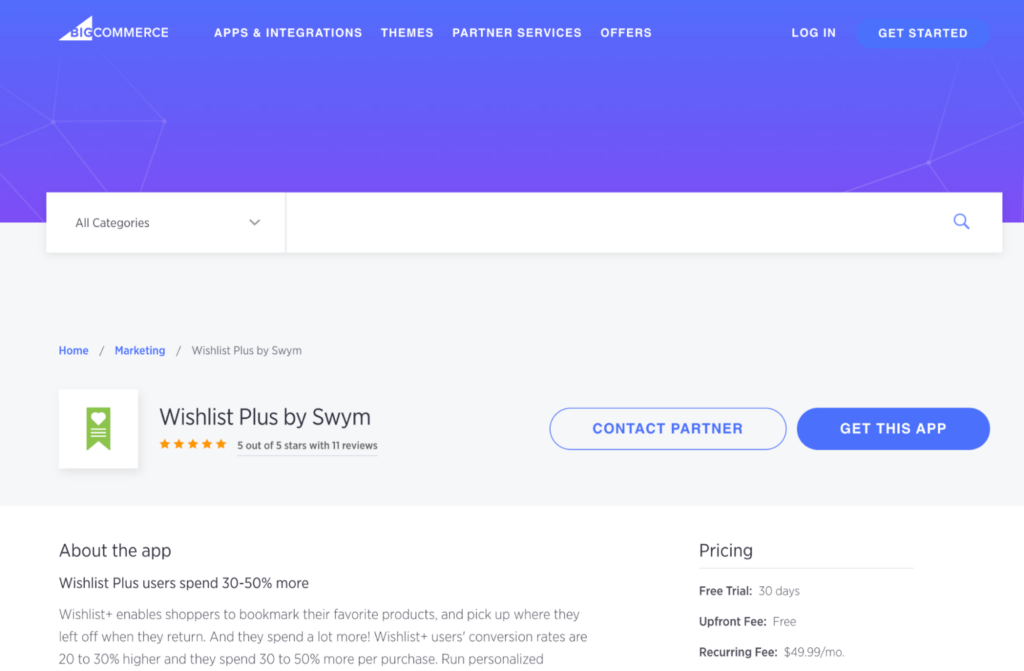
On the BigCommerce platform
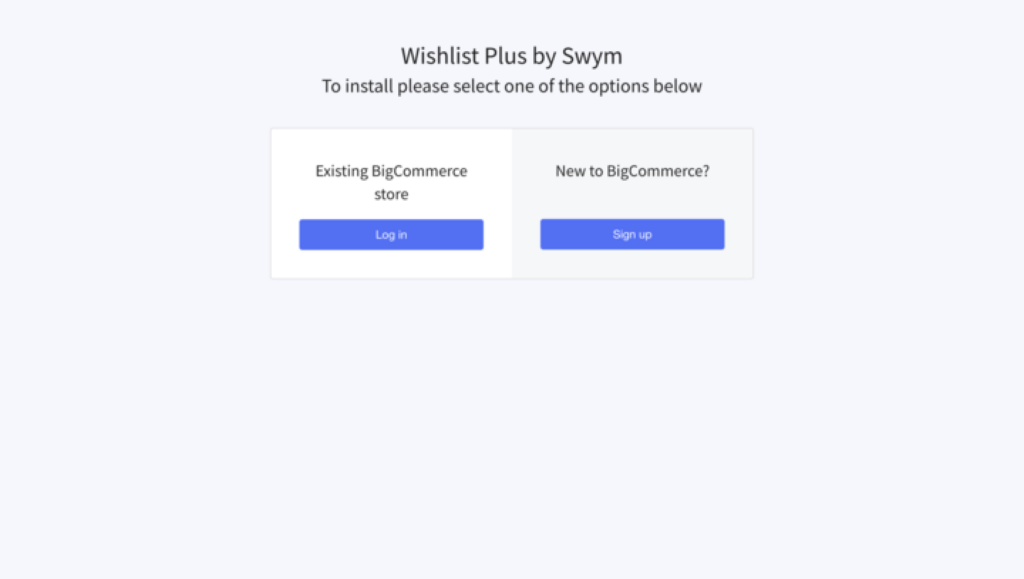
Step 1:
Search and install the Wishlist Plus app by Swym from the BigCommerce App store.
Step 2:
Choose your account and the store to install the Wishlist Plus app.
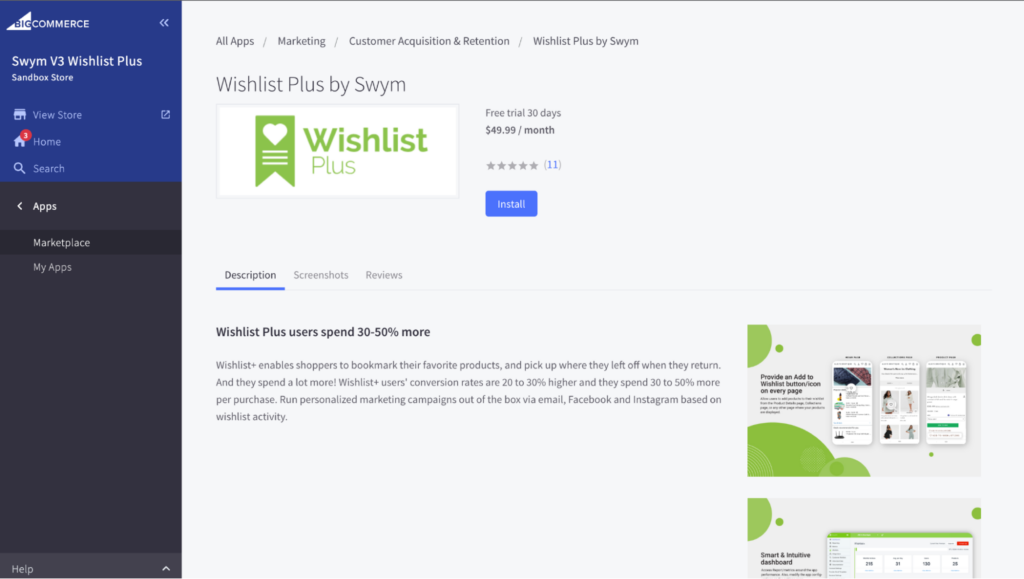
Step 3:
You will be taken to the BigCommerce admin page from where you can install the Wishlist Plus app by clicking on the ‘Install’ button.
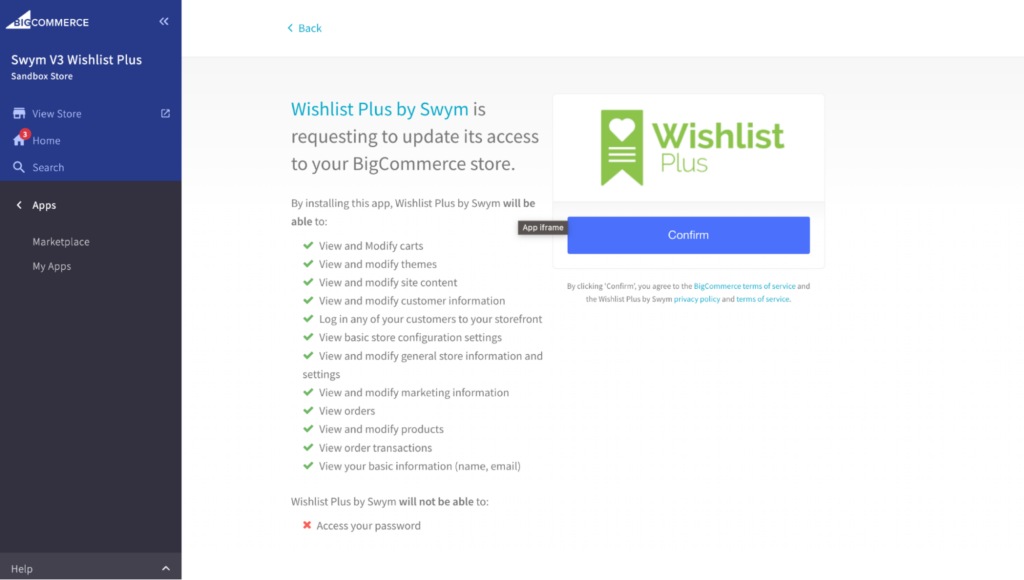
Step 4:
Review the app permissions and click on the ‘Confirm’ button to approve the Wishlist Plus installation.
For the rest of the process, follow the instructions from step 3 of the Shopify platform.
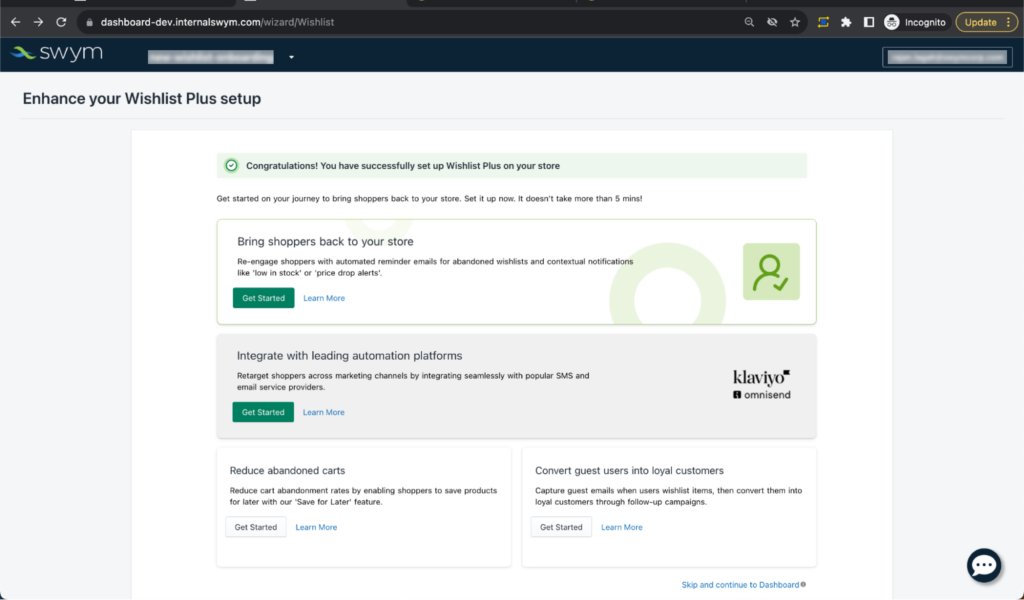
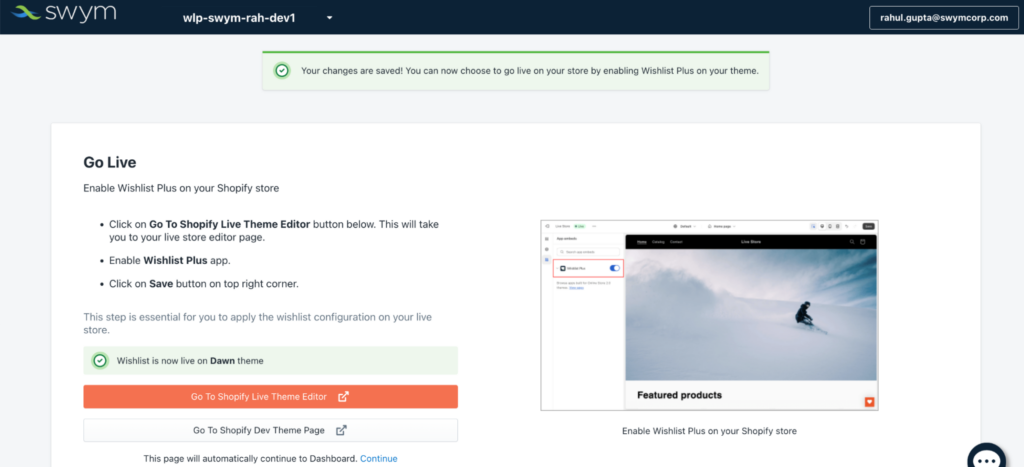
Go Live!
You can enable Wishlist Plus from the Shopify App embed section and go live with all the customisation options that you’ve setup.
Step 11:
Click on “Go To Shopify Live Theme Editor” and the live theme editor opens up on a new tab
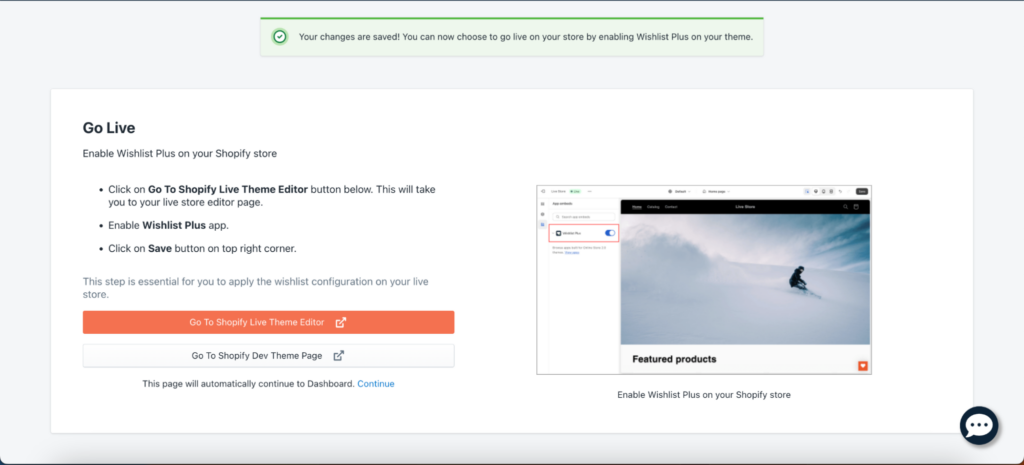
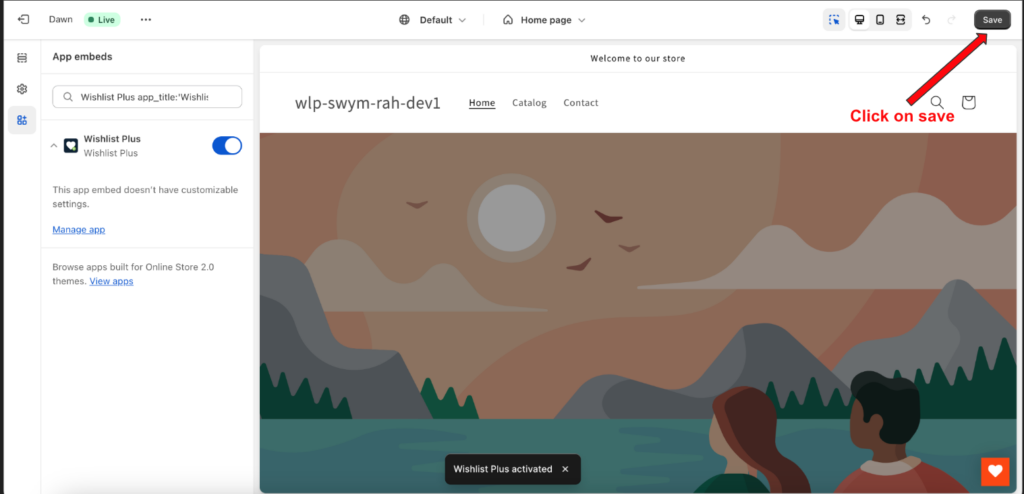
Step 12:
The Wishlist Plus App is already selected and activated. You will need to click on “Save” for the app to get published on your Live theme
Step 13:
Once enabled on the live theme, you get a confirmation that the App is live and are redirected to the next page.
Note: You can continue with the setup and do this later too. App is only live after you switch it on from the App embed section inside the theme editor. You can also publish the app on a dev / unpublished theme and the steps are outlined here.